- Home
- Documentation
- Connections
- Connection with AWS gateways
This page describes how to integrate your Sensedia solutions (Adaptive Governance and Developer Portal) with AWS gateways, allowing for the import and governance of APIs (native connections) published in Amazon API Gateway.
See in this page:
- Supported versions of AWS API Gateway.
- How to obtain access credentials.
- How to create a new AWS gateway connection.
- Import APIs.
Supported API Versions and Types
The Amazon API Gateway is structured into two main infrastructures (v1 and v2). API import through native AWS connections supports both.
-
REST API (v1). The traditional version of API Gateway, providing the most comprehensive set of API management features. View official documentation
-
HTTP API (v2). The newer Amazon API Gateway infrastructure, optimized for lower latency and reduced cost, focused on high-performance HTTP APIs and simplified integrations with AWS services. View official documentation
For a detailed comparison between these two versions, see: Differences between REST APIs and HTTP APIs
The table below summarizes the main characteristics of the supported API types:
NOTE
- The creation of the native connection with AWS and the configuration of credentials is identical for both versions. The distinction occurs only at the time of API import.
- Currently, our solutions only support APIs of types REST (v1) and HTTP (v2). APIs of type WebSocket are not supported in this integration flow.
Access credentials
To create a connection for AWS API Gateway, you must enter your AWS credentials on the Connections screen.
These credentials must be obtained from the AWS side.
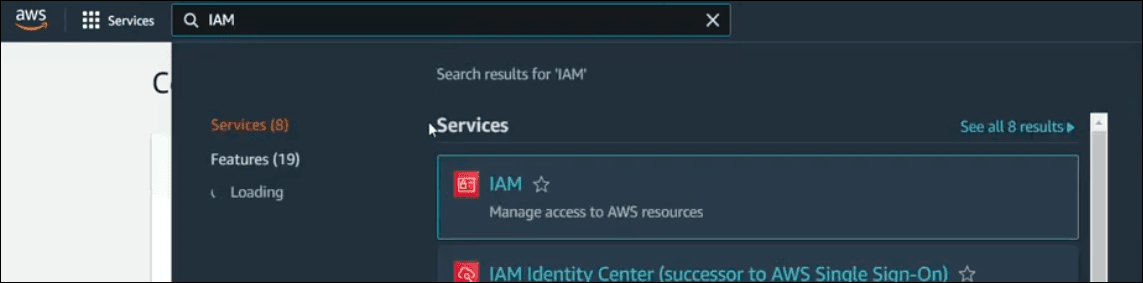
Access the AWS Management Console and follow the steps below to:
TIPRefer to the AWS documentation for more details.
NOTETo list and import your APIs, ensure that your access policy in AWS grants permission to the correct apigateway service resources, depending on the gateway version:
- For v1 gateways (REST): The policy must allow access to resources under the /restapis namespace.
- For v2 gateways (HTTP): The policy must allow access to resources under the /apis namespace.
If your policy only allows one of these resource sets, you will only see the corresponding APIs. If there is no permission for either of them, an error will be displayed on the import screen.
Creating a User
There are several ways to create an IAM user in your AWS account.
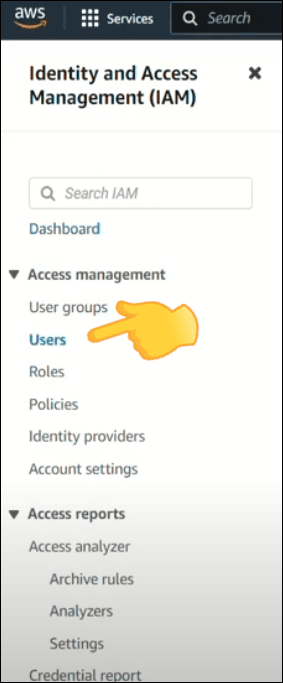
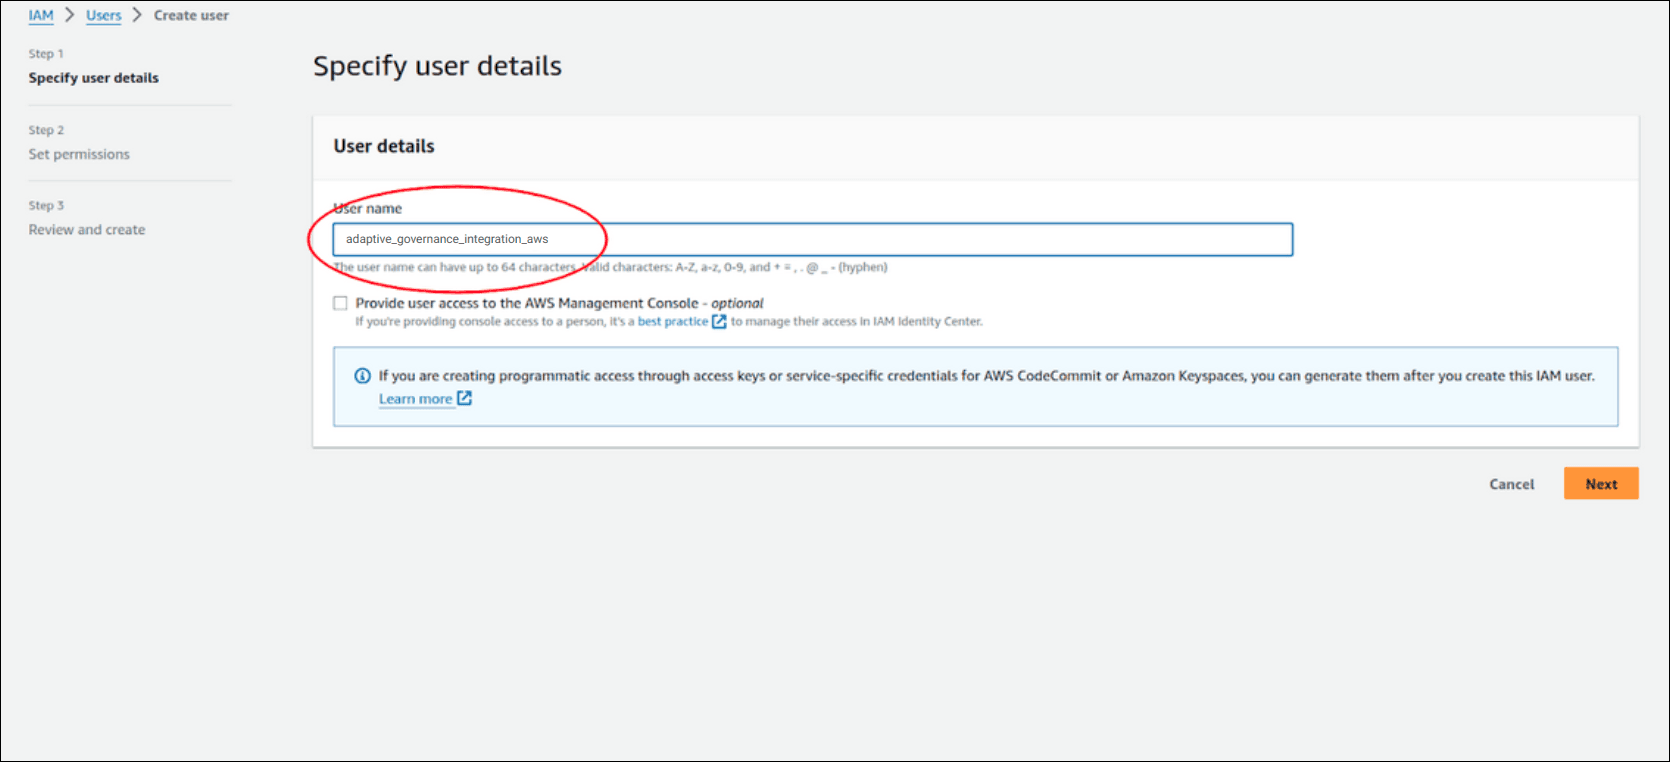
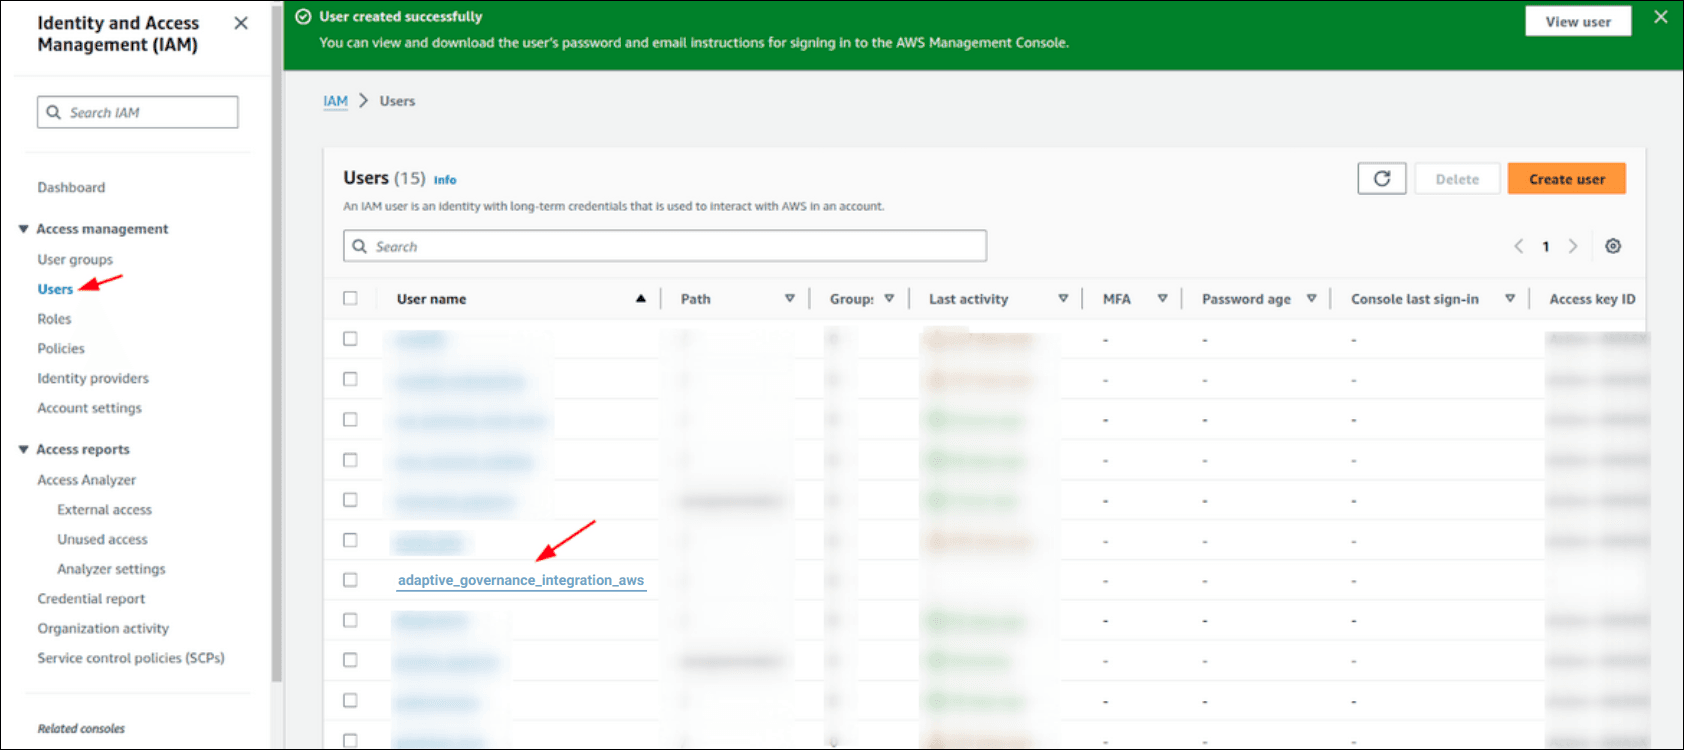
Follow the steps below to create a user through the AWS Management Console:
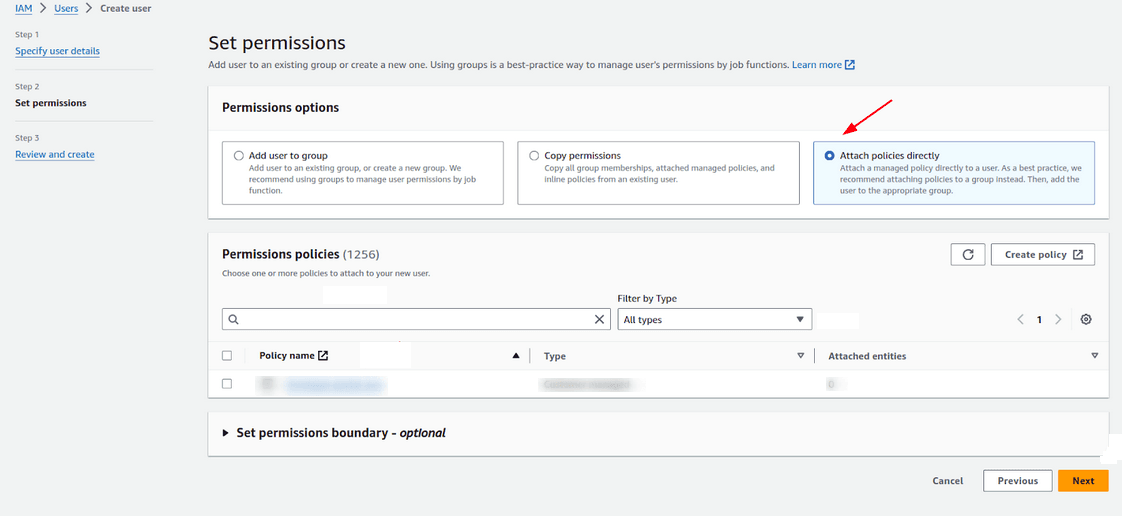
Adding an Access Policy
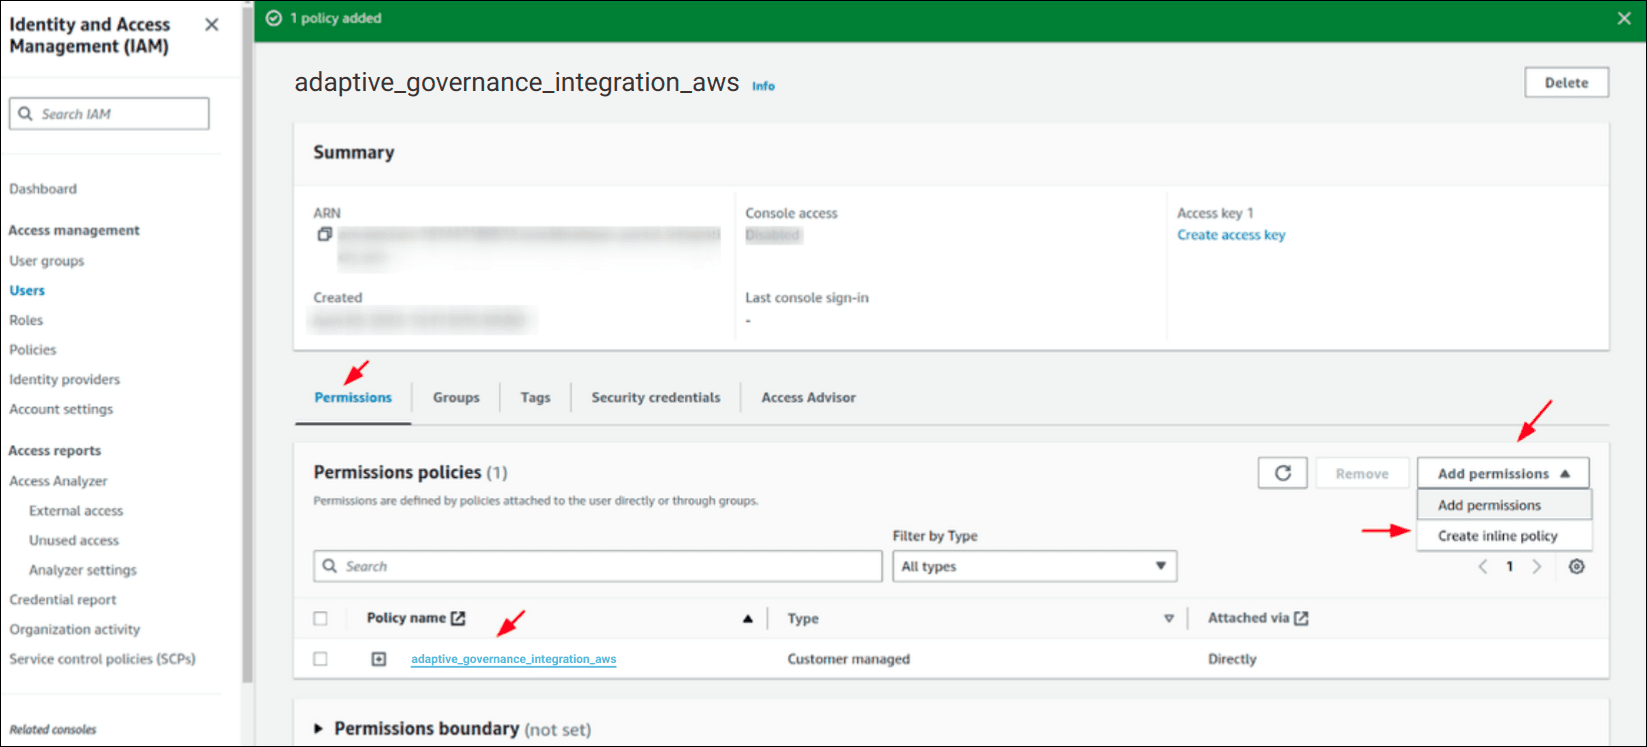
Step 2
In the Permissions tab, under Permissions policies, click the Add Permissions button, and then click Create inline policy.
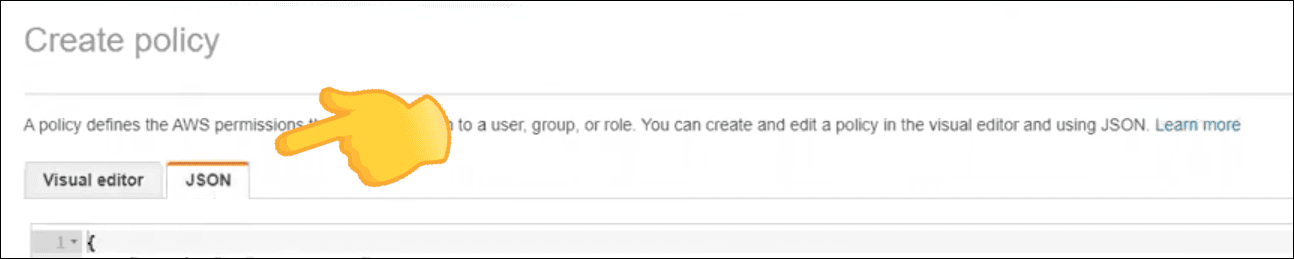
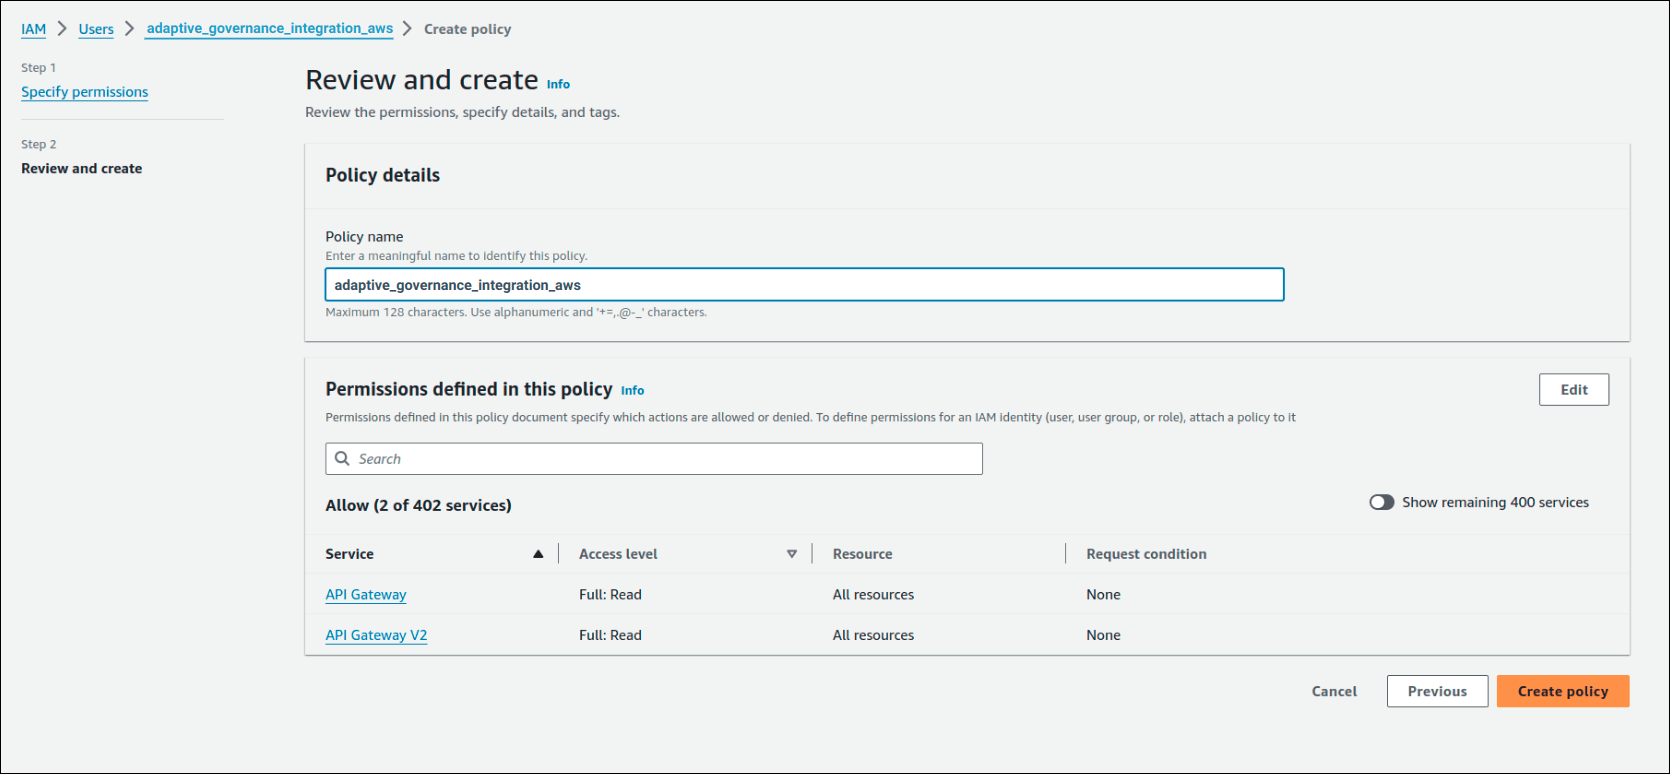
Creating the Credentials
Step 1
In the user list, select adaptive_governance_integration_aws and click the Security credentials tab.
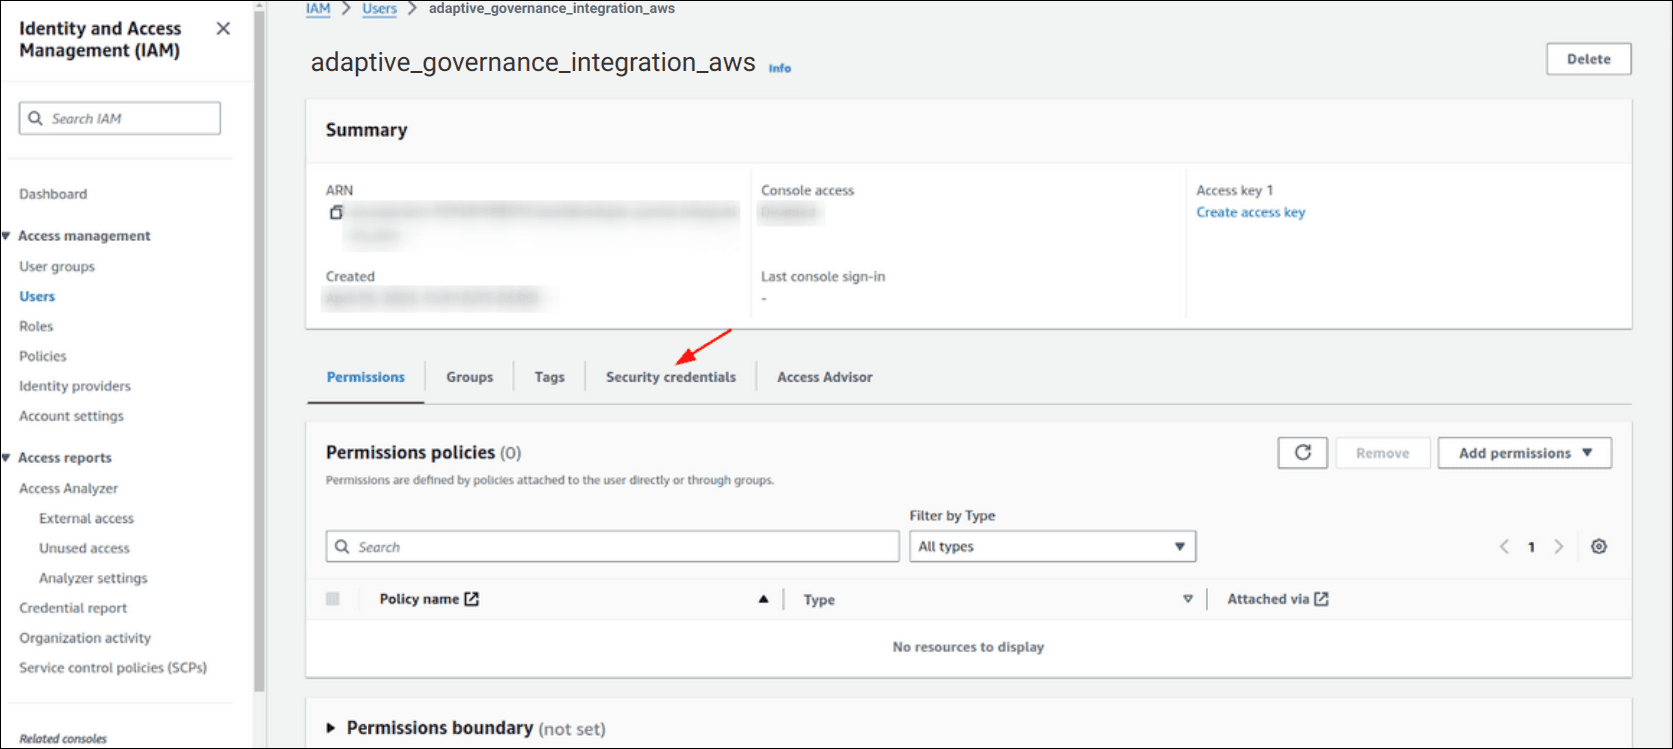

Step 3
Select the option Application running on an AWS compute service.
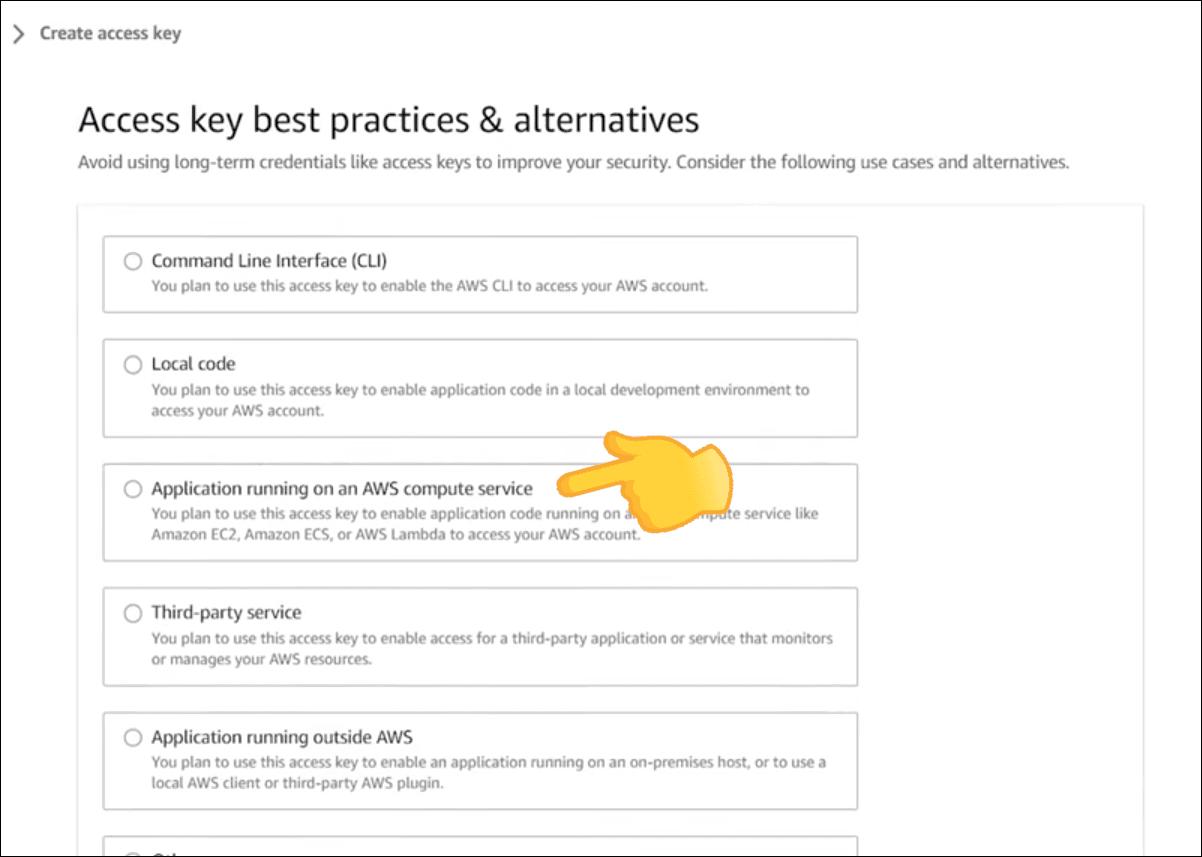
NOTECheck the confirmation box at the bottom of the page.

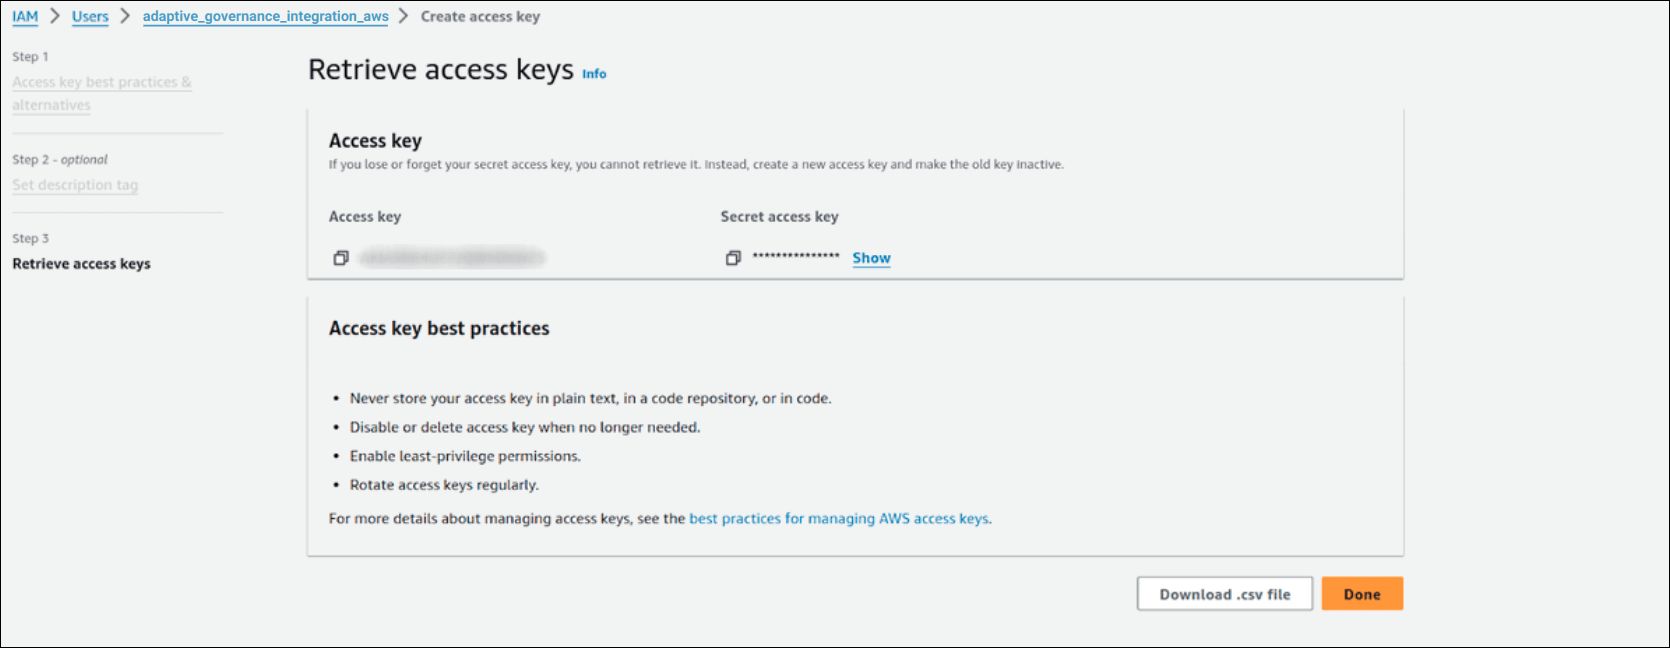
Creating a New Connection
Follow the steps below to create a new connection.
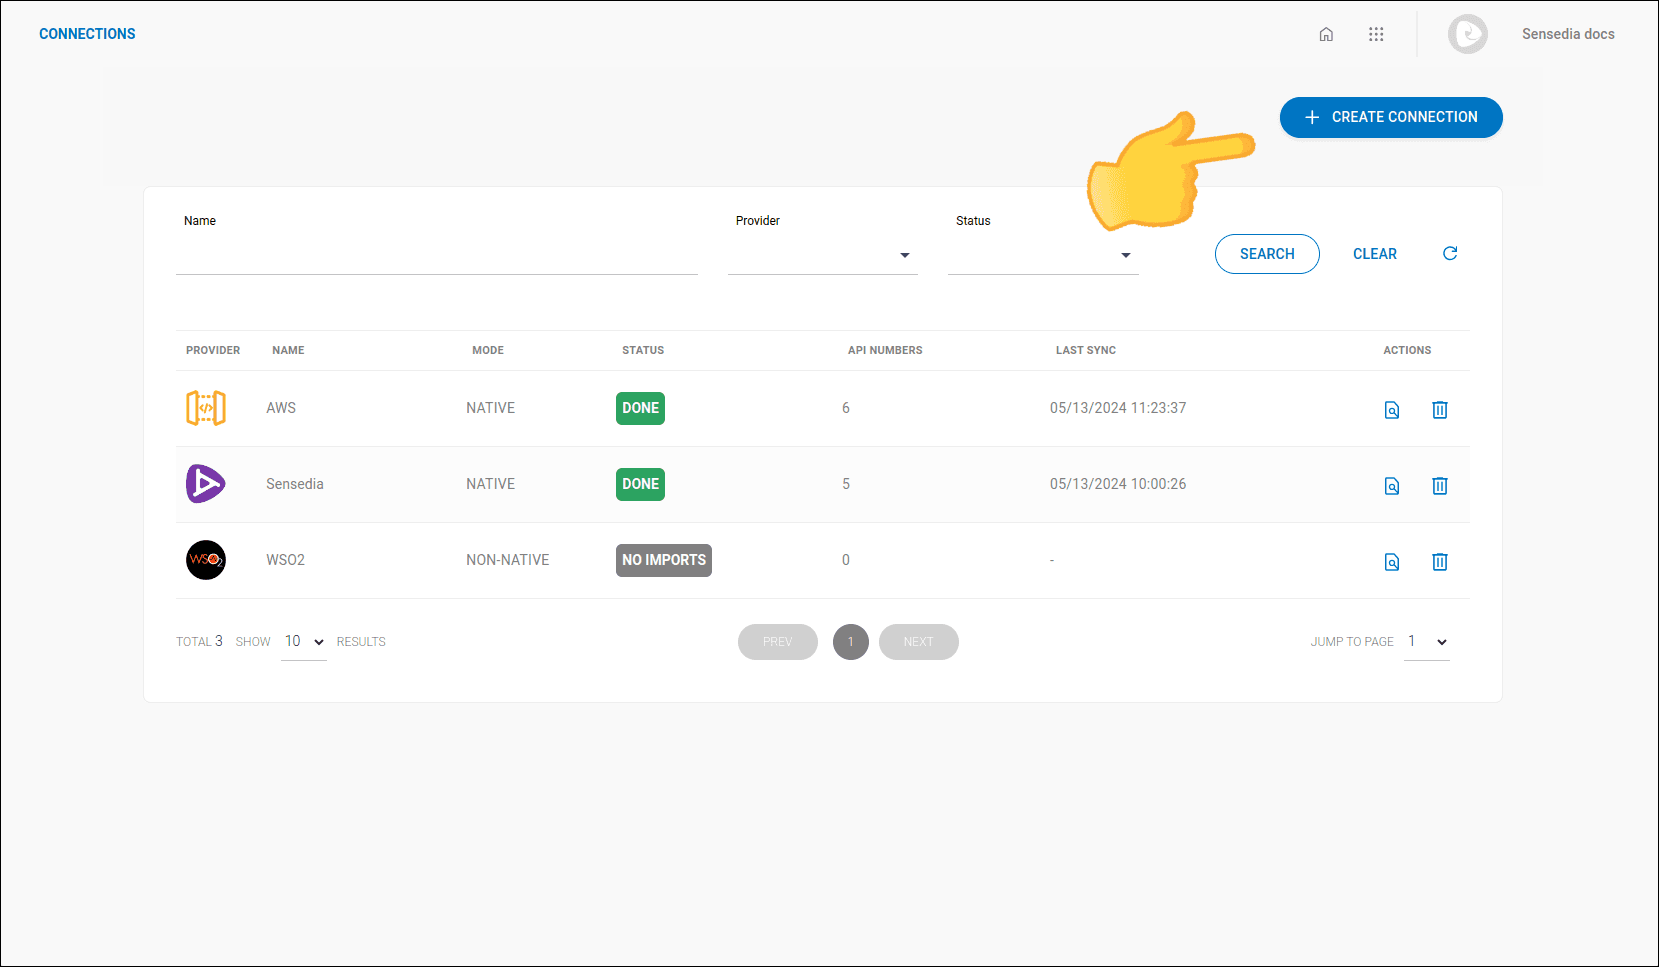
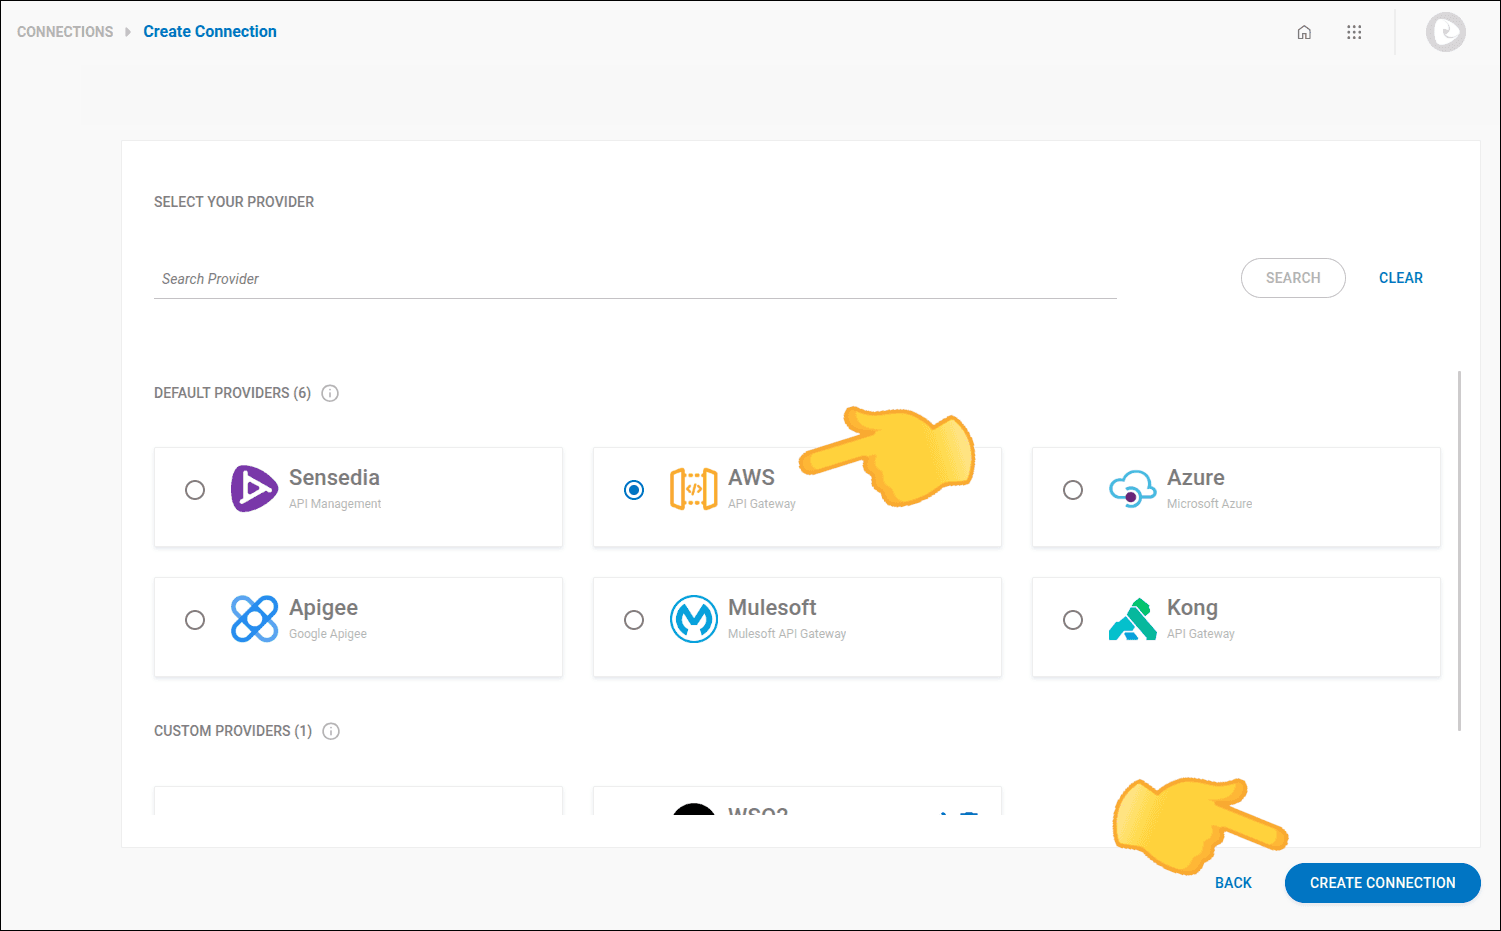
Step 4
Select the connection mode: whether it is native (data updated directly with the provider) or not (manual upload).
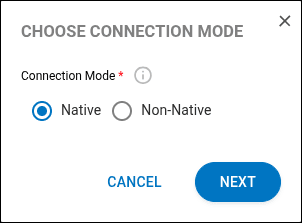
Non-native connection:
-
Define a name for the connection and click NEXT.
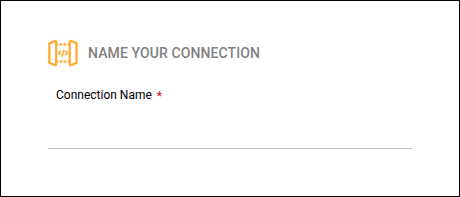
-
Confirm the information and click SAVE.
Native connection:
-
Define a name for the connection and click NEXT.
-
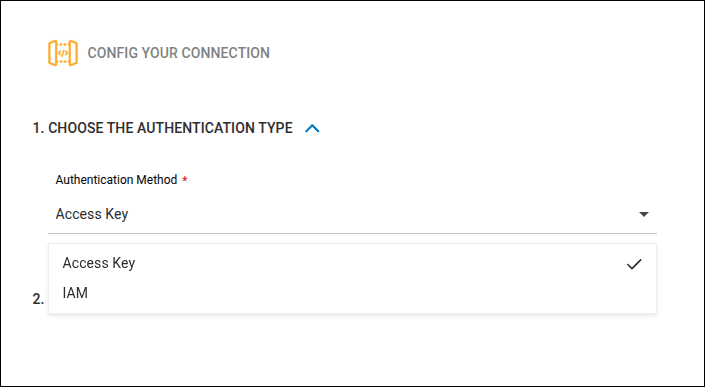
Select a connection mode: Access Key or IAM (Role).
-
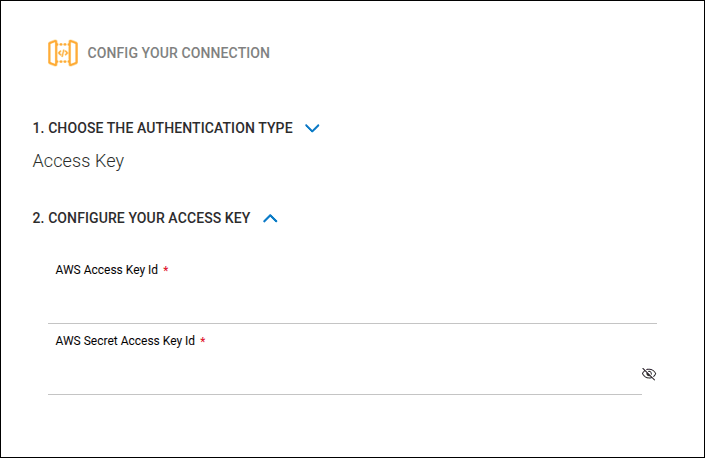
For Access Key, provide:
-
AWS Access Key Id: the key for your AWS resource.
-
AWS Secret Access Key Id: the AWS key secret.
-
Review the information and click SAVE.
-
-
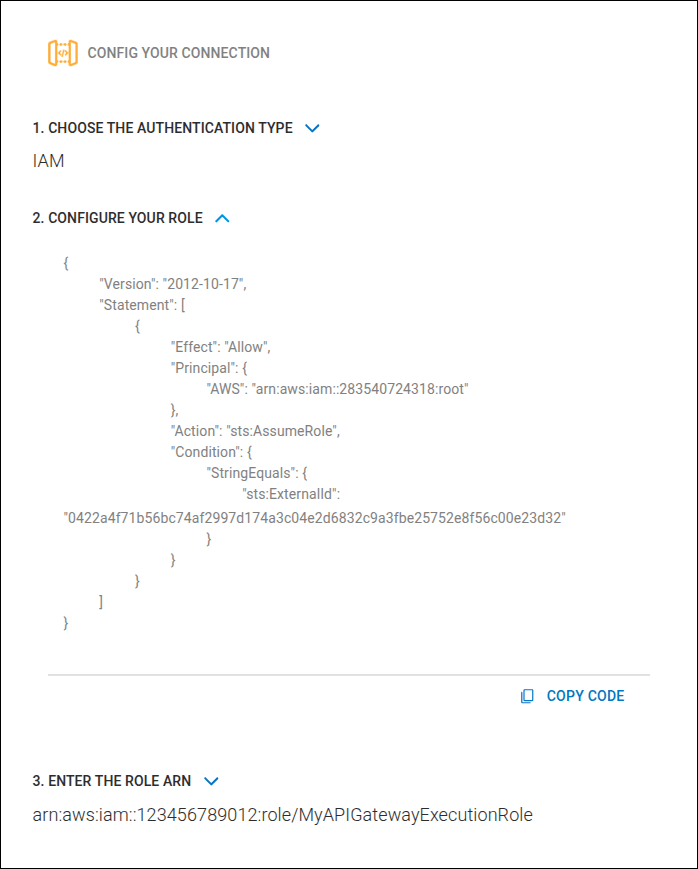
For IAM:
-
Configure your role: copy the example code shown in this section and use it in your AWS provider to create a role:
- Steps in the AWS Console:
- Go to IAM > Roles and click the "Create role" button.
- Select "Custom trust policy" and paste the copied code.
- Add the policy generated in the Adding an access policy step.
- Complete the role creation, adding the necessary information, such as tags.
- After creating the role, copy the Role ARN generated by AWS.
- Steps in the AWS Console:
-
Role ARN: paste the generated Role ARN here.
-
Review the information and click SAVE.
-
-
Importing APIs
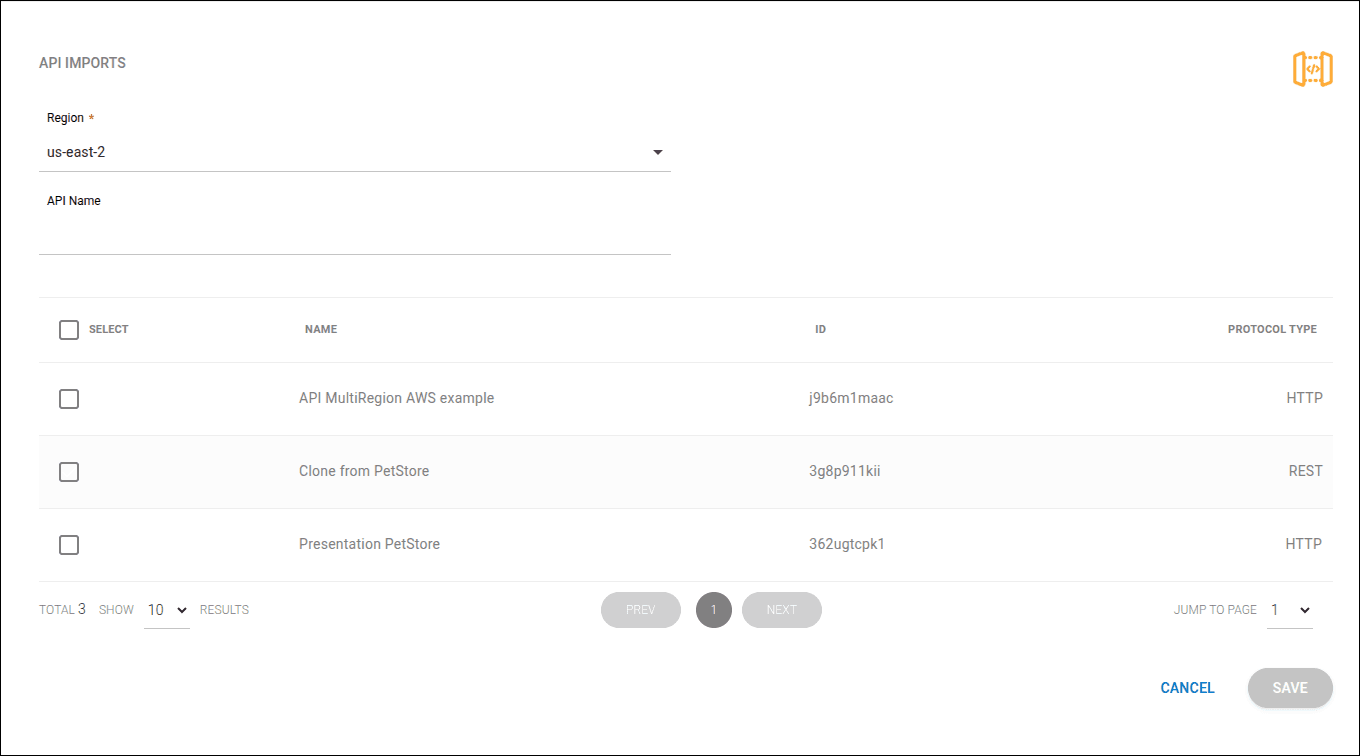
Importing APIs through a native AWS connection supports multiple types of API Gateways.
The supported API types are:
- REST — APIs originating from AWS REST API Gateway (v1).
- HTTP — APIs originating from AWS HTTP API Gateway (v2).
See more details about each type.
These types are displayed in the Protocol Type column during the import process.
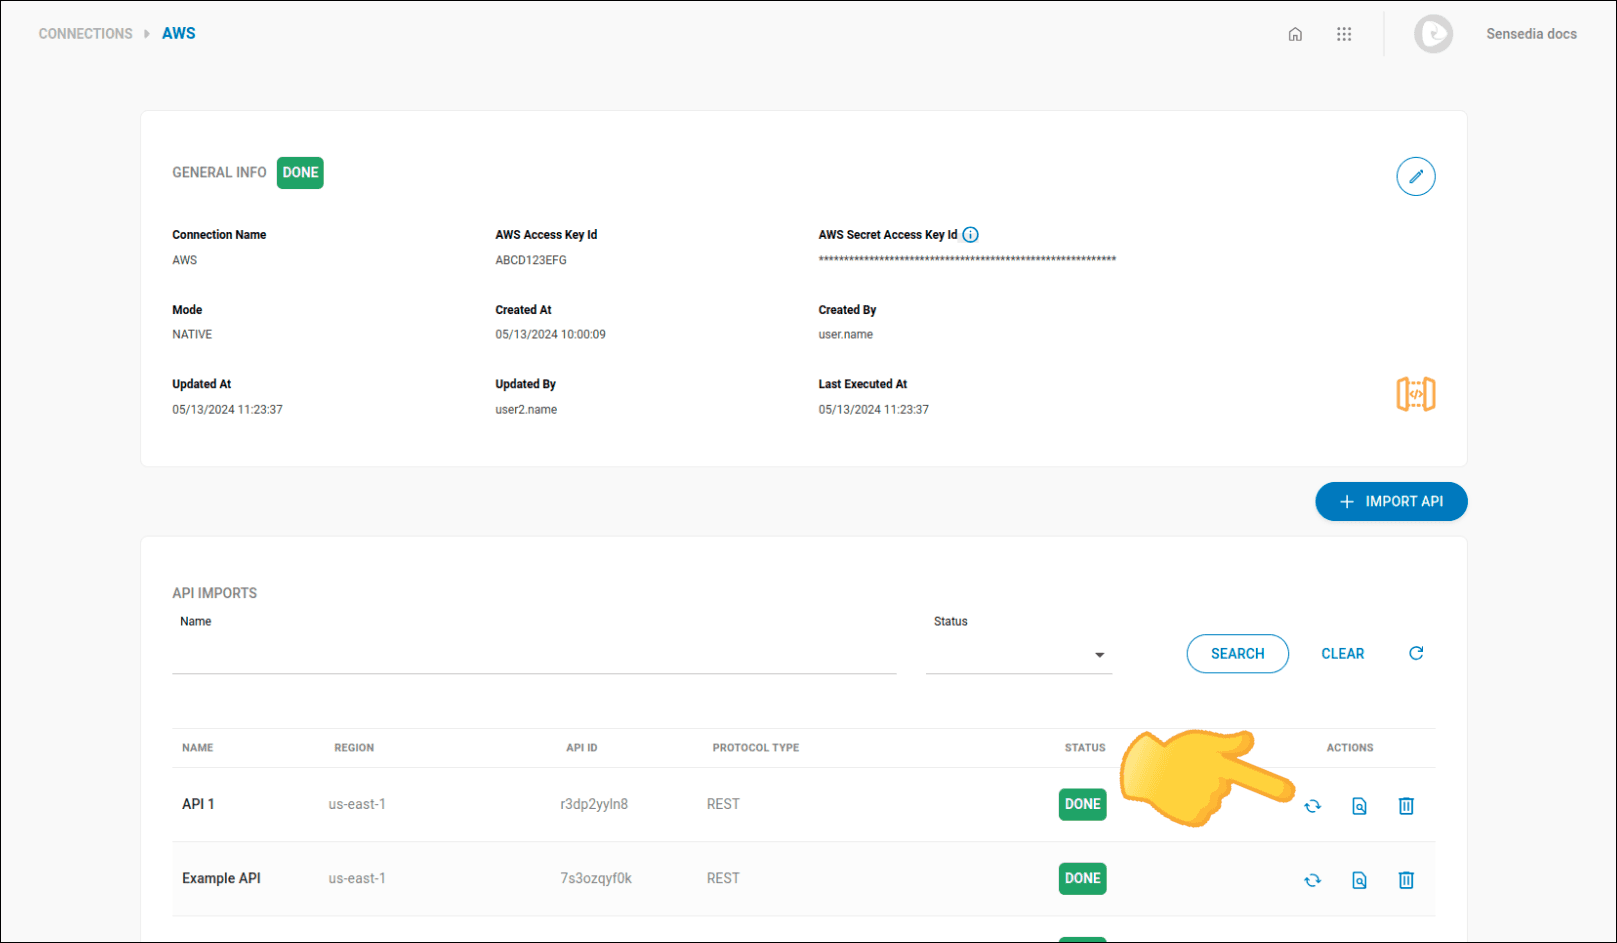
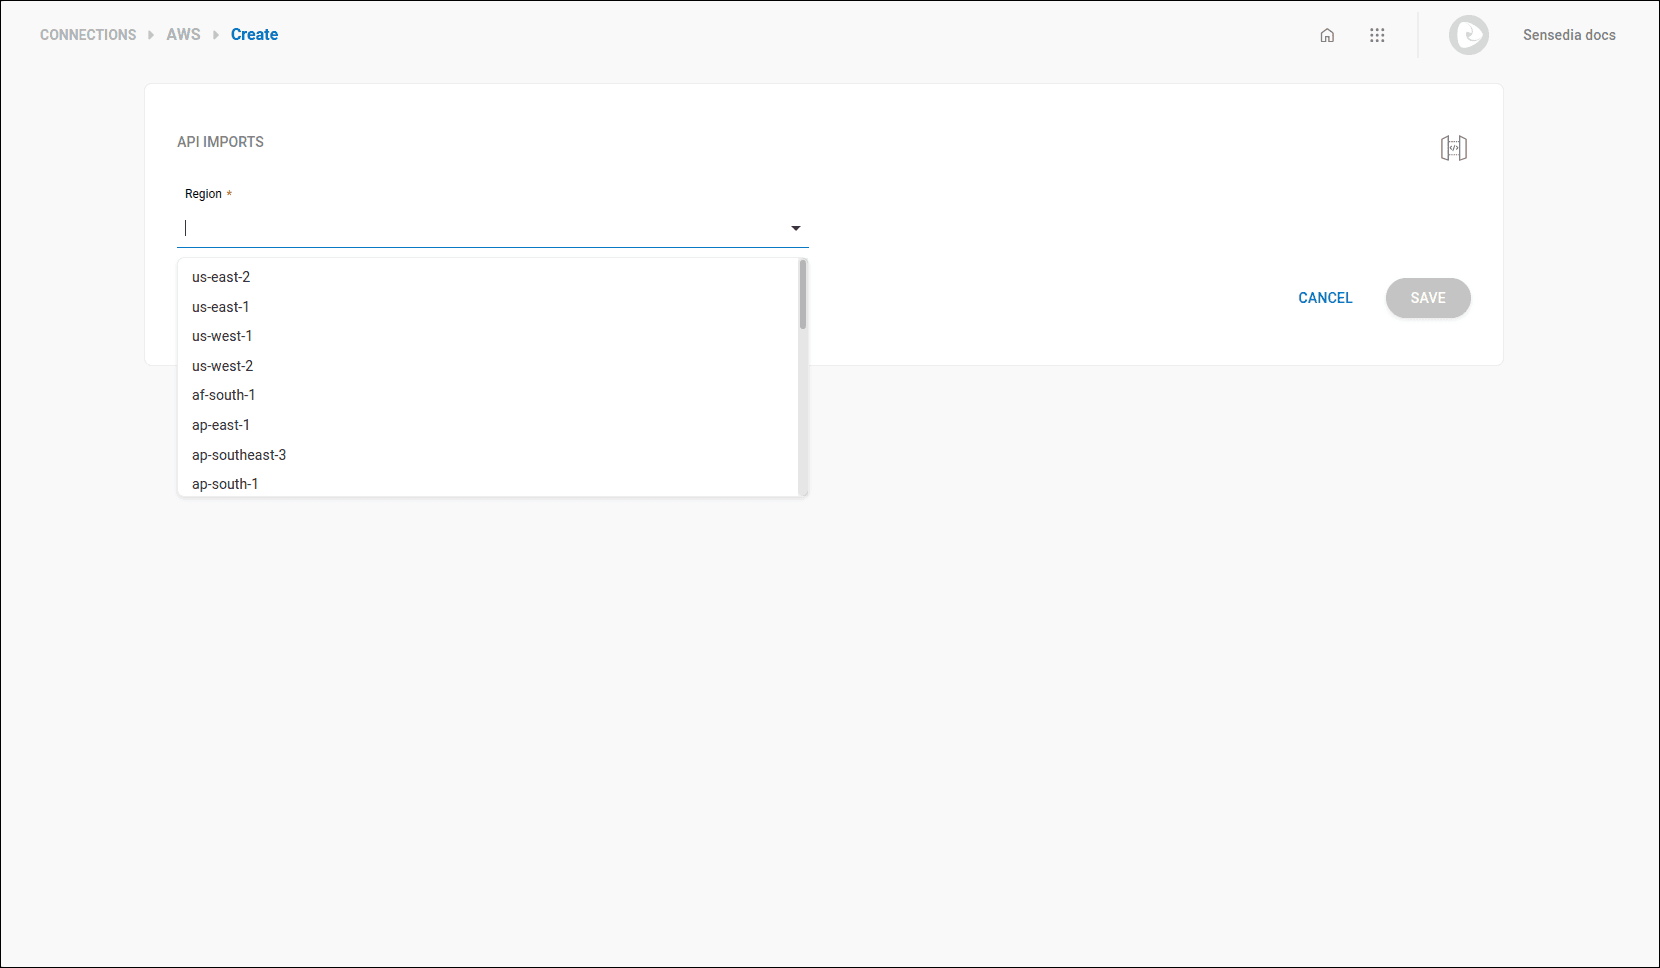
To import APIs, follow the steps below:
Step 1
Access the Connections screen by clicking on the left side menu or the card on the home screen.
Step 2
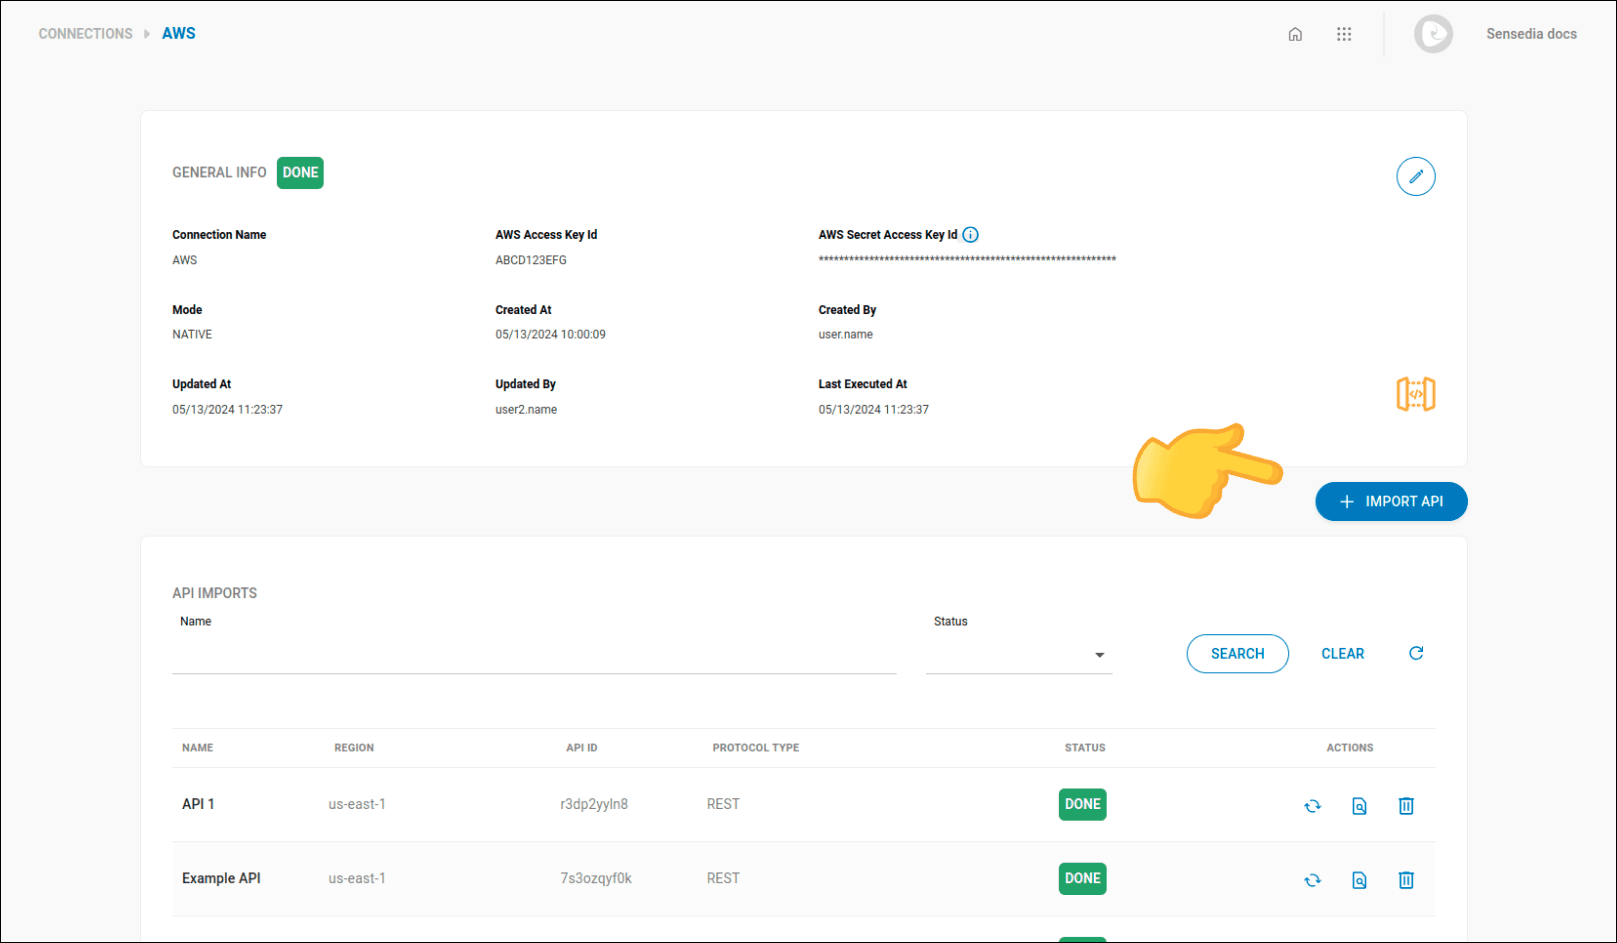
Find the connection you want to edit and click the  icon. If necessary, use the search bar to locate the desired connection.
IMPORTANTCredential generation (App creation) in the Developer Portal is currently not supported for HTTP (v2) type APIs, due to an inherent limitation of this version of the AWS Gateway.
In these cases, the Enable Apps registration option remains disabled in the API Docs settings of the Portal Manager.
NOTEThe Discovery feature also automatically identifies and unifies APIs from both versions (REST and HTTP), provided that the IAM user's access permissions cover the necessary resources. If you have permission for only one of the versions, only the corresponding APIs will be listed.
NOTEWhenever an API is updated, click
.