- Home
- ...
- Content Management
- Content Management - Guides
NOTEThe Guides tab is now located within the Content Management aggregator in the left sidebar menu of the Portal Manager.
All the documentation that you want made publicly available can be managed using Guides.
Guides work as a website development platform, allowing you to freely create content that makes sense to you and your partners.
Creating a new page
Follow the steps below to create a new Guides page for your portal.
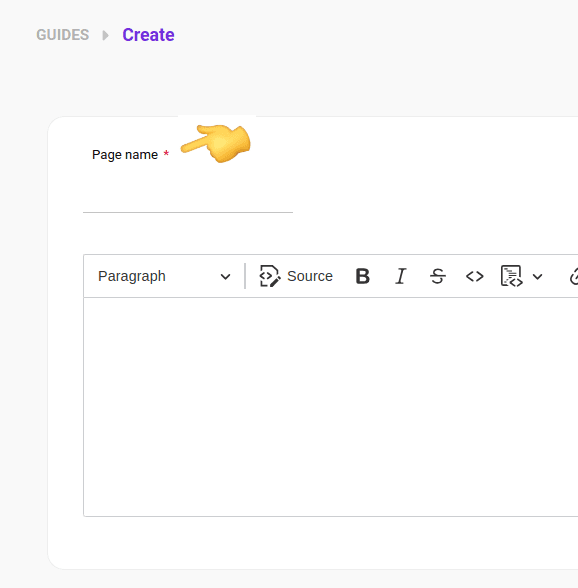
Step 1
Click ** ** next to **Pages**. You can also create subpages. Click ** ** next to the name of an existing page and the new page will be created as its "child".

Step 3
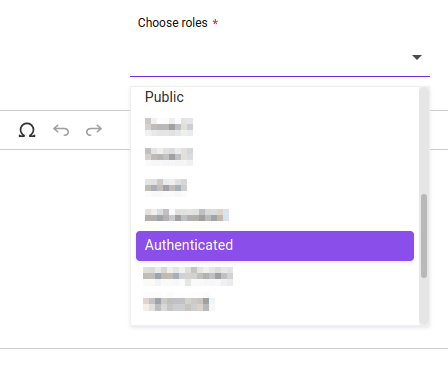
Select the role that the user must have to view and access the guide. This field is required. Read about role assignment.
Step 4
Create the new page content in the field located below the toolbar. The text must contain at least 3 characters and at most 5 MB.
 to copy the direct link for the created page.
Identify which pages have not yet been published by looking for  next to the page name.
Your page will remain published for as long as Public Page is enabled.
Updates made and saved will be applied to the published page every time you click SAVE. You do not need to publish it again.
NOTEYou can rearrange the order of the pages in the list and also change the hierarchy by turning subpages into pages and vice versa. Just click and drag the page to the desired position.
Role assignment
Role assignment allows you to precisely control who can view and access each guide. With this feature, administrators define specific permissions, ensuring that users only see content relevant to their roles.
Main advantages:
- Greater protection for sensitive information and system settings.
- Granular customization of permissions according to the needs of each group.
- Efficient control over content availability, whether public or restricted.
Roles are configured during the creation/editing of a guide in Portal Manager.
There are two predefined roles in the system:
- Authenticated: default role, which allows access to the guide only by authenticated users.
- Public: role that allows access to the guide by any user, including unauthenticated users (no login required).
You can also create custom roles defining dedicated permissions for consumption by different audiences (internal, partners, customers, etc.).
To create a custom role, follow the steps below:
IMPORTANT
- Custom roles require user authentication.
- It is possible to associate one or more roles with each guide.
- Guides with the "public" role are visible to all users, including unauthenticated users. This visibility automatically extends to all subguides.
- Guides with roles other than "public" are visible only to authenticated users who have at least one of the configured roles. This restriction applies to both the guide and its subguides.
- Users who do not have any of the configured roles will not be able to view the guide or its subguides.
How role inheritance and visibility between guides work
- Subguides automatically inherit the visibility of the main guide and, therefore, do not display the role configuration option.
- When moving a main guide inside another guide, it becomes a subguide and automatically starts using the roles of the new parent guide.
- When moving a subguide to another main guide, it automatically assumes the roles of the new parent.
- When converting a subguide into a main guide, it retains the previous roles, preventing unauthorized access to users without permission.
Editing a page
Regardless of whether the page is published or not, you can always edit it.
Click the page name and then click EDIT.
Deleting a page
To delete a page, click the name of the page, then click ![]() .
.
Alternatively, you can simply unpublish the page. To do this, click the name of the page and then disable Publish Page.
Toolbar
The toolbar is displayed when creating a new page or editing an existing one.
It gives you access to several commands to format and customize your page.

Command | Description |
|---|---|
Paragraph style  | Define formatting style for a paragraph or sentence. Choose from: simple paragraph and three levels of headings. |
Source code  | View or edit the page in its source code. |
Bold  | Apply bold formatting to the selected text. The shortcut Ctrl+B can also be used. |
Italic  | Italicize the selected text. The shortcut Ctrl+I can also be used. |
Strikethrough  | Apply strikethrough formatting to the selected text. The shortcut CtrlShiftX can also be used. |
Code  | Mark a word or part of a paragraph as code snippet. |
Code block  | Mark a paragraph as code snippet. Select the code language from the dropdown menu. |
Link  | Insert link. Inform the link and click the check mark to save it or the X to cancel. |
Bulleted list  | Apply bulleted list formatting to the selected text. |
Numbered list  | Apply numbered list formatting to the selected text. |
To-do list  | Insert check boxes in front of each line of the selected text. |
Image  | Open the dialog box to select and upload a file. |
Block quote  | Apply block quote formatting: it indents the block and marks it with a vertical line to the left side of the text. |
Insert table  | Determine table size and insert it. |
Special characters  | Choose a special character and insert it. |
Undo and redo  | Access the undo and redo commands. The shortcuts CtrlZ and CtrlY can also be used. |
Published page
The link to the public page is available in the upper right corner of the screen, next to Publish page, as shown below.

NOTEAll pages published in Guides are public. Developer access is not required.
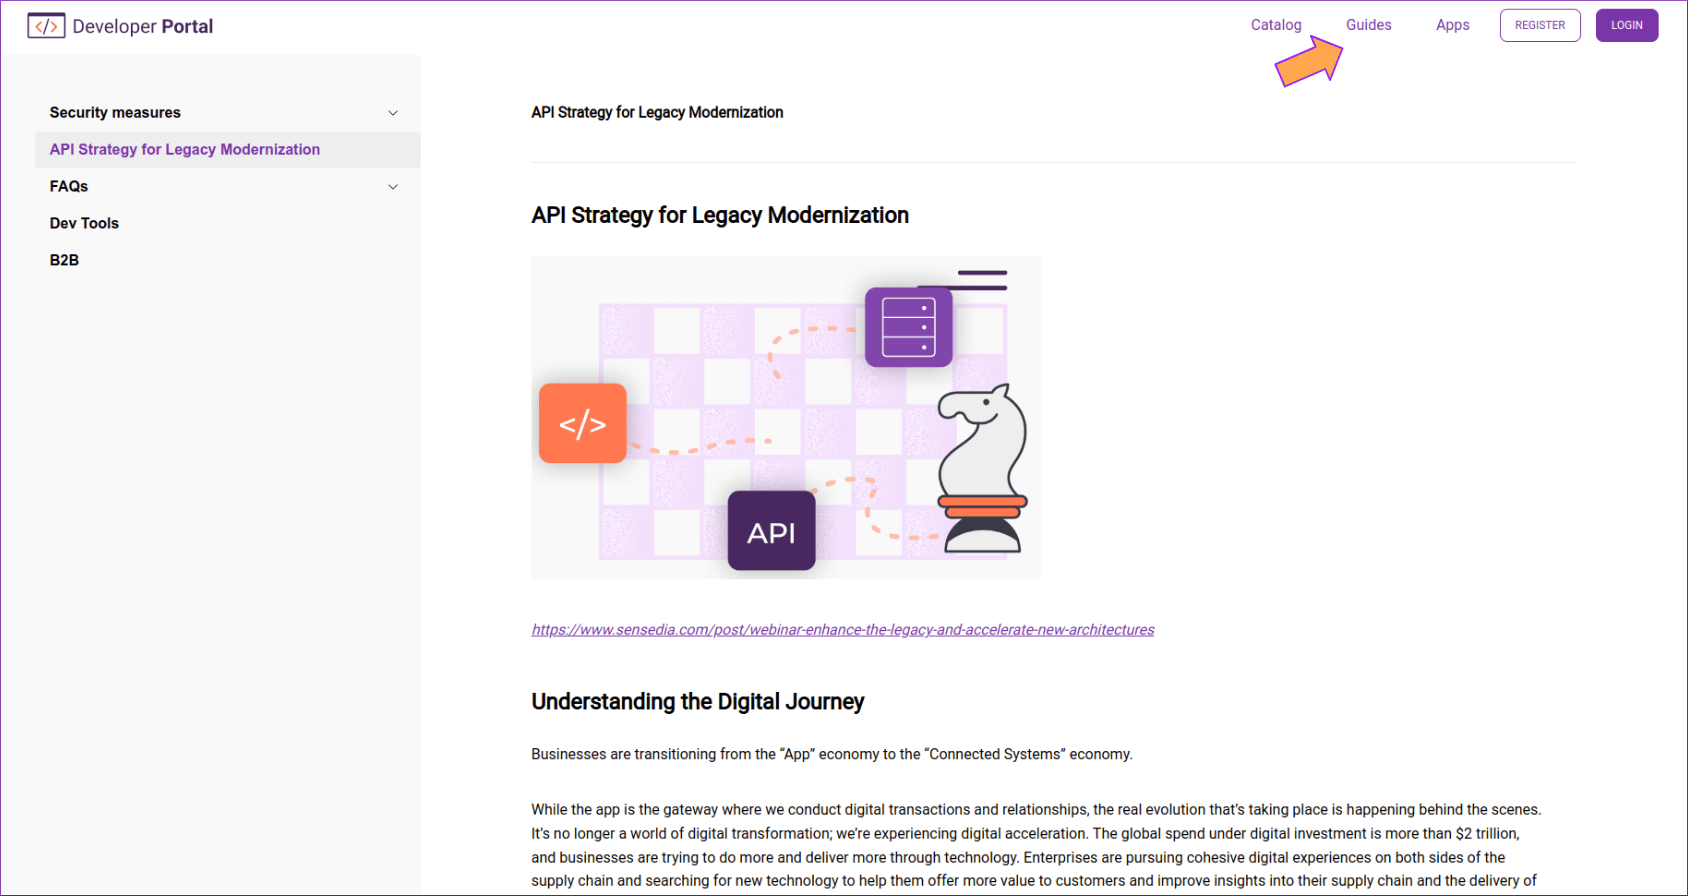
The pages are available on your portal, under Guides, as shown in the image below.