---
title: Registering New Users
description: Guide for registering and activating new users
documentId: access-control-new-user
locale: en-US
---
Follow the steps below to register a new user.
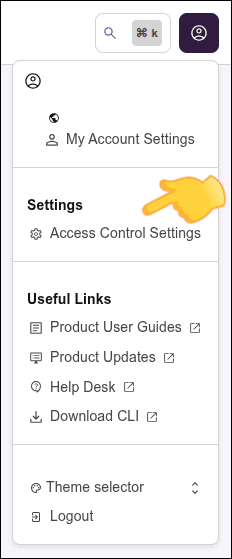
Access **Access Control** settings.
*You can access Access Control settings through the icon in the upper right corner of any Sensedia product screen, or through the right sidebar menu of the home page.*
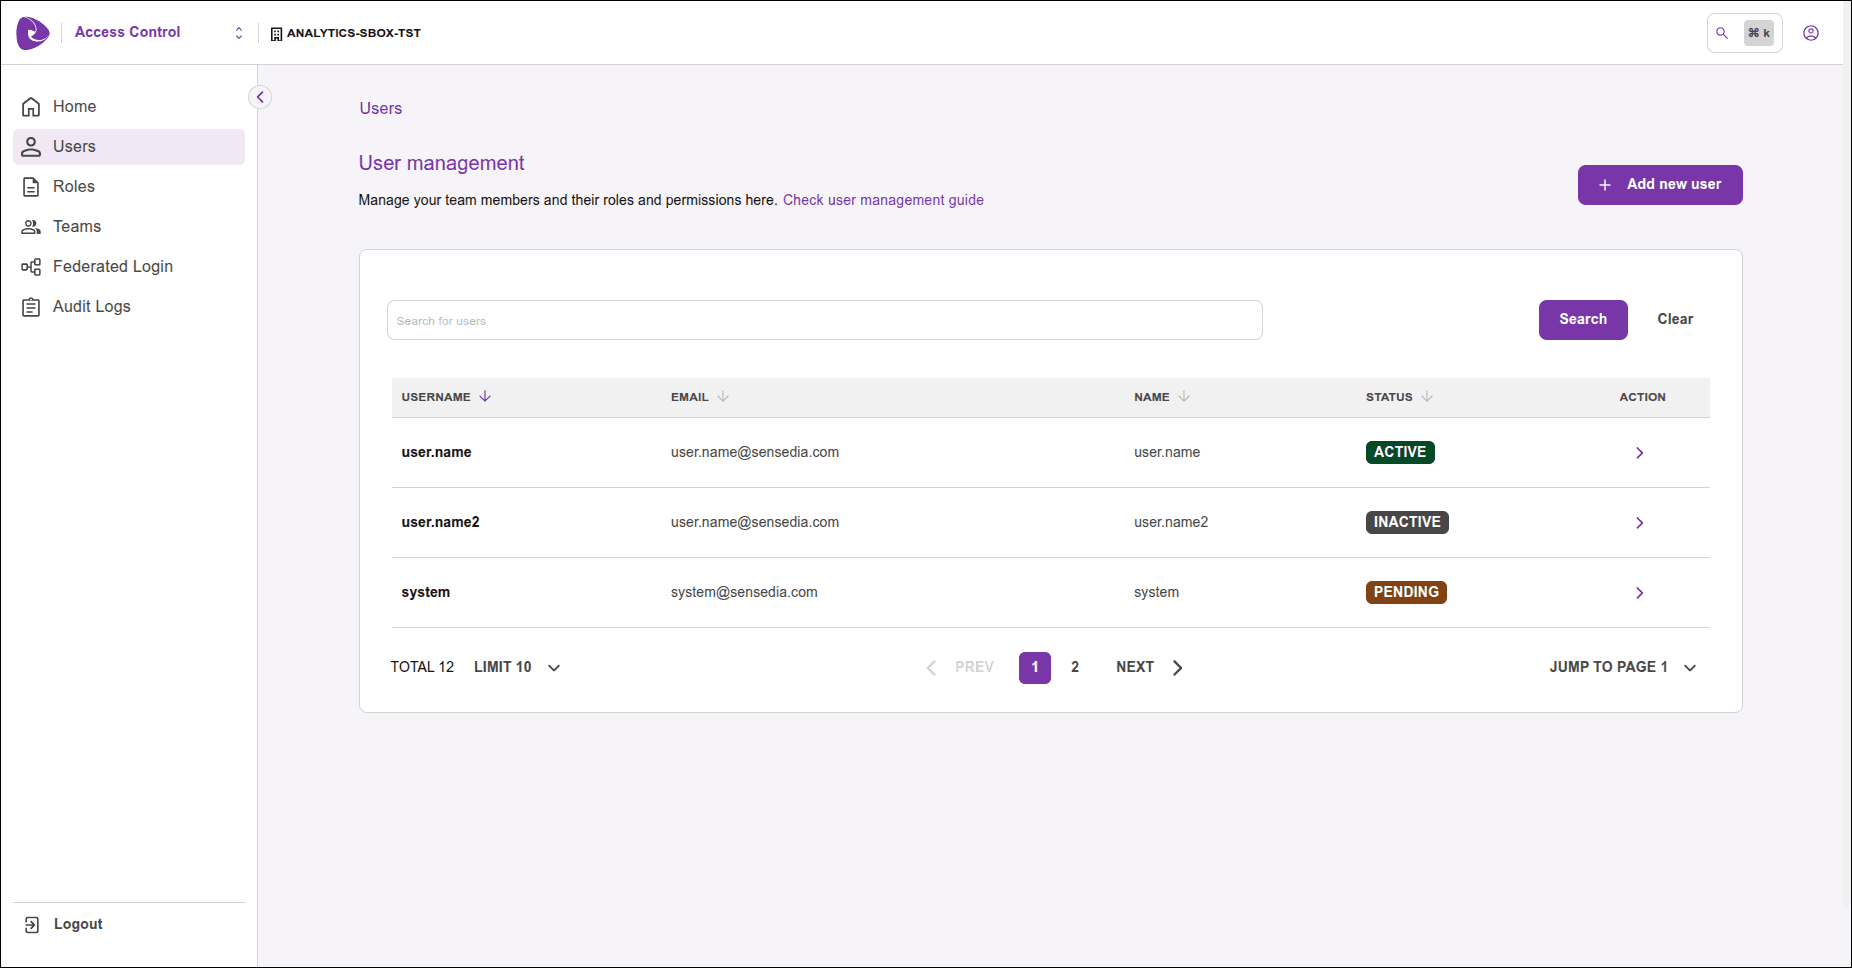
Click the **+ Add New user** button in the upper right corner of the **Users** screen.
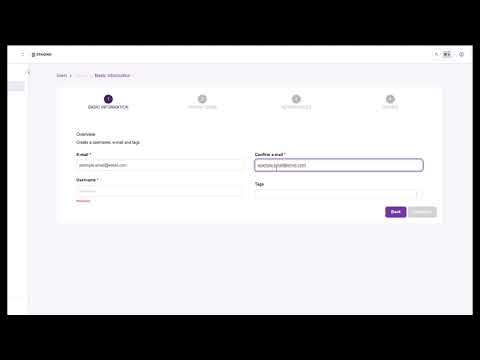
Fill in the user's basic information:
- Enter and confirm the email.
- Choose a username.
- Add one or more *tags* to classify the user (optional).
To add a *tag*, type the desired text and press **Enter**.
- Click **Continue** to proceed.
Define one or more [teams](#teams) for the user (optional) and click **Continue**.
Define one or more [roles](#roles) for the user (optional) and click **Continue**.
Check the user information and click **Confirm new user** to complete the registration.
The created user will have **Pending activation** status until they complete the process by accessing the link sent by email.
If the email is already registered, the new user cannot be created.
If you prefer, watch the video below to see how to register a new user:
[](https://www.youtube.com/watch?v=gNyNq78DNCM)
---
## Activating new user
After creating a user, the registered email will receive a link for user activation.
The user must click the link to define name and password.
The user's status remains as **Pending activation** until they click the link and complete the process.
- The activation link is valid for **48 hours**.
- If the user does not complete activation within this period, the account will be automatically deactivated.
---
## Resending new user activation link
The activation link sent by email can be resent at any time, including if the first link has expired.
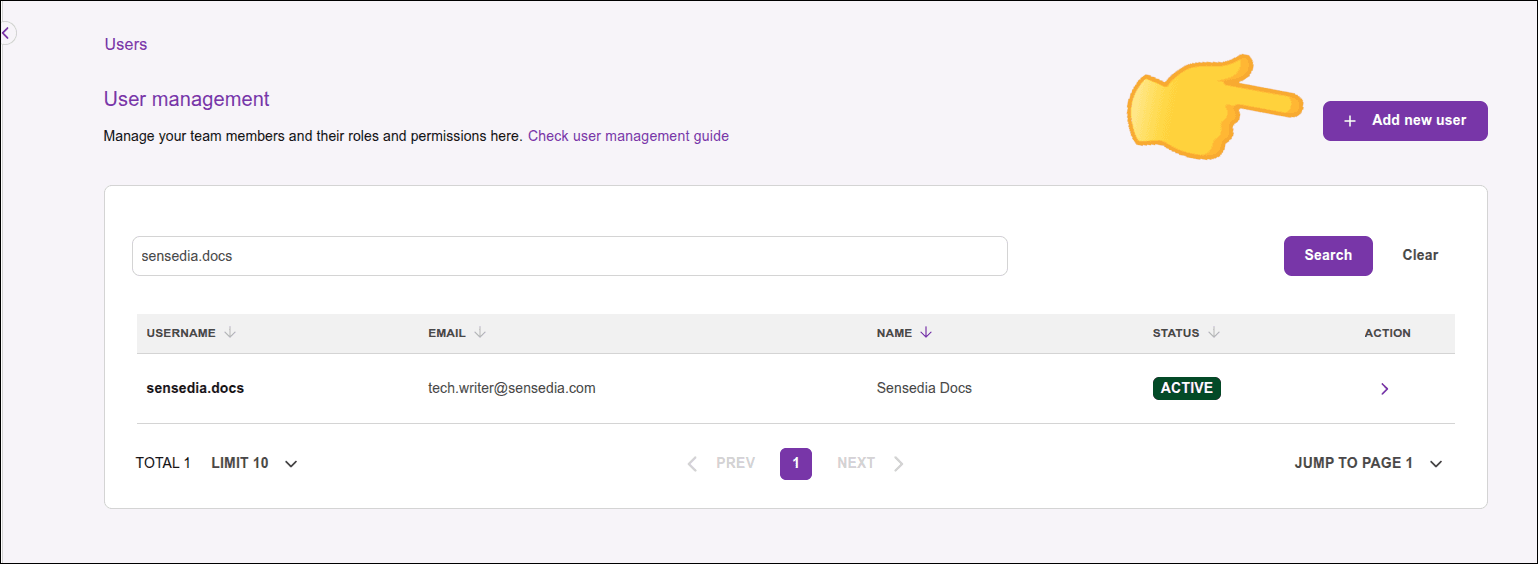
Go to [Users](/docs/en/users).
Locate the user.
Type the username or email in the search field and click **SEARCH**.
In the **Actions** column, click **>**.

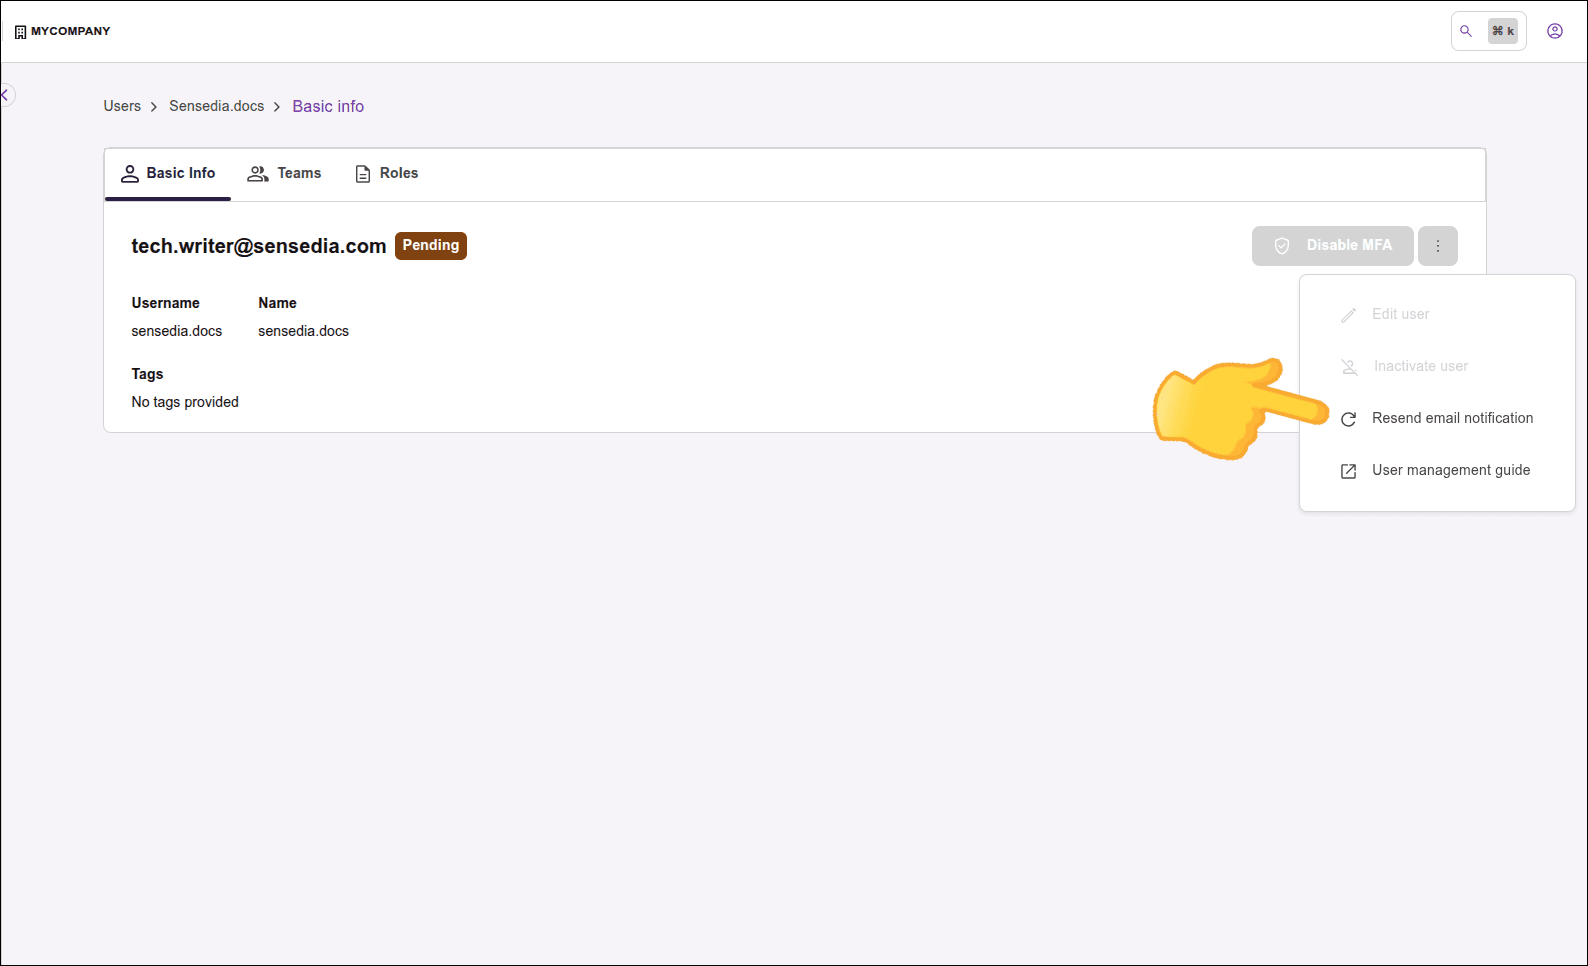
In the **Basic Info** tab, click the three dots icon (⋮) and select **Resend email notification**.
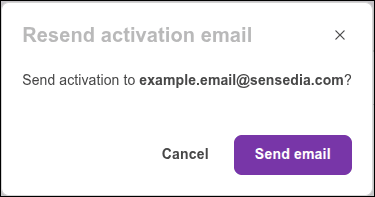
Check the user's email and click **Send email**.
- New users will be automatically deactivated after **2 days** if they:
- do not complete the activation process; or
- complete the activation process but do not log into the platform.
See more about the rules for [deactivating inactive users](/docs/en/inactive-users).
---
## Teams
You don't need to work with teams, but they facilitate the registration of APIs, environments, and *custom interceptors*, as they allow maintaining access control without having to manage each user separately.
When you give visibility to a team in an API registration, for example, all its members will access that API.
To learn more about access to these items, see [visibility rules](../../api-platform-guide/other-info/visibility-rules.md).
You don't need to define the team at the time of user creation — you can add the already created user to one (or more) team(s) later.
You can also check existing teams, edit, or create new ones.
See [here](/docs/en/groups) how.
---
## Roles
*Roles* help organize view and edit permissions for Sensedia product features.
It's possible, for example, to group permissions by role played by users, such as administrator, developer, among others.
You don't need to define the role at the time of user creation — you can add the already created user to one or more roles later.
You can also check existing roles, edit, or create new ones.
See [here](/docs/en/policies) how.