---
title: Authentication
description: Understand how the authentication process works, including account creation, user approval, and password recovery in the Developer Portal.
documentId: developer-portal-registration-login
locale: en-US
---
This page refers to the authentication process for your Developer Portal. For Portal Manager authentication, please refer to the [Access Control](/docs/access-control) user guide. Check the [difference between Developer Portal and Portal Manager](/docs/developer-portal/portal-manager#difference-a).
The authentication screen has three tabs:
- [LOGIN](#login-a),
- [CREATE AN ACCOUNT](#create-account) and
- [FORGOT MY PASSWORD](#forgot-password).
## Accessing your account
If you are not already logged in, click the **LOGIN** button on the top right corner of your Developer Portal screen to access its content.
**Authentication Methods**
- Authentication using email and password.
Enter your email and password, complete the reCAPTCHA, and click **LOGIN**.
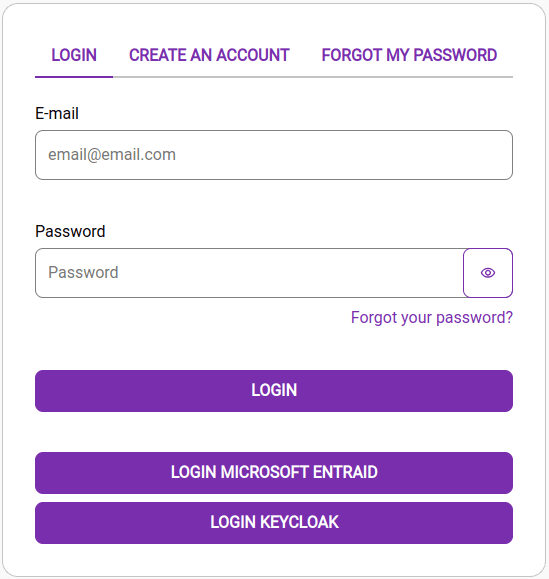
- Authentication using **Microsoft Entra ID**
Click **LOGIN MICROSOFT ENTRA ID**. You will be redirected to the Microsoft login screen. Follow the instructions on that screen to authenticate.
- Authentication using **Keycloak**
Click **LOGIN KEYCLOAK**. You will be redirected to the Keycloak login screen. Follow the instructions on that screen to authenticate.
The available authentication methods — email login or SSO (Microsoft Entra ID and Keycloak) — are automatically shown or hidden according to the client's security policies.
## Creating an account
To create an account to access the content of your Developer Portal -- which includes the published documentation, guides and Apps -- simply:
### Step 1
Enter your email address,
### Step 2
Confirm the reCAPTCHA.
### Step 3
Click **REGISTER ACCOUNT**.
The account creation then goes through the approval process.
### Approval process for the account created
By default, the automatic approval option is disabled.
To enable it, go to [Settings > Developers](/docs/developer-portal/invitations#approve-reject) and click the _Auto approval_ toggle.
### Step 1
While _Auto approval_ is **enabled**, the process of registering an account will take place as follows:
### Step 2
The person who will be consuming Developer Portal content must follow steps 1 to 3 to [create an account](#create-account).
### Step 3
An email will be sent to this person. They have up to 72 hours to click **CONFIRM YOUR ACCOUNT** and enter their details.
### Step 4
Since the _Auto approval_ option is enabled, the account will be created and the person will be able to access your Developer Portal with the user and password created.
While _Auto approval_ is **disabled**, the approval process will take place as follows:
### Step 1
The person who will be consuming your Developer Portal content must follow steps 1 to 3 to [create an account](#create-account).
### Step 2
An email will be sent to this person. They have up to 72 hours to click the **CONFIRM YOUR ACCOUNT**.
### Step 3
By clicking **CONFIRM YOUR ACCOUNT**, the person will be directed to a page to enter the details of the account they are registering.
### Step 4
Because _Auto approval_ is disabled, the account/user created will remain with status _Pending_ in [Consumers > Invitations](/docs/developer-portal/invitations).
### Step 5
When the user/developer completes registration, the status will change to _Waiting_. The Portal Manager administrator must decide whether to approve the account creation (or password reset). To approve, go to [Consumers > Invitations](/docs/developer-portal/invitations), click the icon showing a clock and select an option (**DENY** or **ACCEPT**).
**Administrator**: it is possible to configure [email notifications](/docs/developer-portal/settings-developers#email-notification) to be received whenever a new user registers on the Developer Portal. If no email is configured for notifications, it will be necessary to access the Portal Manager and check for new users with _Waiting_ status in order to [approve or reject](/docs/developer-portal/invitations#approve-reject) the registration.
## Password reset
Follow the steps below to recover your password:
### Step 1
On the login screen, click on "Forgot your password?".
### Step 2
Enter the same email address you used to register your Developer Portal account.
### Step 3
Confirm the reCAPTCHA.
### Step 4
Click **RESET PASSWORD**.
Note that the password recovery process follows the same steps as the [approval for the account created](#account-approval) and changes depending on your auto-approval setting.