---
title: Settings and Permissions
description: Understand how to configure API access, visibility, and testing (tryout).
documentId: developer-portal-settings-permissions
locale: en-US
---
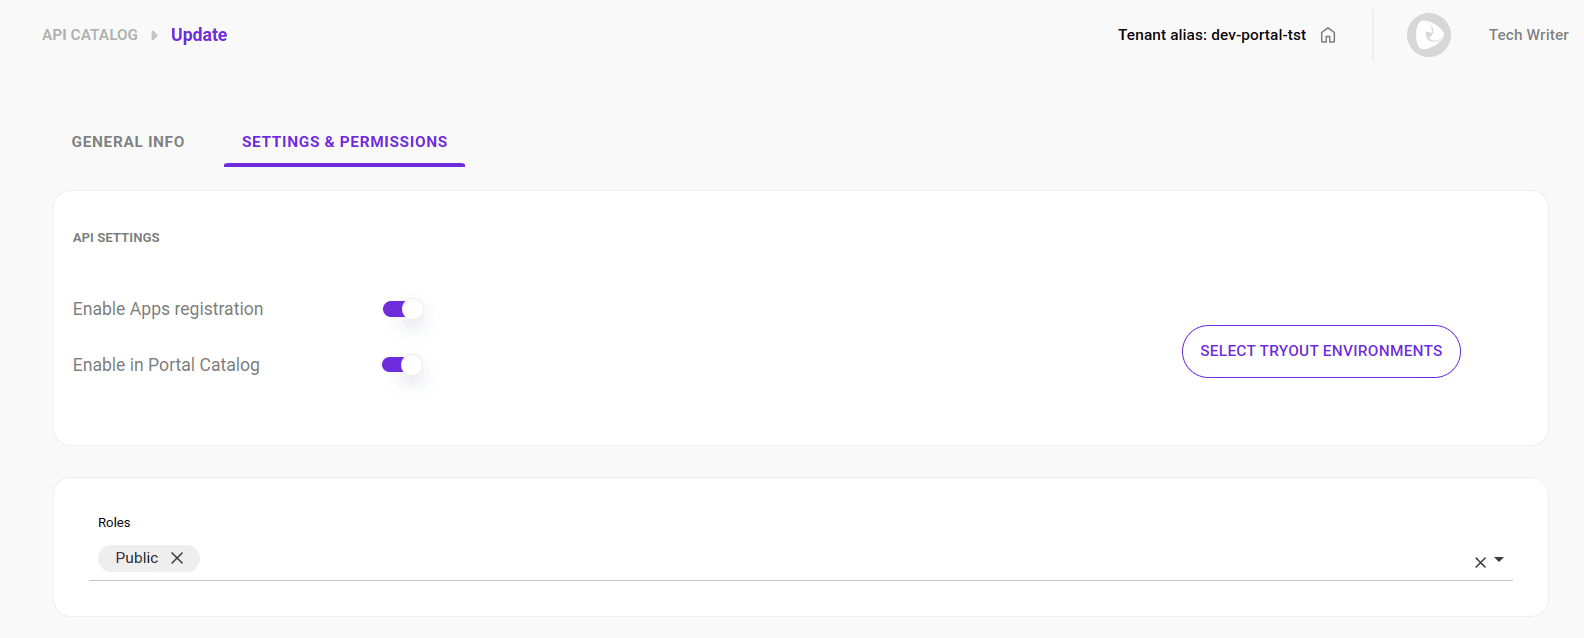
On the **Settings and Permissions** tab, you can:
- Enable App registration and allow the API to be displayed in the Catalog.
- Configure the API to allow developers to make calls directly from the documentation ([_tryout_](#try-out)).
- Define the roles for access control.
- Choose the environment for _tryout_.
This configuration is only available for APIs automatically imported with the [connection](/docs/catalogs).
***Enable Apps Registration** unavailable for HTTP APIs*
If you are configuring an API of type **HTTP**, the **Enable Apps Registration** button will be disabled due to limitations of the current version of the AWS Gateway. Therefore, it is not possible to generate credentials or create Apps for this type of API in the Developer Portal.
See how to:
- [Navigate to the **API Settings** screen](#api-settings).
- [Allow App registration](#enable-registration) for the API.
- [Allow the API to be displayed in the Catalog](#enable-list).
- [Configure the roles](#access-role).
- [Choose environment for _tryout_](#select-tryout).
## Accessing the Settings and Permissions tab
Follow these steps to access the **Settings and Permissions** tab:
### Step 1
Access the [API Catalog](/docs/developer-portal/api-docs) page by clicking the left side menu or the card on the Developer Portal home screen.
### Step 2
Locate the API you want to test. If necessary, use the search tool.
### Step 3
In the ACTIONS column of the API list, click the  for the desired API.
The AVAILABILITY column indicates whether:
-  the API is available for display in the catalog and for app creation;
-  the API is **not** available for display in the catalog **or** (exclusive or) for app creation.
-  the API is **not** available for display in the catalog **and** (conjunction) for app creation.
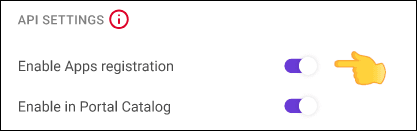
## Allowing App Registration
To allow developers to register their applications in the Developer Portal, simply select the **Enable Apps Registration** option.
Keep the **Enable Apps Registration** button disabled if you want to block App registration.
This option is only available for APIs with native connections.
## Allowing the API to be Displayed in the Catalog
To allow the API to be displayed in the Catalog, simply select the **Enable in Portal Catalog** option.
If you prefer that the API is not displayed in the Catalog, keep the **Enable in Portal Catalog** button disabled.

## Roles
You can define one or more roles that can have access to the API documentation listed in **API Catalog**.
Follow these steps to edit role permissions:
### Step 1
Access the **API Catalog** page by clicking the left side menu or the card on the home screen.
### Step 2
Find the desired API and click the  in the **ACTIONS** column.
### Step 3
Click the **SETTINGS & PERMISSIONS** tab.
### Step 4
In the **ROLES** field, select one or more roles. To view the API documentation, the user will need to have one of these roles. A user who has a role that is not listed here will not be able to access the API.
## Select environment for _tryout_
With _tryout_, you can make calls to the API directly from the documentation. See [how to use _tryout_](/docs/developer-portal/general-info#try-out).
To define the environment for the _tryout_:
### Step 1
Access the **API Catalog** page by clicking the left side menu or the card on the home screen.
### Step 2
Find the desired API and click the  in the **ACTIONS** column.
### Step 3
Click the **SETTINGS & PERMISSIONS** tab.
### Step 4
Click the **SELECT TRYOUT ENVIRONMENTS** button.
### Step 5
Select one or more environments.
### Step 6
If desired, you can define a default environment. Simply select the option in the **DEFAULT** column.
The environments available for tryout are named in a standardized way, regardless of the provider, based on the API contract's technical specifications:
- For **OpenAPI 3.x**: the information is obtained from the `servers.url` (address) and `servers.description` (environment name) fields.
- For **Swagger 2.0**: the URL is formed by combining the `scheme`, `host`, and `basePath` fields.
If the contract does not provide an explicit description for the environment, the system uses the URL host as the identifier or automatically searches for keywords (such as prod, dev, or test) to name the environment.