---
title: Settings - Apps
description: Understand how to configure webhooks and app auto-approval in the portal
documentId: developer-portal-settings-apps
locale: en-US
---
In the **Apps** tab, you can:
- Define the approval method (manual or automatic) for apps created by developers using the Developer Portal (apps Sensedia).
- View information about webhook configuration in your connections.
- Configure webhooks to manage AWS application credentials.
- Reset webhook configurations.
To access this functionality, click **Settings** in the left side menu and select the **Apps** tab.
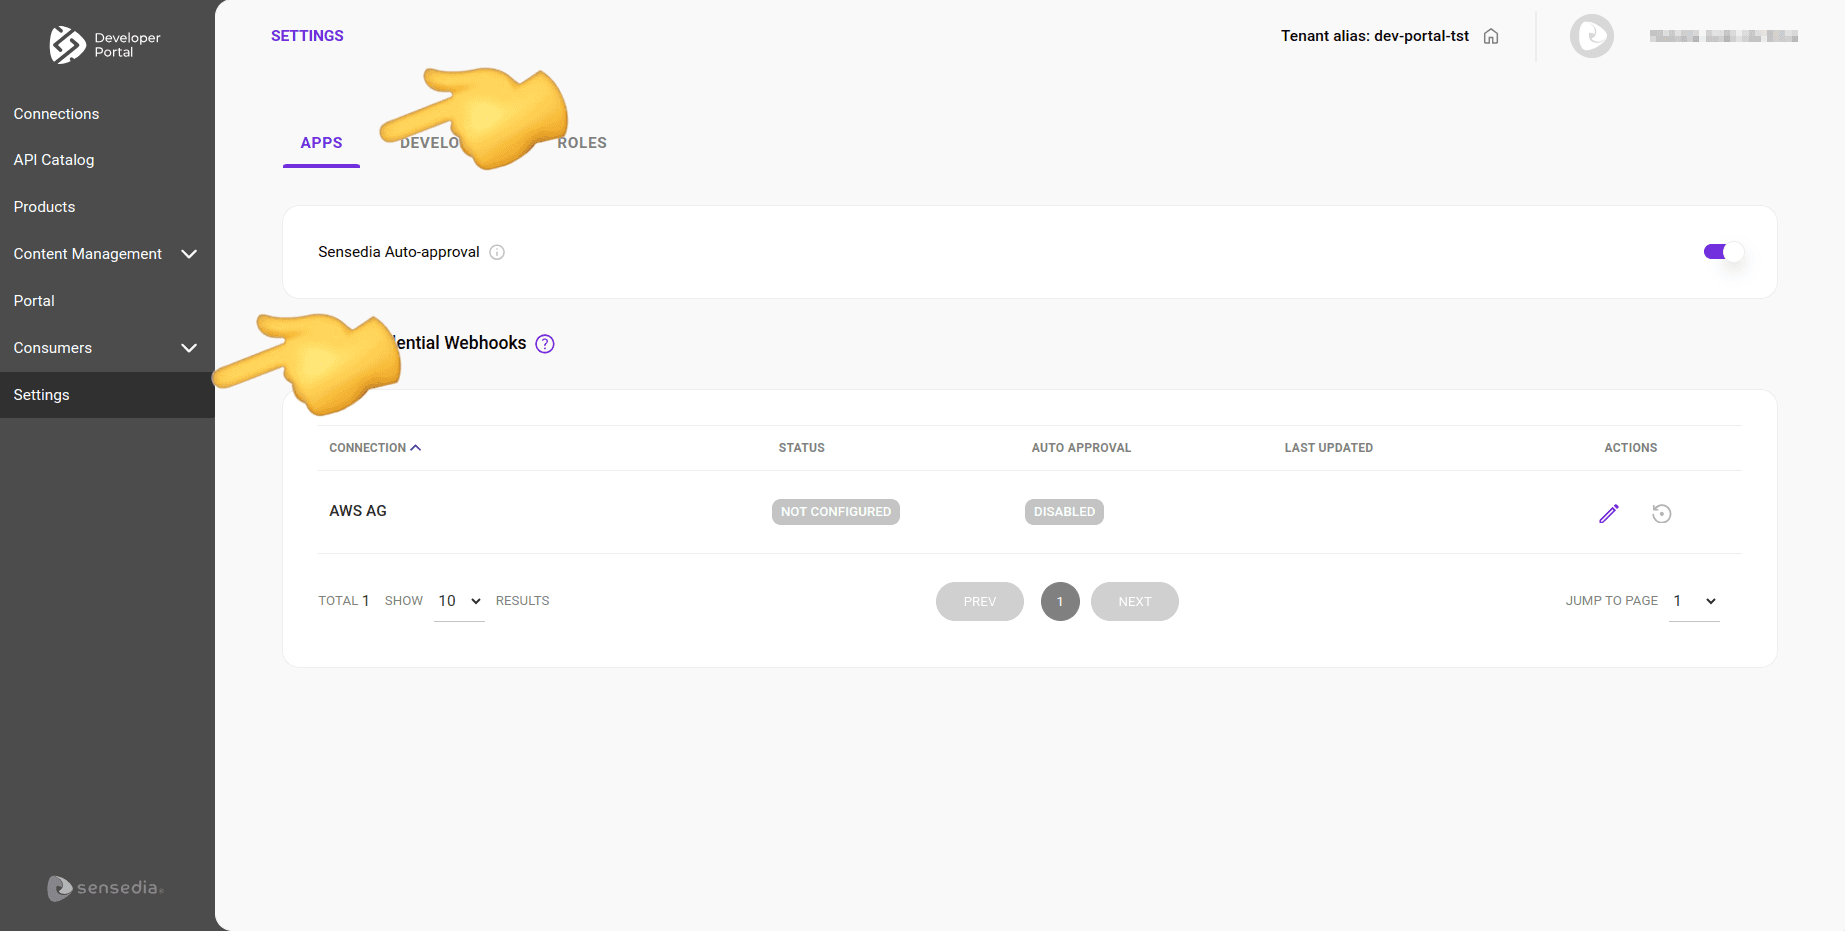
## Sensedia Apps Auto-Approval
You can define whether apps created by developers using the Developer Portal will be approved automatically or require manual approval.
**Enabled**: click to enable app auto-approval. All apps created by developers will be approved automatically.

**Disabled**: while app auto-approval is disabled, all apps created by developers will require manual approval. Created apps will only be published after [approval by an administrator](/docs/developer-portal/consumers-apps). By default, auto-approval is disabled.
See how to:
- [Allow -- or prohibit -- developers from registering their applications](/docs/developer-portal/settings-permissions#enable-registration) in the Developer Portal.
- [Approve](/docs/developer-portal/consumers-apps#approve-app) or [Reject](/docs/developer-portal/consumers-apps#reject-app) AWS apps manually created by developers.
- Enable [auto-approval for AWS apps](#webhook-configuration) created by developers in the Developer Portal.
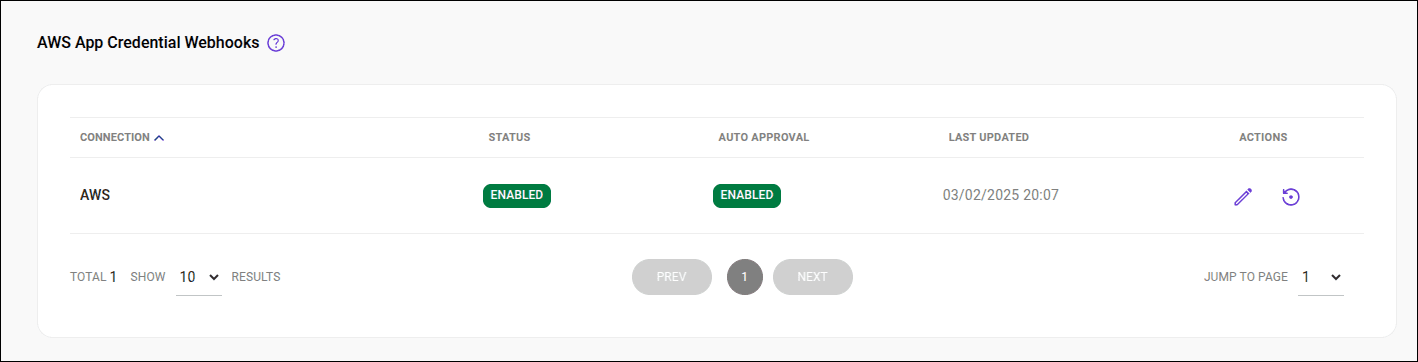
## App Listing
The listing has the following columns:
- **Connections**: name of the connection.
- **Status**: indicates whether the webhook is configured/activated or not (_enabled_ or _disabled_).
- **Auto Approval**: indicates whether the auto-approval option is enabled or disabled (_enabled_ or _disabled_).
- **Last Update**: date of the last update of the webhook credentials.
- **Actions**: actions to edit and reset the webhook configurations.
## Configuring the webhook
Follow these steps to configure a webhook:
### Step 1
Access the **AWS App Credential Webhooks** screen by clicking **Settings** in the left side menu:
### Step 2
Click the  in the **Actions** column for the connection for which you want to configure the webhook.
See [how to create a webhook in AWS](/docs/developer-portal/webhook).
### Step 3
On the **Configure Webhook** screen, provide:
- **Username**: name of the user registered in AWS.
- **Password**: password registered in AWS.
- **Base URL**: URL obtained after creating the webhook.
- **Users audit**: emails that will receive webhook error alert messages (optional).
- **Auto approval**: option to enable or disable auto-approval.
### Step 4
Click **SAVE**.

To enable or disable the webhook, click the toggle button at the top of the form and click **SAVE**.