---
title: Example - CRM and For Each
description: See an integration example with CRM and For Each
documentId: ipaas-legacy-example
locale: en-US
---
See below an example of an integration flow with CRM and For Each.
## Summary
In this example, we have a flow that runs every day at midnight.
It synchronizes product information from ERP with CRM and BI, ensuring that all information is up-to-date and consistent across all systems.
At the end, it sends a notification via Slack.
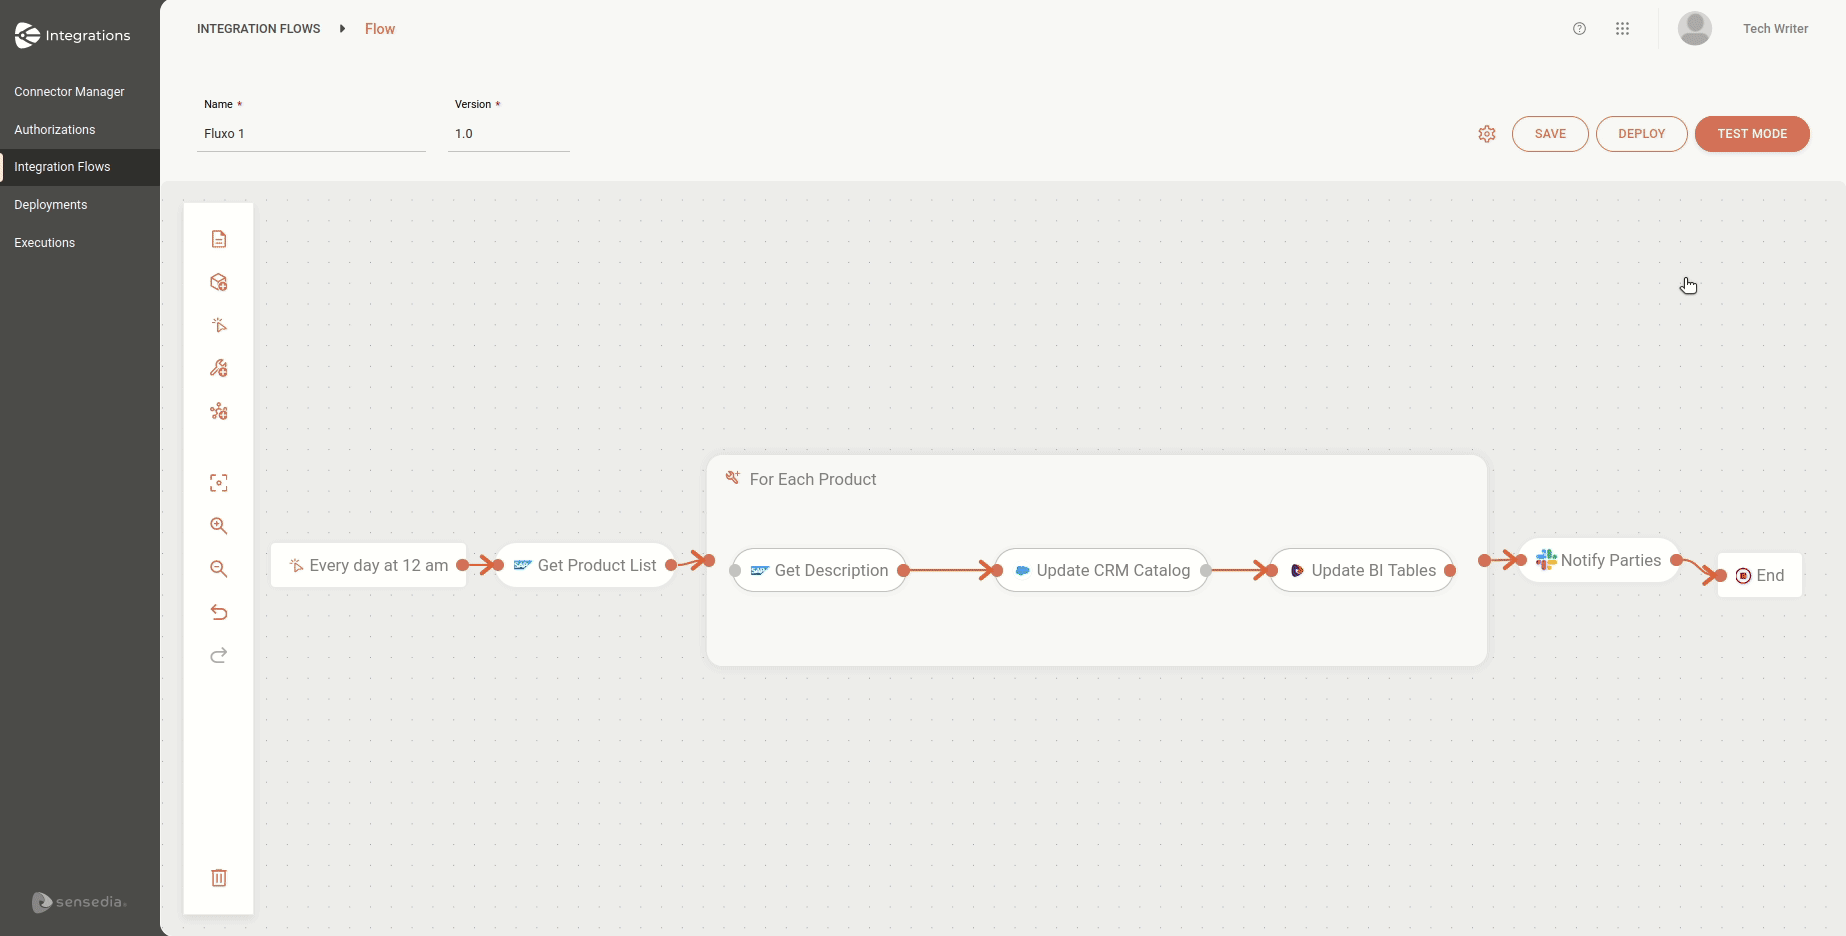
See the sequence of flow *steps* in the image below:

The flow consists of the following *steps*:
* **Trigger**: Scheduler Trigger
* **Connectors**: SAP 4 Hana, SalesForce, and Slack
* **General tool**: For Each
## Authorizations
To begin, let's **register the authorizations** that will be used:
* **API KEY**
See below how to register the API Key authorization that we will use for the Slack connector:
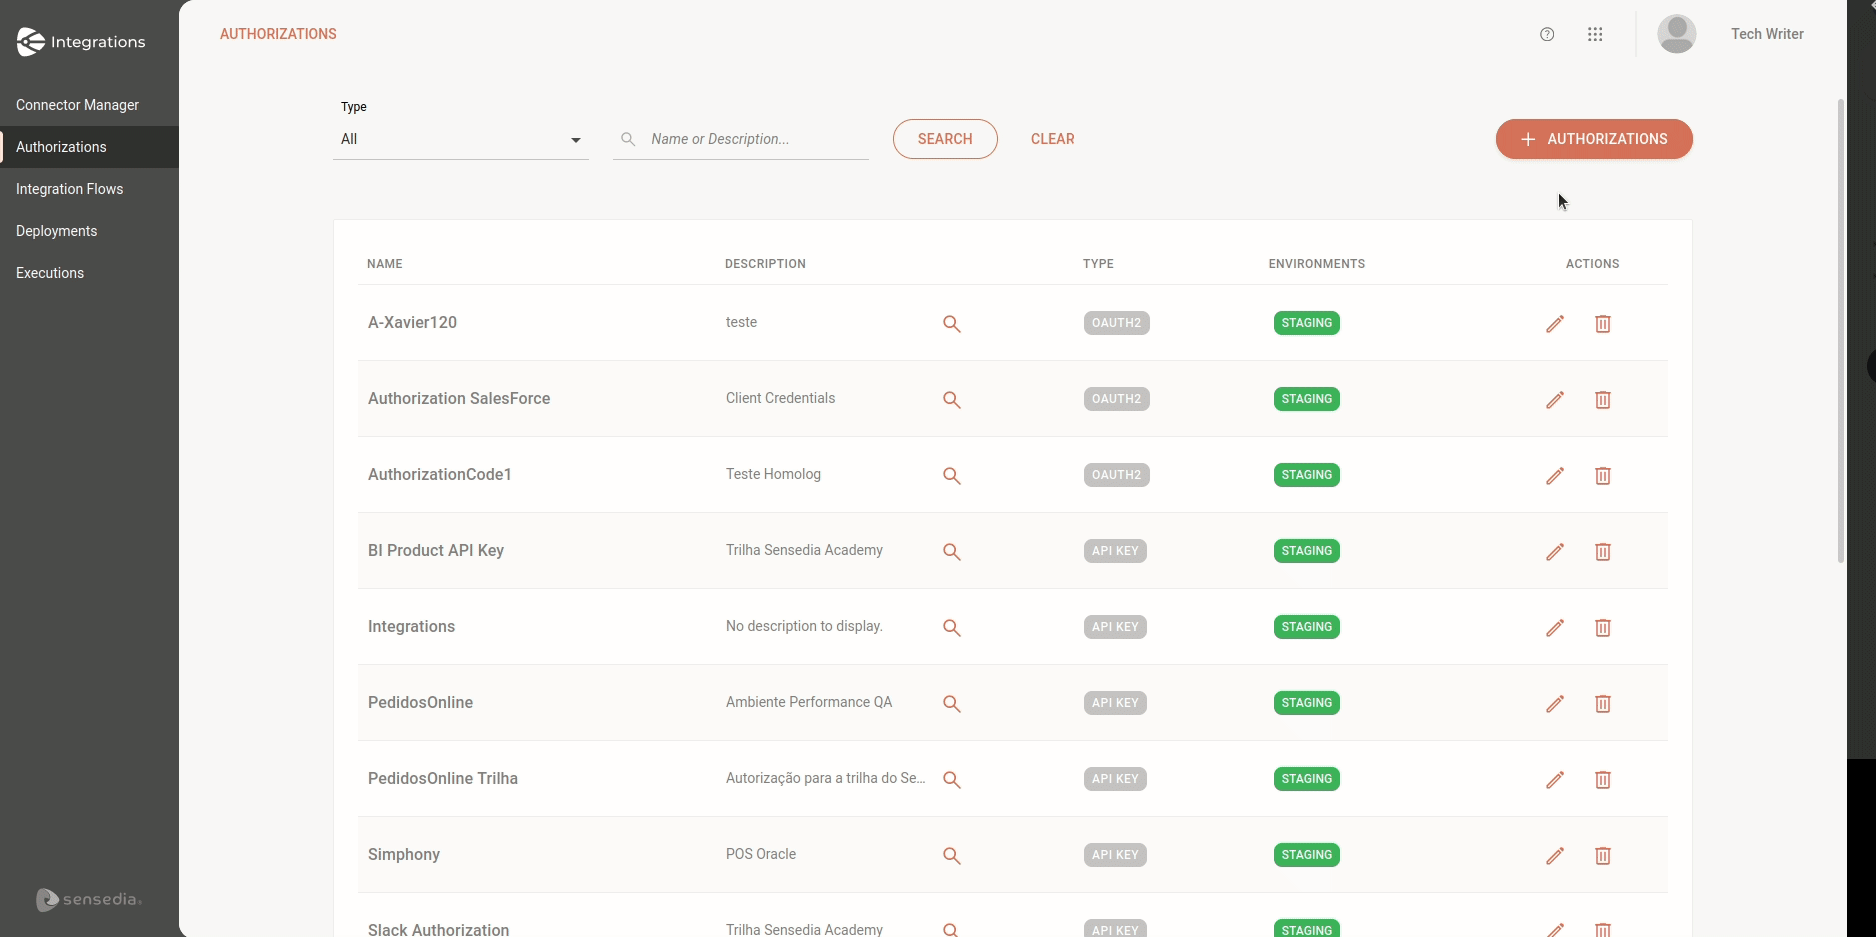
* **OAUTH 2 - Client Credentials**
See below how to register the OAUTH 2 - Client Credentials authorization that we will use for the SalesForce connector:
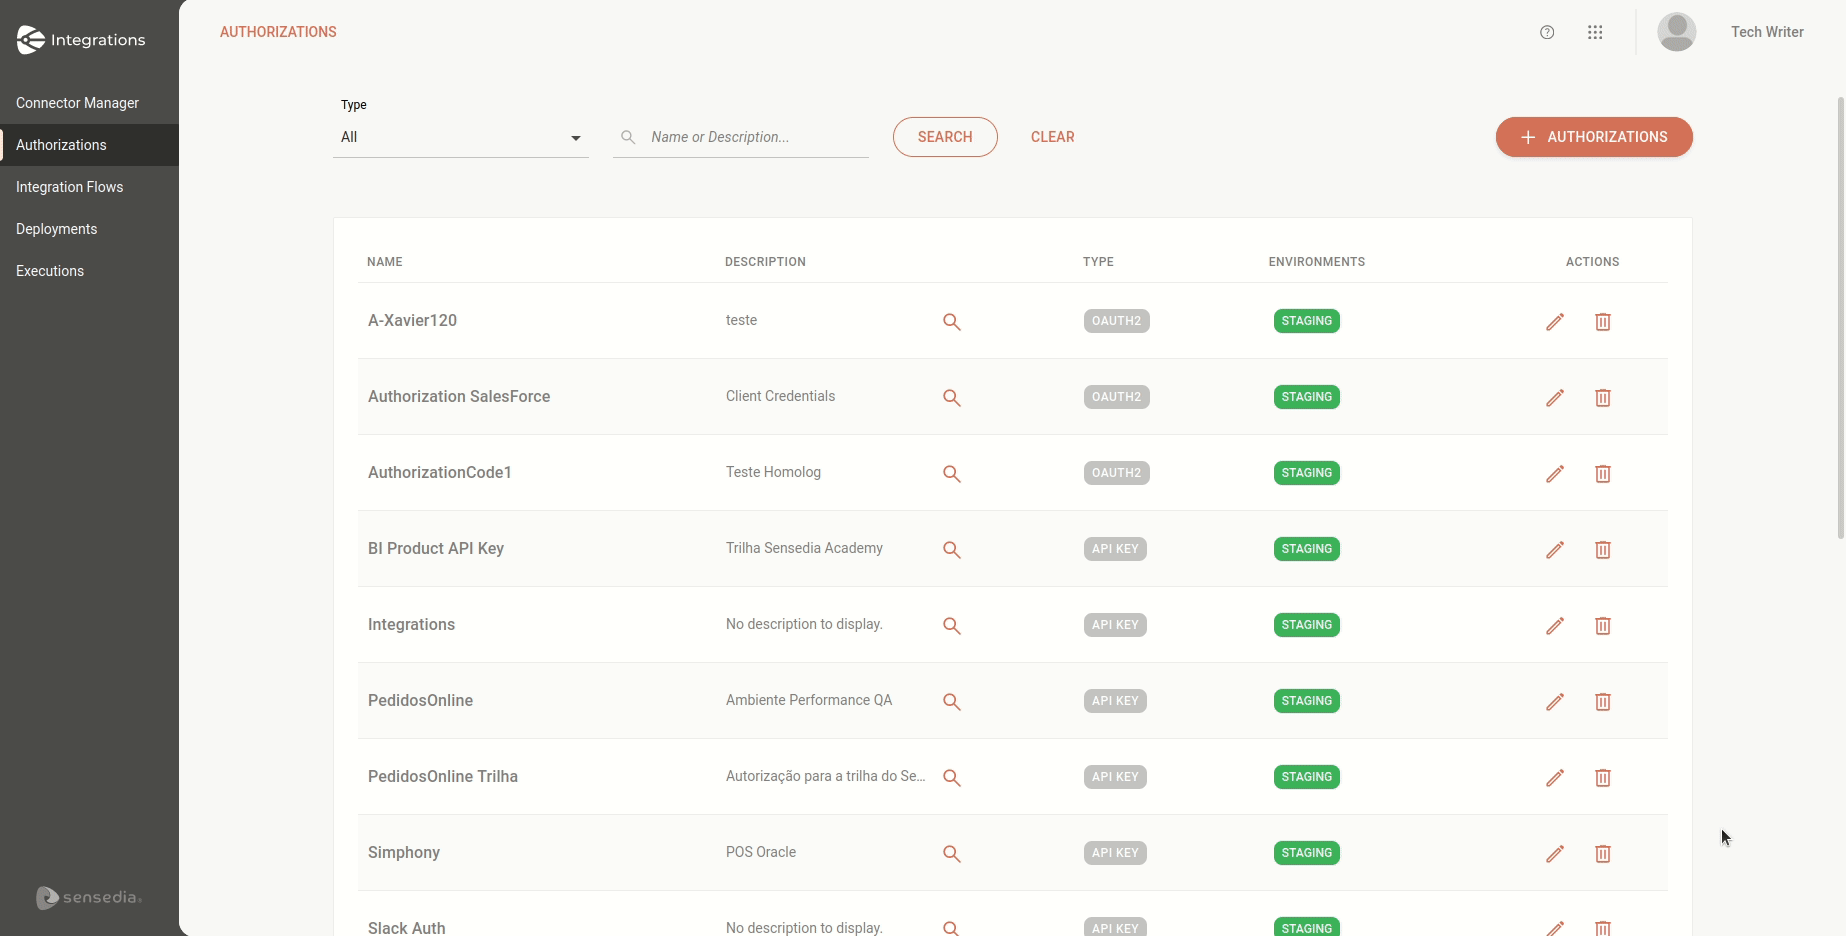
For more details about authorization types, read the documentation about [Authorizations](/docs/integrations/ipaas-authorizations).
## Environment variables
To create the environment variables that will be used in the flow, click the environment variables icon in the left menu of the canvas.
See in the GIF how to register environment variables:
For more information, read the documentation about [Environment Variables](/docs/integrations/ipaas-legacy-variables).
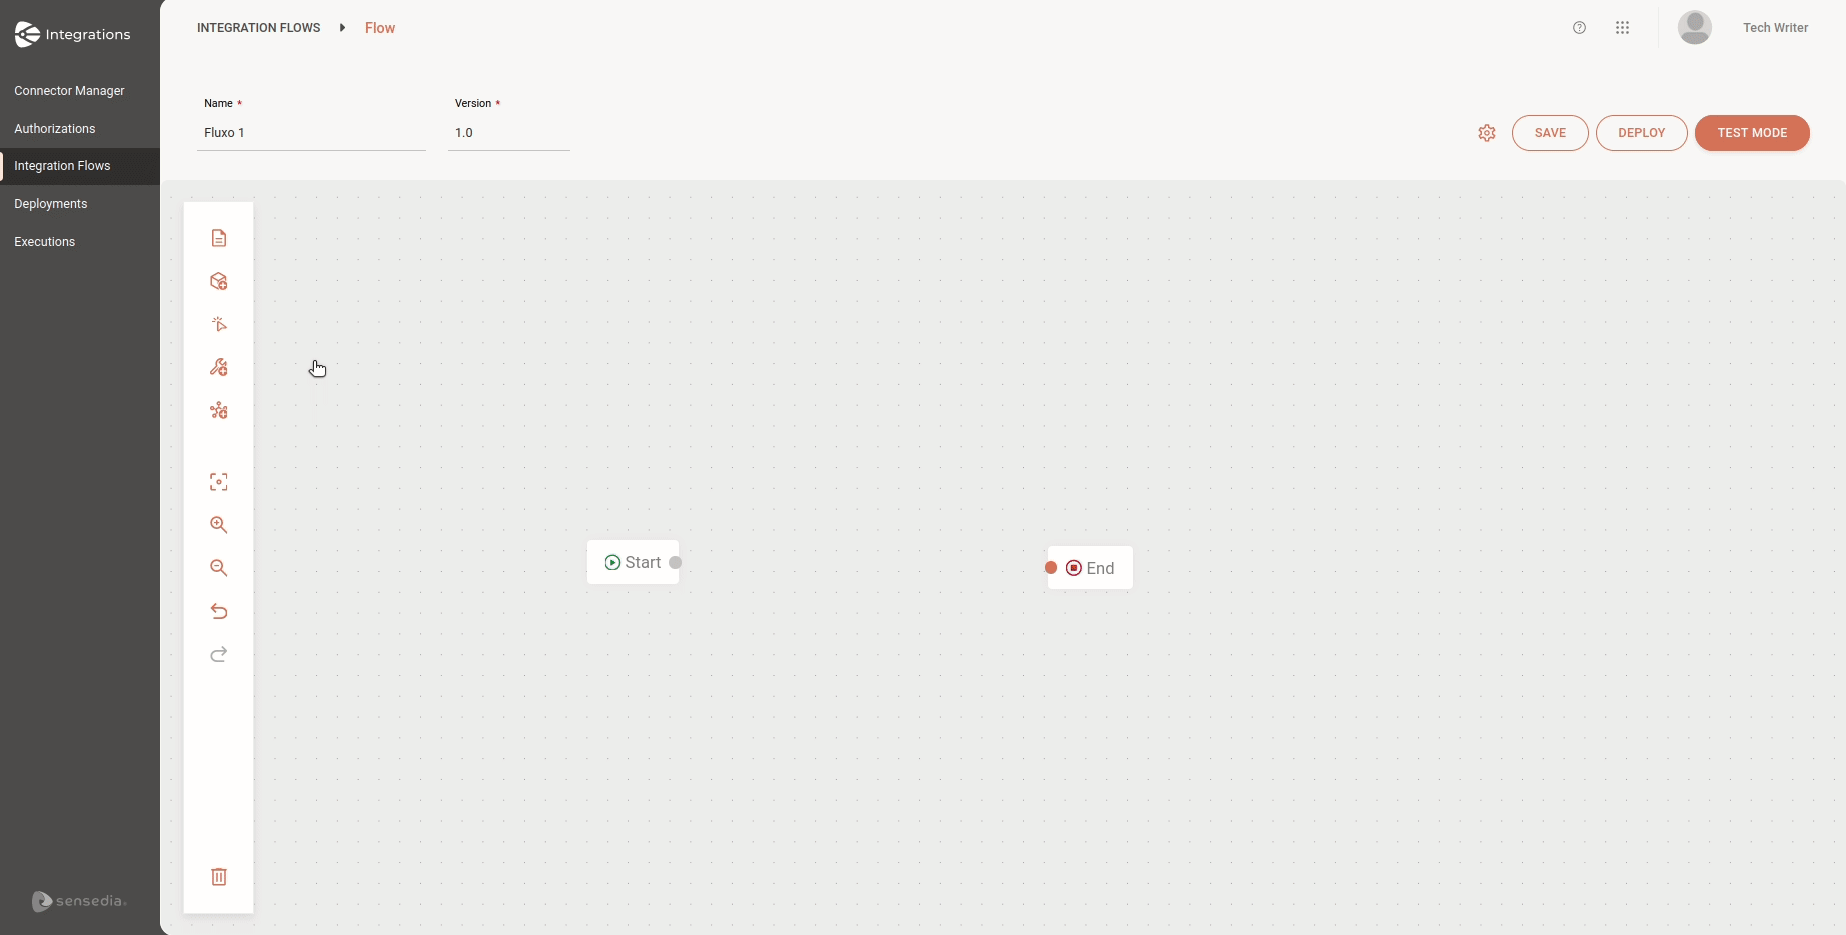
## Steps
Having done this, let's see in more detail how to configure an example of each type of *step*:
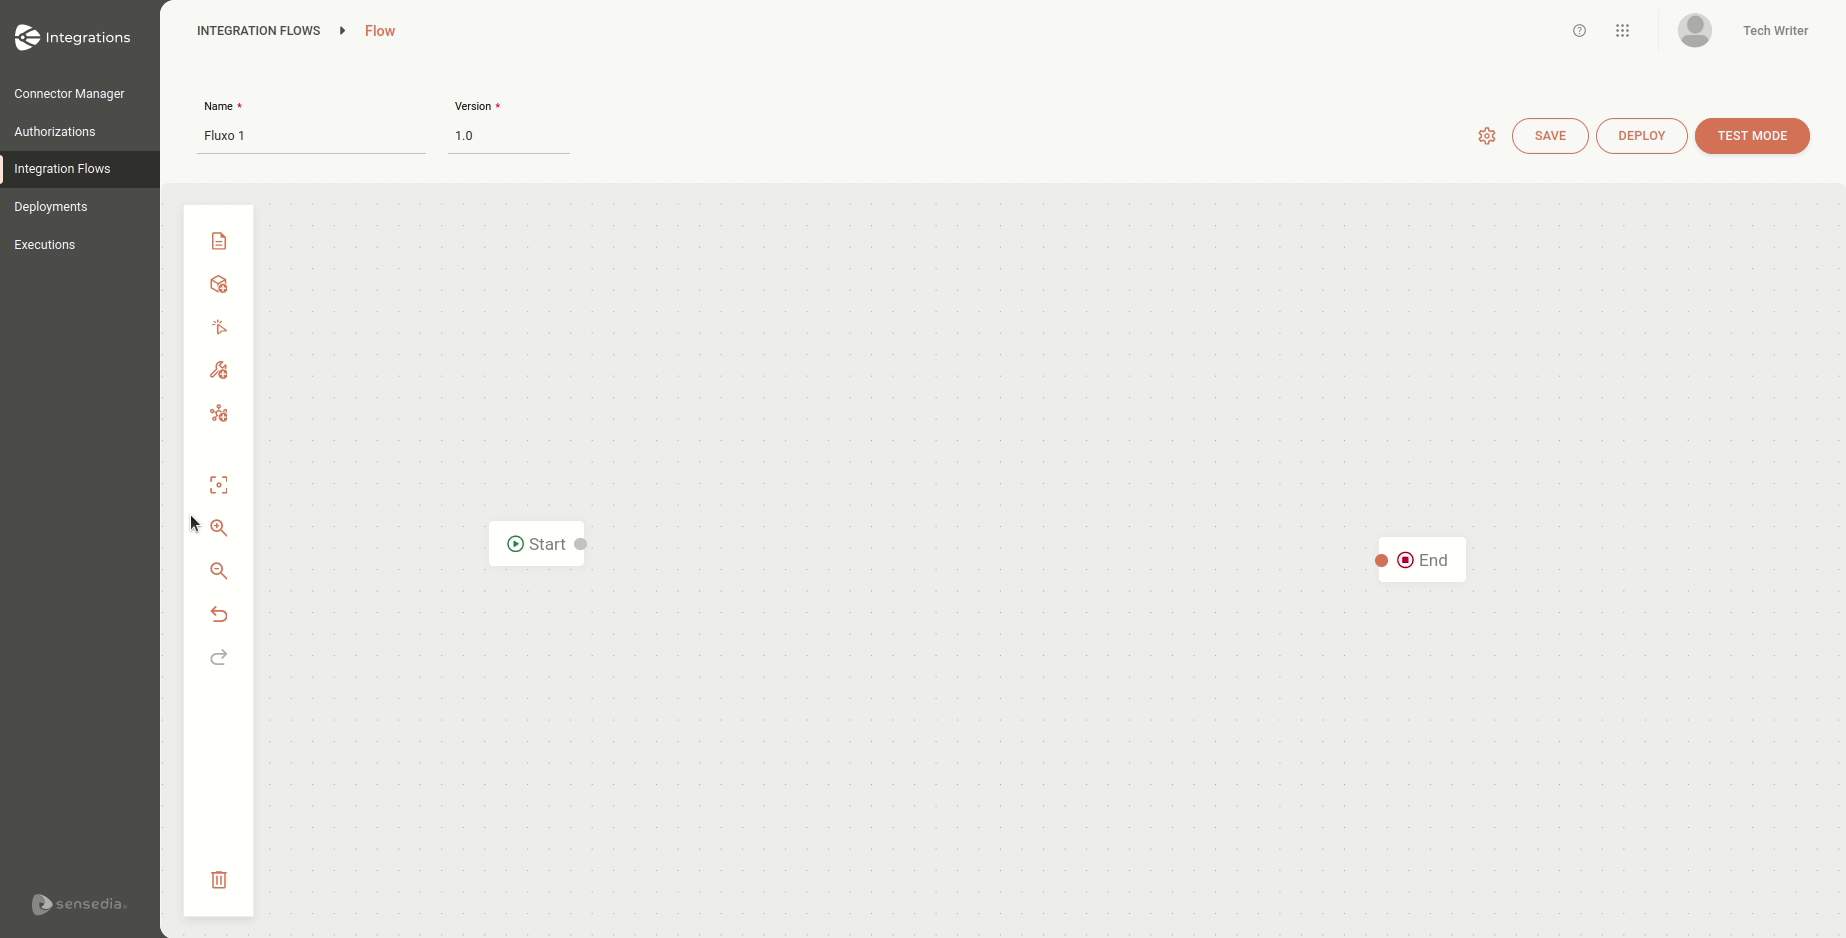
**Trigger: Scheduler Trigger**
This *step* will be responsible for initiating the execution of the integration flow, which will happen daily at midnight.
In the left menu, select **Triggers** and then select **Scheduler Trigger**.
Fill in the *trigger* name, which in the example will be "Every day at 12 am".
Insert the corresponding *Cron Expression*. In this case, the expression will be "* * * 0 0".
Click **Save**.
See the steps in the GIF:
For more information, read the documentation about [Scheduler Trigger](/docs/integrations/ipaas-legacy-scheduler-trigger).
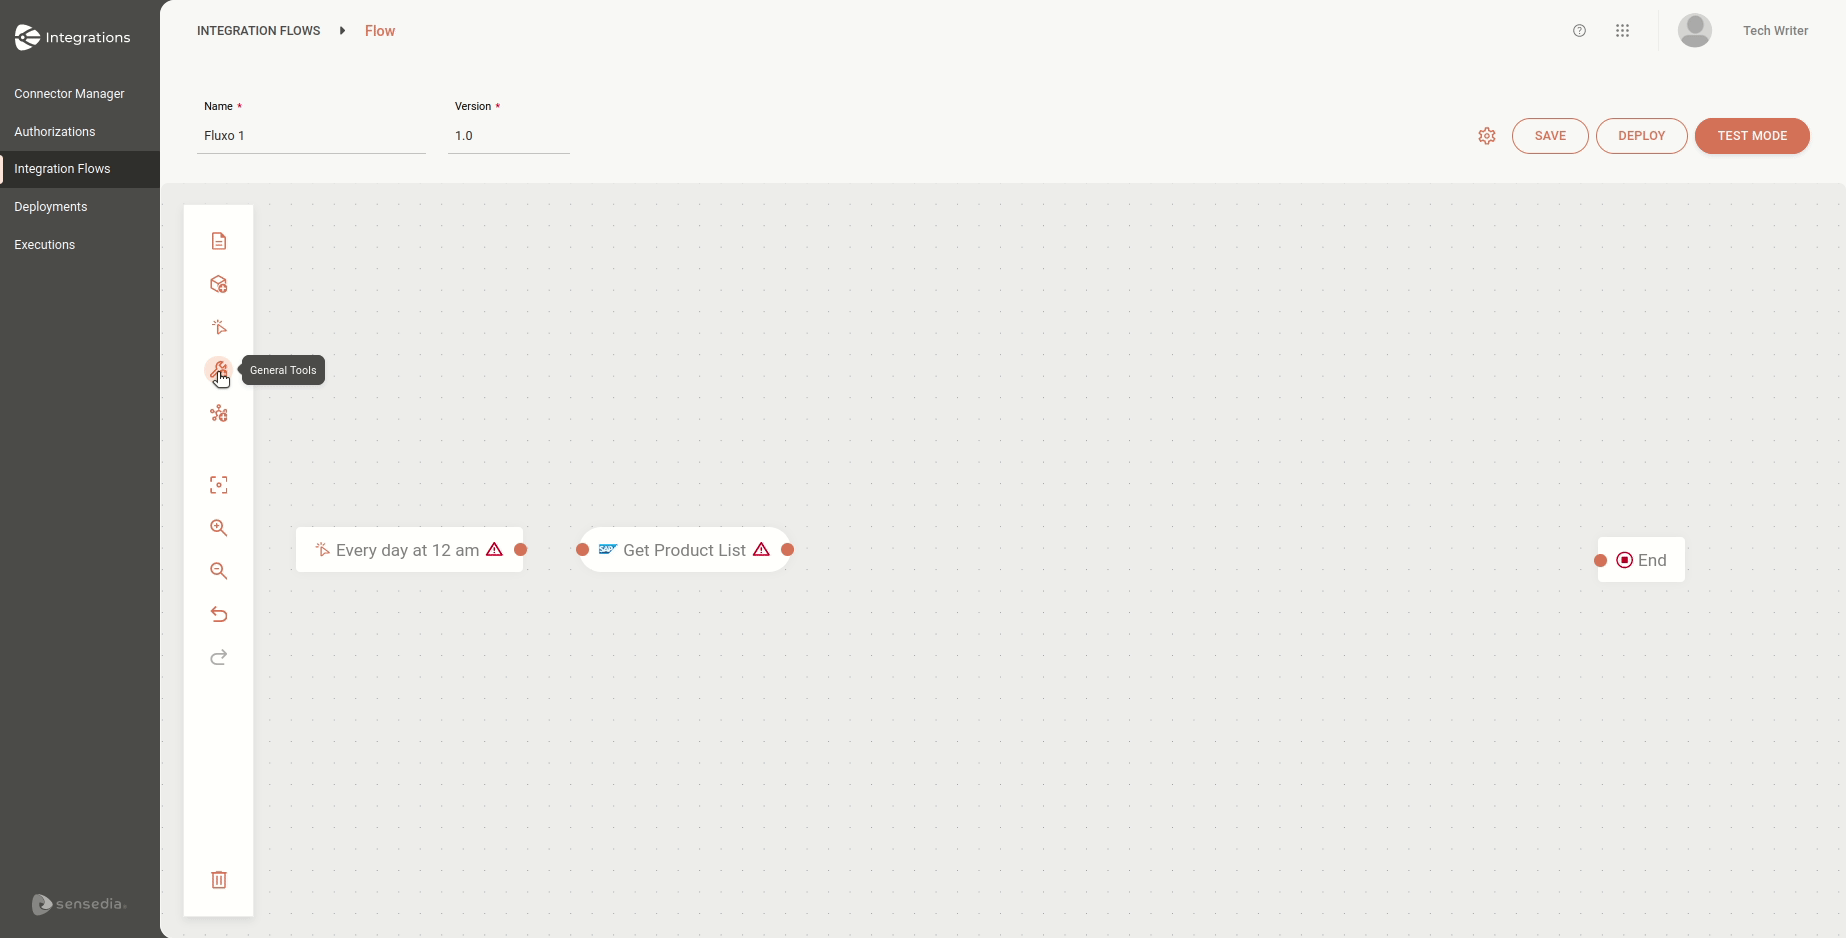
**General tool: For Each**
After starting the flow and obtaining the product list in the previous *step* "Get Product List", the flow will execute some actions for each product in the list.
The actions executed for each product will be those inside **For Each**.
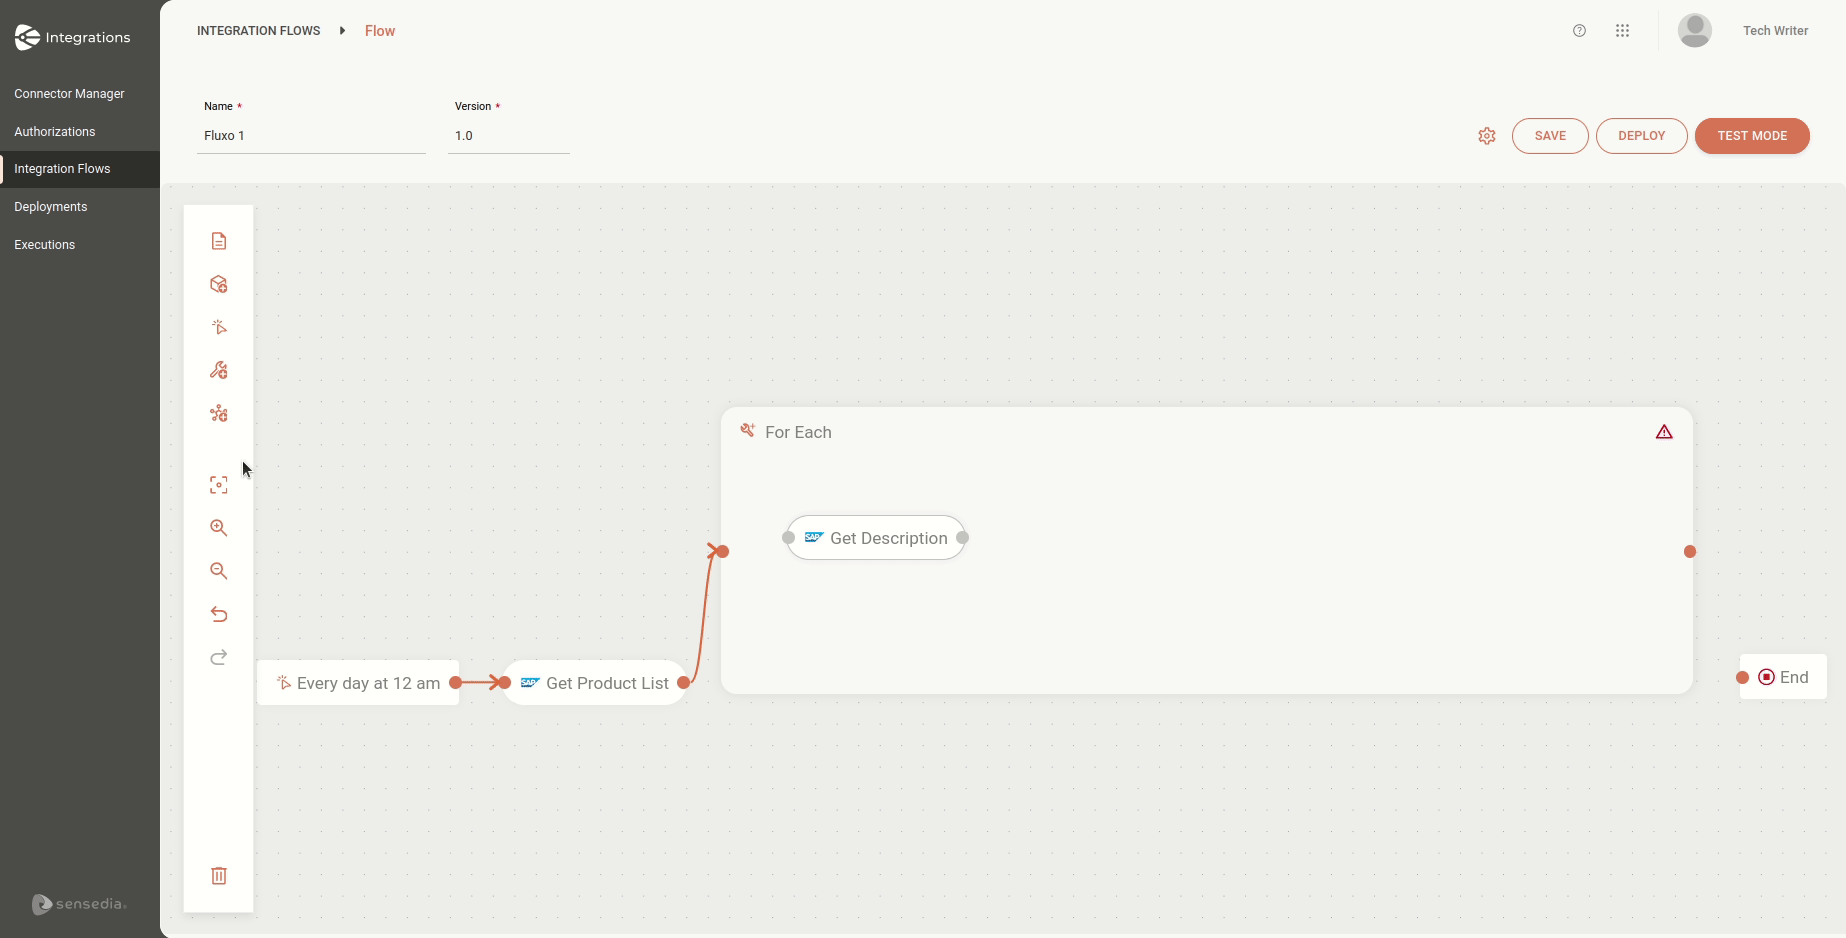
In the left menu, select **General Tools** and then select **For Each**.
Fill in the tool name, which will be "For Each Product" (since actions are performed for each product).
In the **Variable** field, click **Properties** and select "$.Get_Product_List.Response.Payload.value", which is the response from the previous *step* with the product list.
In the **Iteration Element** field, fill in the name of the element that will be repeated, which will be "Product List".
Enable the **Ignore Errors** button.
Click **SAVE**.
See the steps in the GIF:
For more information, read the documentation about [For Each](/docs/integrations/ipaas-legacy-for-each).
**Connector: REST API**
At this stage of the flow, we have already retrieved the product list and description.
Now, we will update the CRM product catalog.
Since we are using a REST API connector, we will configure its payload through the data mapping feature.
In the left menu, select **Connectors** and search for the **SalesForce** connector.
Fill in the connector name, which will be "Update CRM Catalog".
Select the route "POST/Product".
Insert the URL.
Keep the **Request Timeout** field with the default value: 3000.
In the **Security** field, select "Authorization SalesForce".
Click **Create Data Mapping**.
In the FROM column, select "$.Get_Description.Response.Payload.value.ProductDescription".
In the TO column, select "$.Request.Payload.Name".
Click **ADD MAPPING**.
Click **CONFIRM**.
Enable the **Ignore Errors** button.
Click **SAVE**.
For more information about this type of connector, read the documentation about [REST API](/docs/integrations/ipaas-legacy-connectors-rest-api) connectors.
**End**
After completing the configuration of all flow *steps*, you must make the connection with the End *step*.
## Test mode
To execute your flow in test mode and check for any errors before deployment, click **TEST MODE**.
Then, click **EXECUTE**.
You can consult the *logs* in [Sensedia Analytics](https://docs.sensedia-eng.com/pt-BR/docs/analytics).
See the steps in the GIF below:
For more information, read the documentation about [Test Mode](/docs/integrations/ipaas-legacy-test-mode).
## Deployment
To deploy your flow, click **DEPLOY**.
Check the information and your flow is ready for deployment.
See the steps in the GIF below:

For more information, read the documentation about [Deploy](/docs/integrations/ipaas-legacy/deploy).
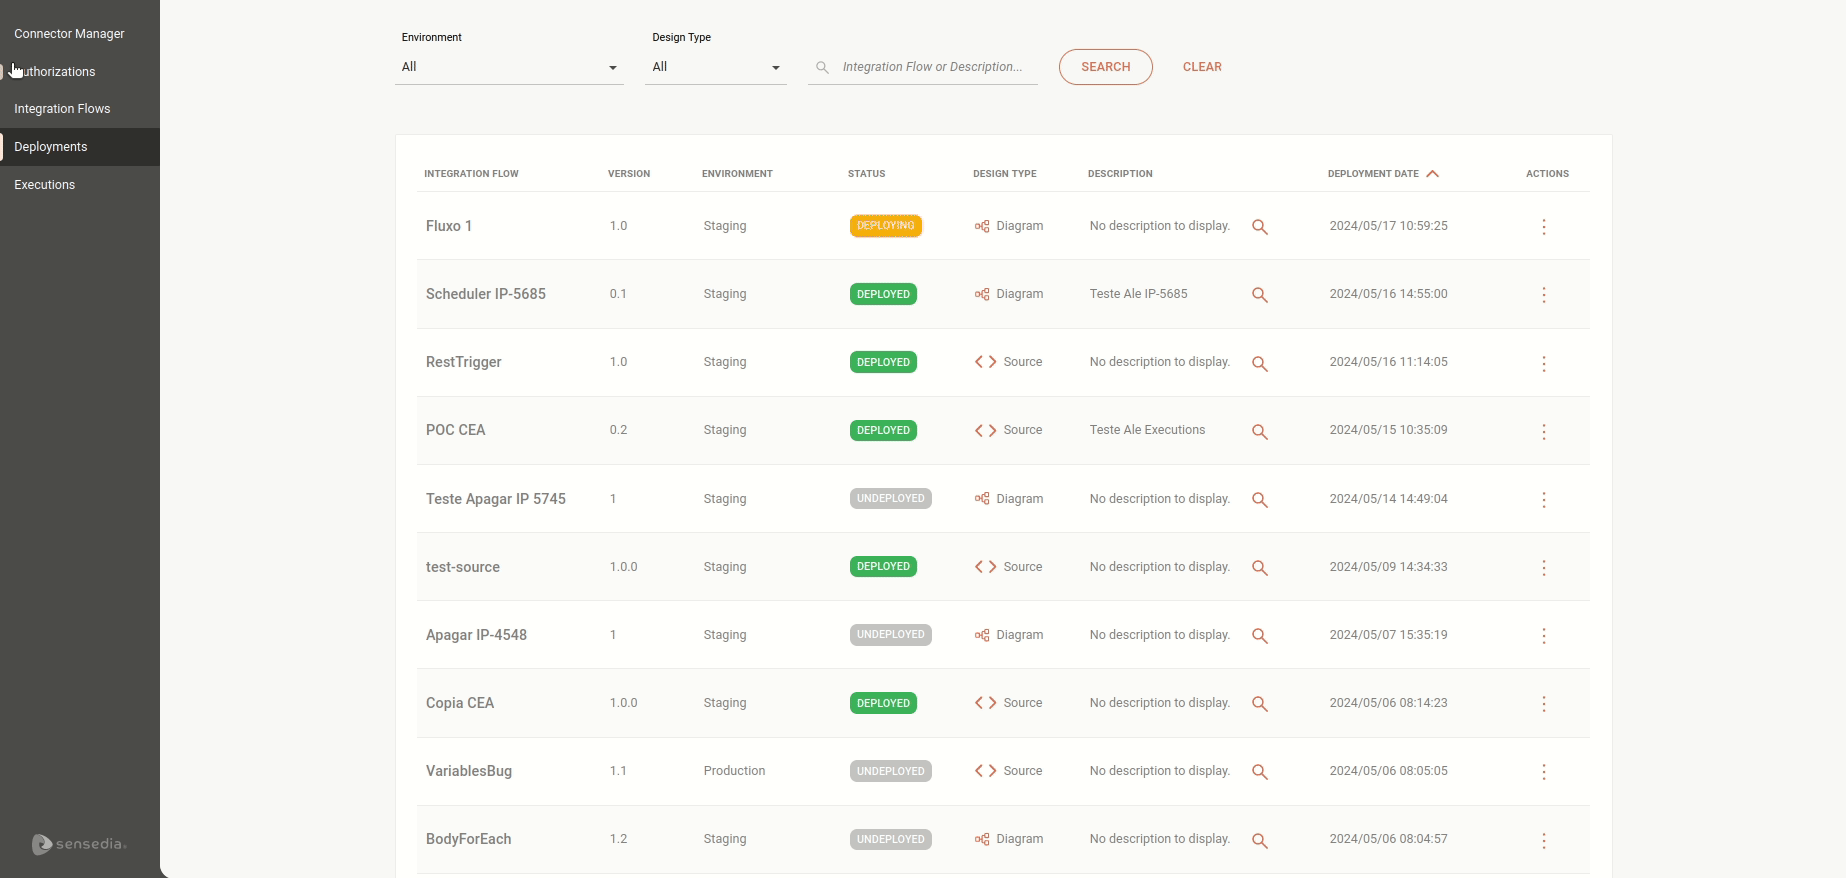
## Deployment status and execution logs
To check the deployment status, access the [Deployments](/docs/integrations/ipaas-deployments) page.
You can also view other information such as deployment date and time.
To view execution logs, access the [Executions](/docs/integrations/ipaas-observability-monitoring) page.
By clicking the  icon in the Details column, **Sensedia Analytics** will open.
You can see the request and response *logs* from the connectors and For Each.
See the GIF below: