- Home
- ...
- Federated Login
- GSuite
Configuring a GSuite connection
There are three steps to configure a GSuite connection:
- Create a federated login in Access Control
- Create a client app in Google Cloud Console
- Configure the federated login in Access Control
NOTE
- It is not possible to generate Client Credentials using federated logins.
- Each environment allows only one active Federated Login provider at a time. If there is already a provider with Active status, it will not be possible to activate or create another provider. To configure a new provider, first deactivate the active provider. Once the status has changed, the creation or activation of another provider will be allowed.
WARNINGWhen you delete a federated login provider:
- Users originally created as local users in Access Control regain access via login and password, after a password reset.
- Users created exclusively through federated login, who were never local users, are permanently deleted, automatically and without prior notice. This data cannot be recovered after deletion.
To configure a GSuite connection, follow the steps below:
Create a federated login in Access Control
Access the Federated Login screen from the left menu.
Select the GSuite federated login type and click CONFIGURE FEDERATED LOGIN.
Copy the URL from the Callback URL field.

IMPORTANTThis is the URL to which the user should be returned after authentication and will be used later in the Google Cloud Console configuration.
Create a client app in Google Cloud Console
In a new tab, access the Google Cloud Console.
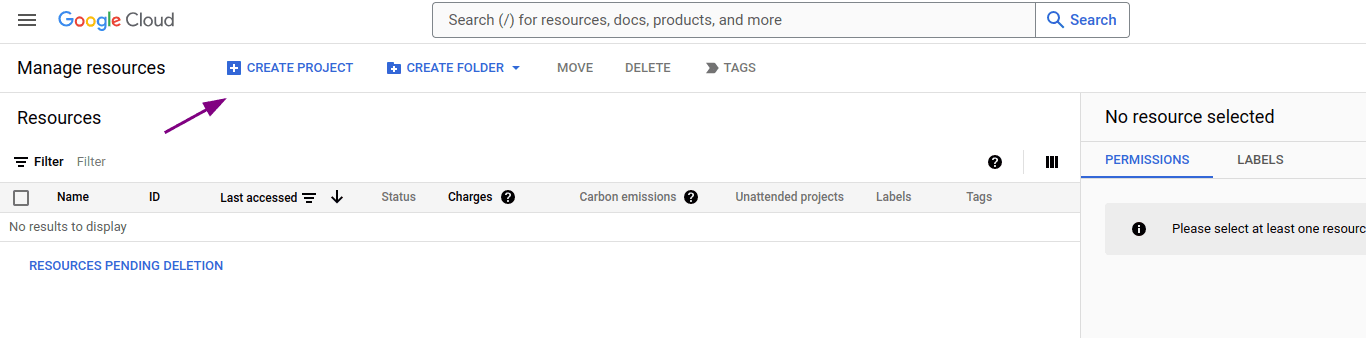
Create a new project by clicking CREATE PROJECT in the upper left corner of the screen.
Enter the project name and location. Then click CREATE.
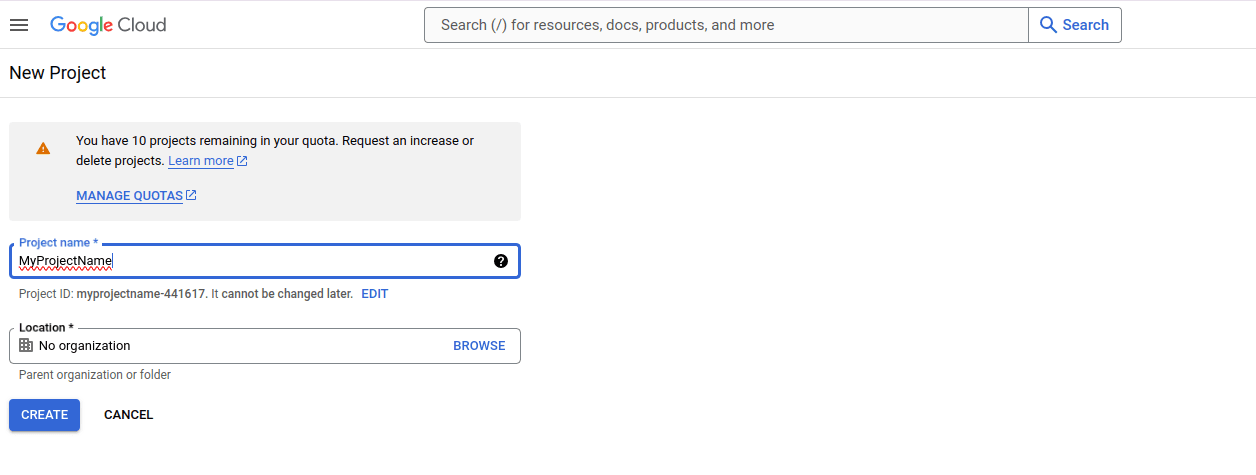
Wait for your project to be created.
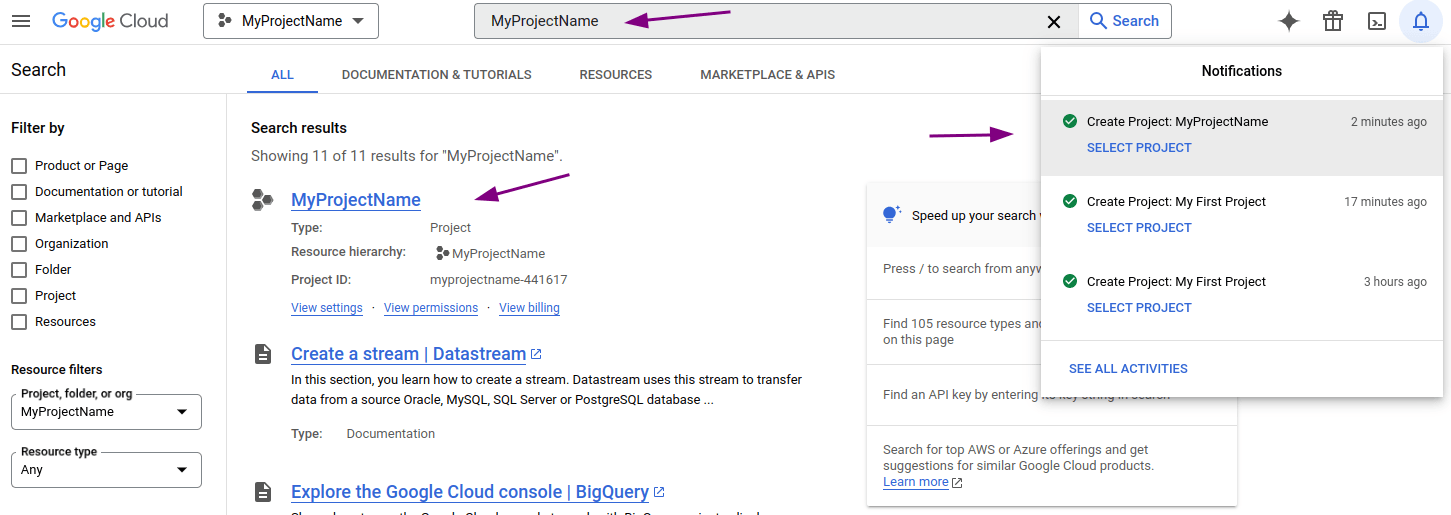
A message will be displayed in the notifications icon ![]() .
.
Click the notifications icon and select the newly created project. You can also use the search bar to locate and select it.
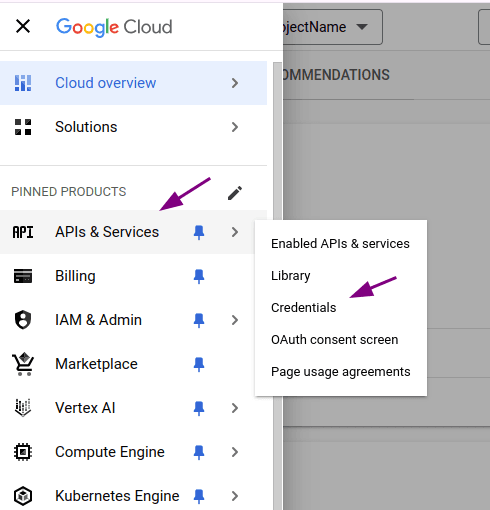
After selecting the project, in the left sidebar select APIs & Services > Credentials.
On the Credentials screen, click Configure consent screen.

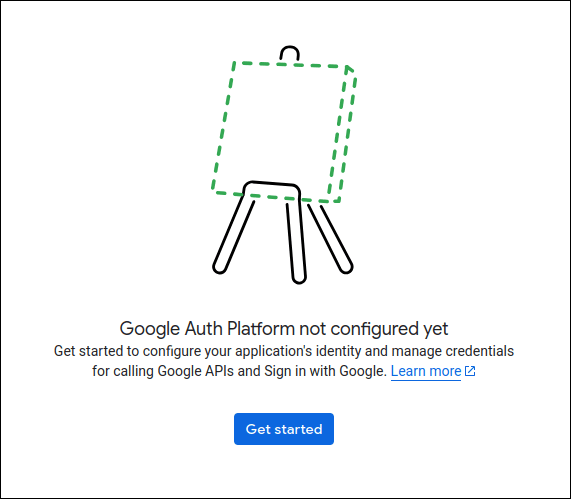
On the OAuth Overview screen, click Get started.
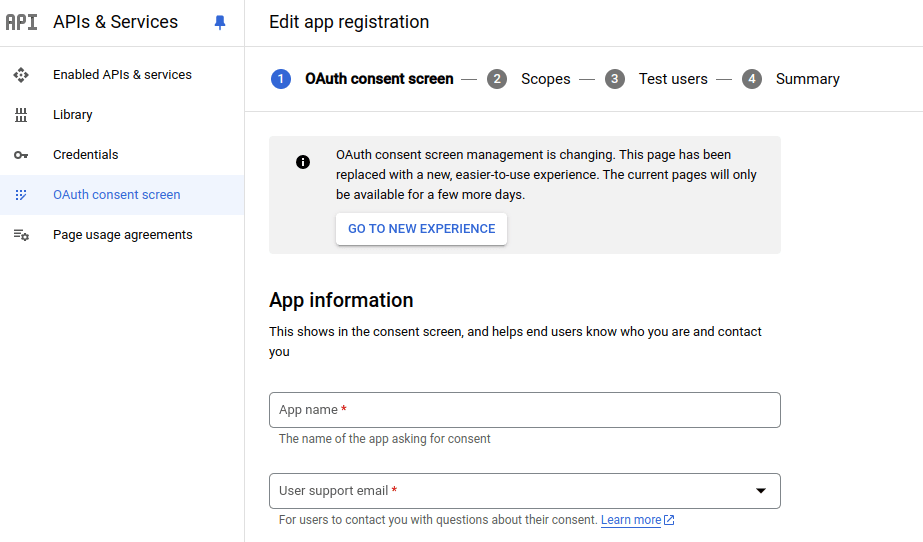
Fill in the fields in the App information section and click Next.
- App name
- User support email
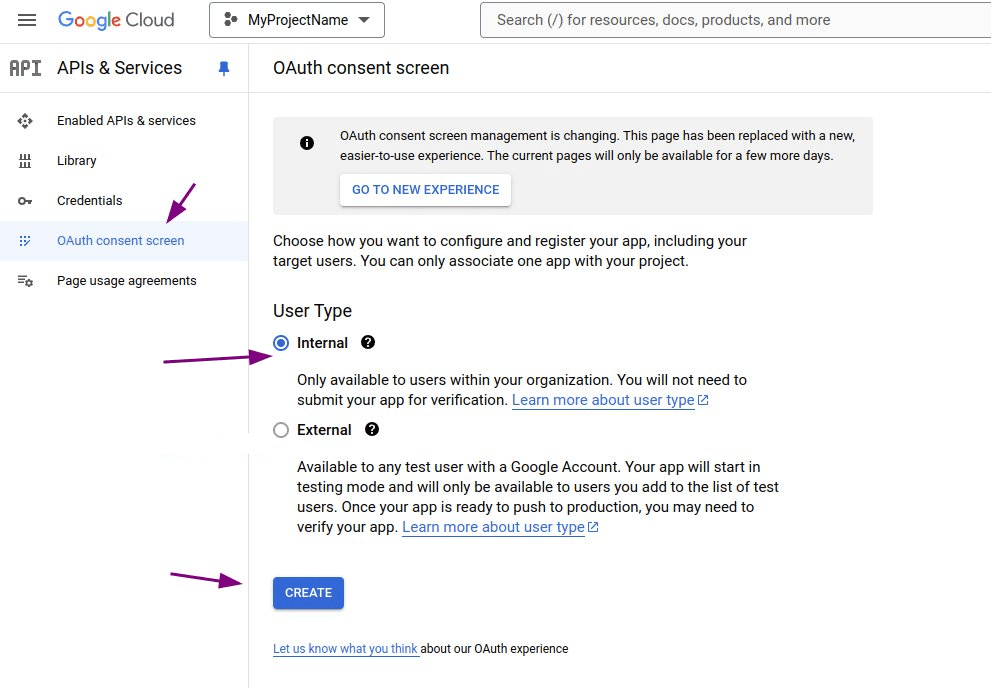
In the Audience section, select the access option and click Next. We recommend Internal whenever it is available.
WARNINGThe Audience option defines who can access the environment:
- Internal (recommended): the most restrictive option, as it limits access to users from your Google Workspace organization domain only. It requires a Google Workspace organization.
- External: allows any user with a Google Account to access the environment, including users outside your organization's domain, which significantly increases exposure.
If you select External, restrict who can access by following the Restricting access in testing mode (External) section, right after these steps.
In Contact Information, provide one or more email addresses and click Next. The email addresses provided will be used by Google for notifications about changes made to the project.

Review Google's data use policy and, if you agree, select the checkbox and click Continue, then Create.
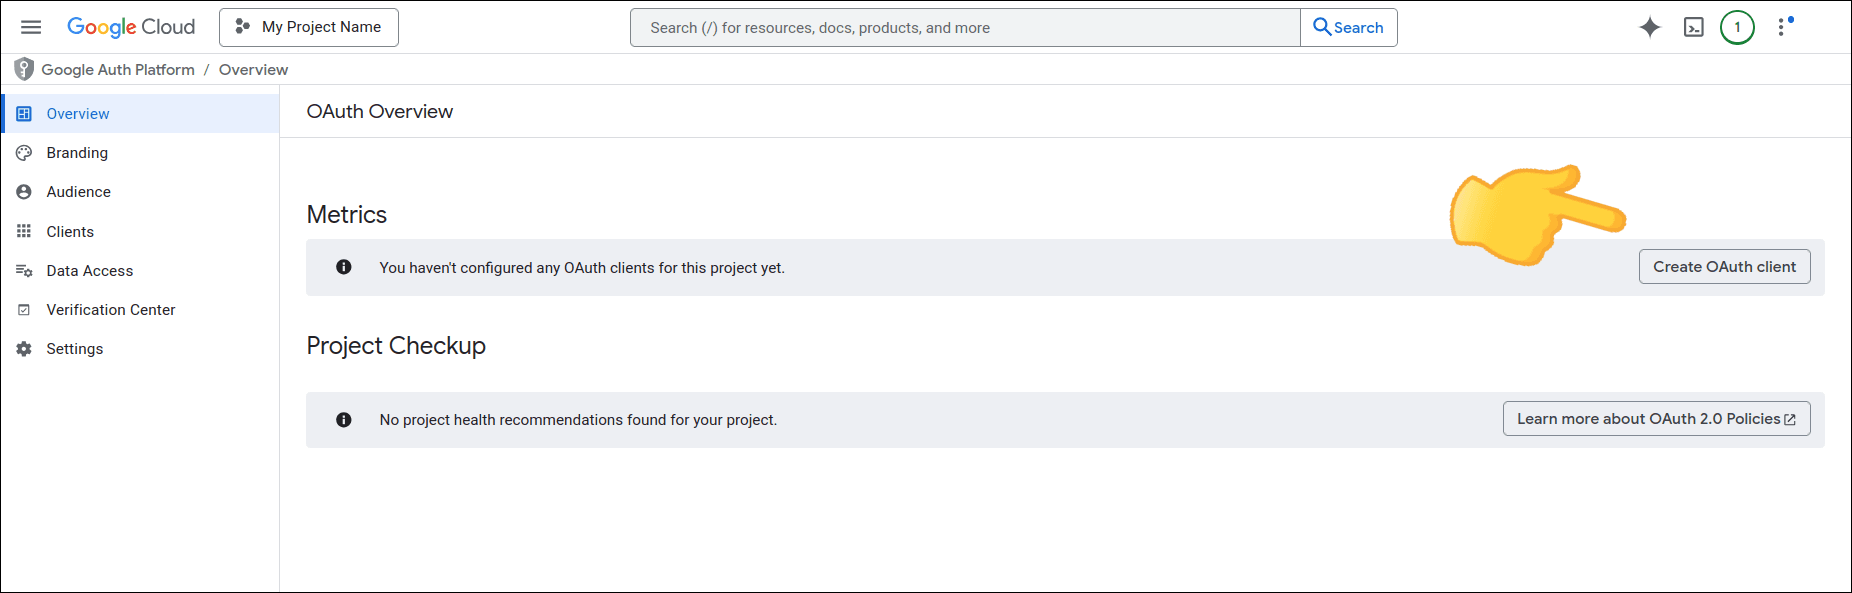
On the OAuth Overview screen, click Create OAuth client.
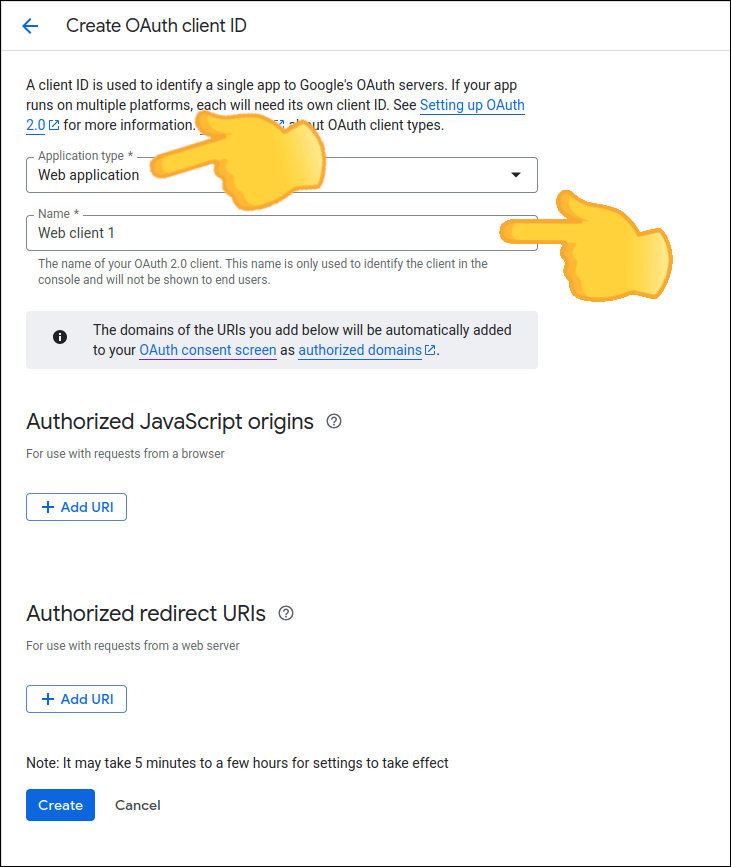
In Create OAuth client ID:
- in Application type, select Web application;
- in Name, enter the OAuth client name.
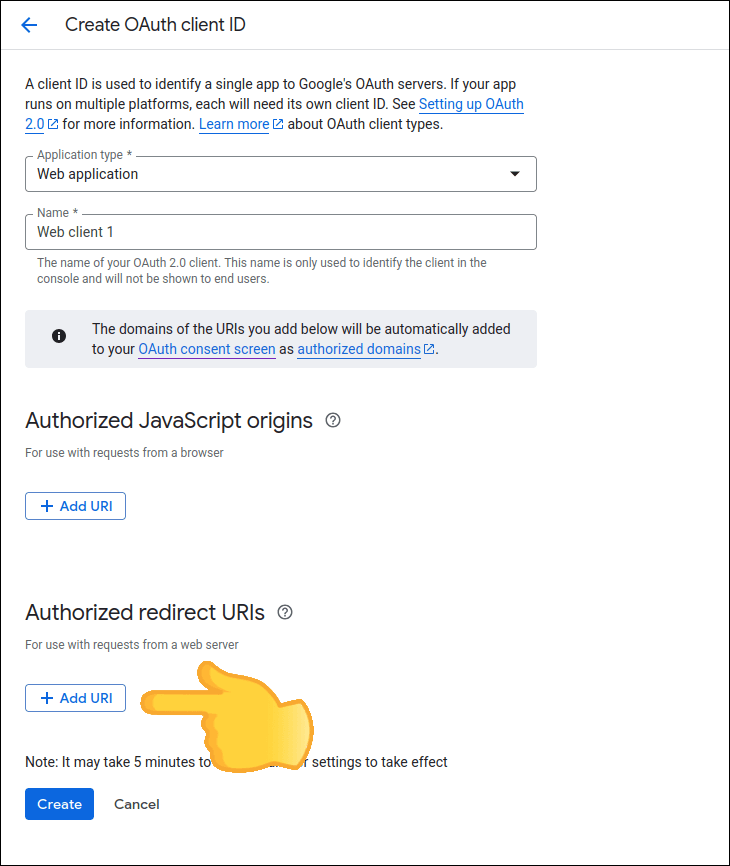
In the Authorized redirect URIs section, click ADD URI and enter the address (callback URL) that you copied in step 3 of the integration creation stage in Access Control.
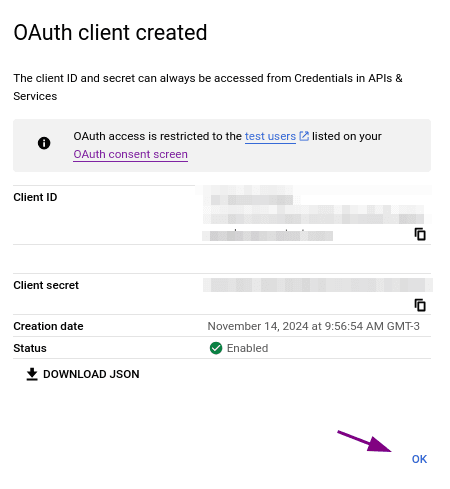
Click CREATE. Your OAuth client will be created and the Client ID and Client secret will be displayed. Click OK.
IMPORTANTSave this data, as it will be used in the Access Control configuration.
Restricting access in testing mode (External)
If you selected Internal in the Audience step, access is already limited to users from your organization's domain and no additional configuration is needed.
If you selected External, you can only restrict who has access while the app has not been published — that is, with the app in the Testing status. In this mode, only the users registered in the Test users list can log in.

WARNINGRestriction through Test users applies only while the app is in testing mode (Testing). If the app is published (In production), the list no longer takes effect and any user with a Google Account will be able to log in, including users outside your organization's domain. To keep access restricted with External, keep the app in testing mode and do not publish it.
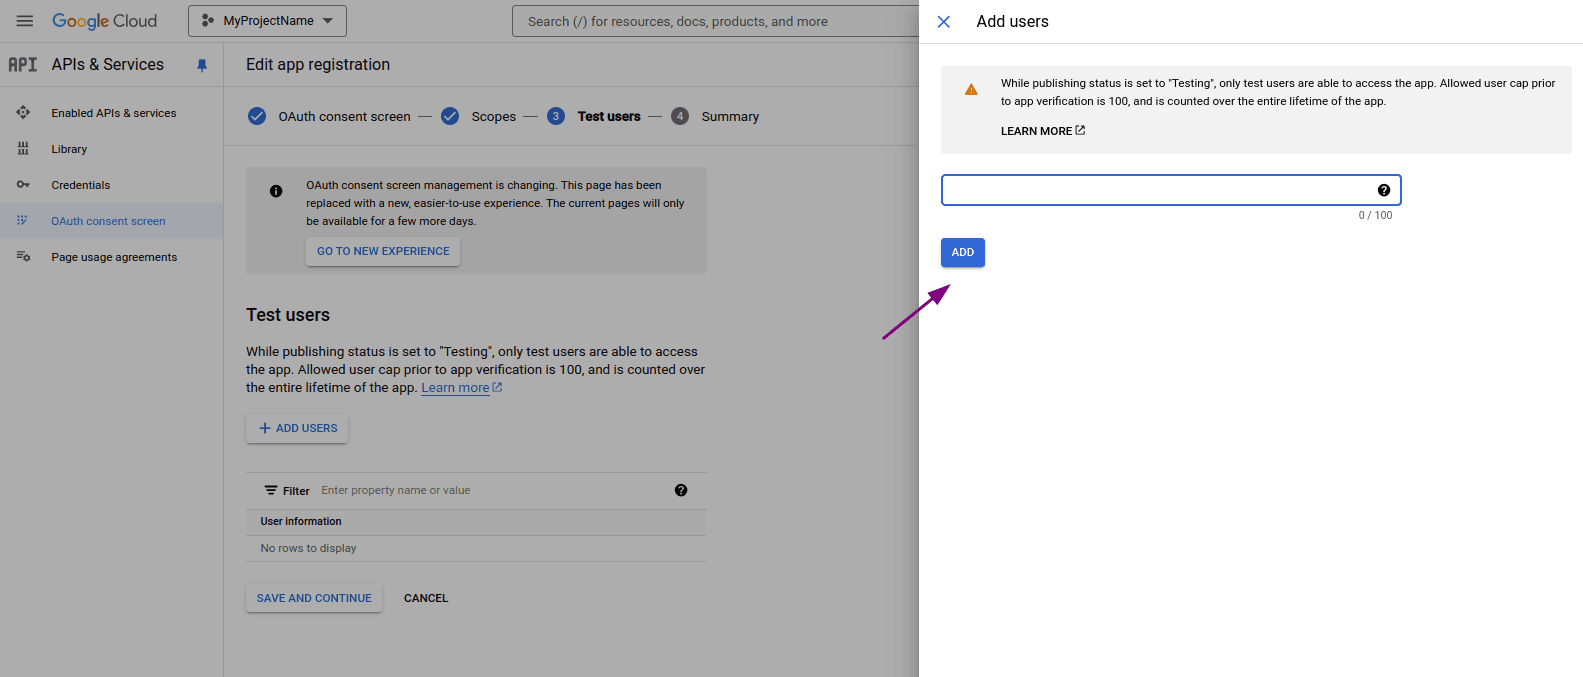
With the app in testing mode, register the authorized users:
In the left sidebar, go to Audience and, in the Test users section, click ADD USERS.
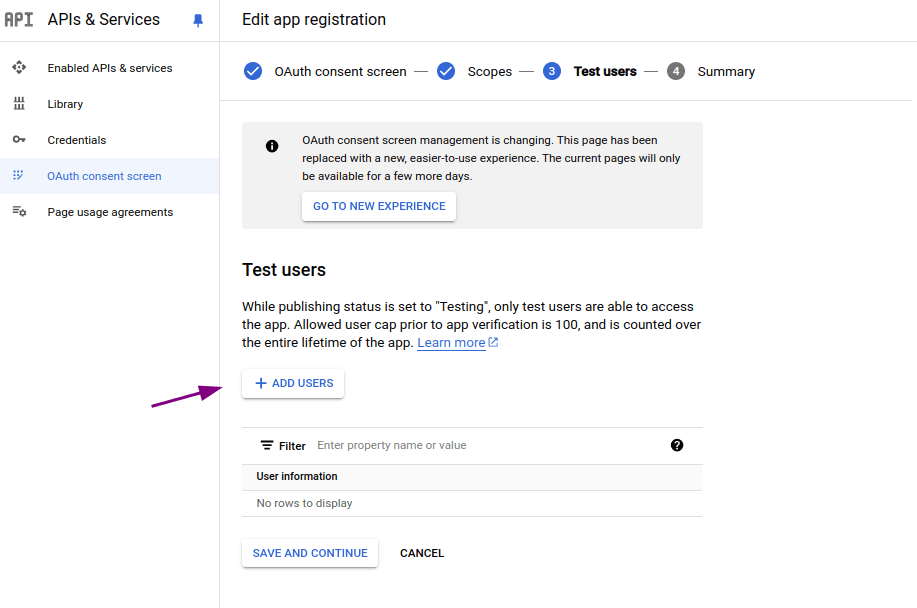
Enter a valid email managed by Google and click Save.
NOTEDespite the Test users name, these are the users actually authorized to access Access Control. Add the email addresses of everyone who needs to log in.
Configure the federated login in Access Control
After creating the app in Google Cloud Console, return to Access Control and fill in the fields below with the obtained data:
- Client ID: information obtained in step 16 when creating a client app in Google Cloud Console.
- Client secret: like the Client ID, enter the Client secret, which you obtained in step 16 when creating a client app in Google Cloud Console.
- Role: select the role to be applied with this access.
NOTEIf there are roles configured on your identity provider side, they will prevail over this one.
Deleting or editing a GSuite connection
While active, the connection with GSuite can be updated at any time. To do this, click any field you wish to edit, make the necessary modifications and click Save Changes to confirm and update or Back to cancel.
To disable a connection, click the Delete Login button.
WARNING
- When you click Delete Login, the federated login provider is deleted. Users originally created as local users in Access Control regain access via login and password after a password reset; users created exclusively through federated login are permanently deleted. See the details at the top of this page.
- To re-establish the connection, follow the steps above again (Configuring a GSuite connection).
- Clicking Delete Login does not change your settings with your identity provider.
Login and user control
Unlike what happened with login through the Sensedia Platform, now login with username and password continues to be possible even after configuring GSuite.
A user will be able to log into Sensedia products both through GSuite and separately.