- Home
- ...
- Developer Portal
- Developer Portal - Apps
Developer Portal - Apps
Accessing Apps in your custom page of Developer Portal, you will be able to:
- See the Apps list
For Sensedia Connections:
For AWS Connections:
NOTEThe management of Apps for AWS connections is performed in Consumers > Apps of the Portal Manager. See the differences between AWS and Sensedia App management.
Apps list
To access the Apps page in Developer Portal, you need to be logged in.
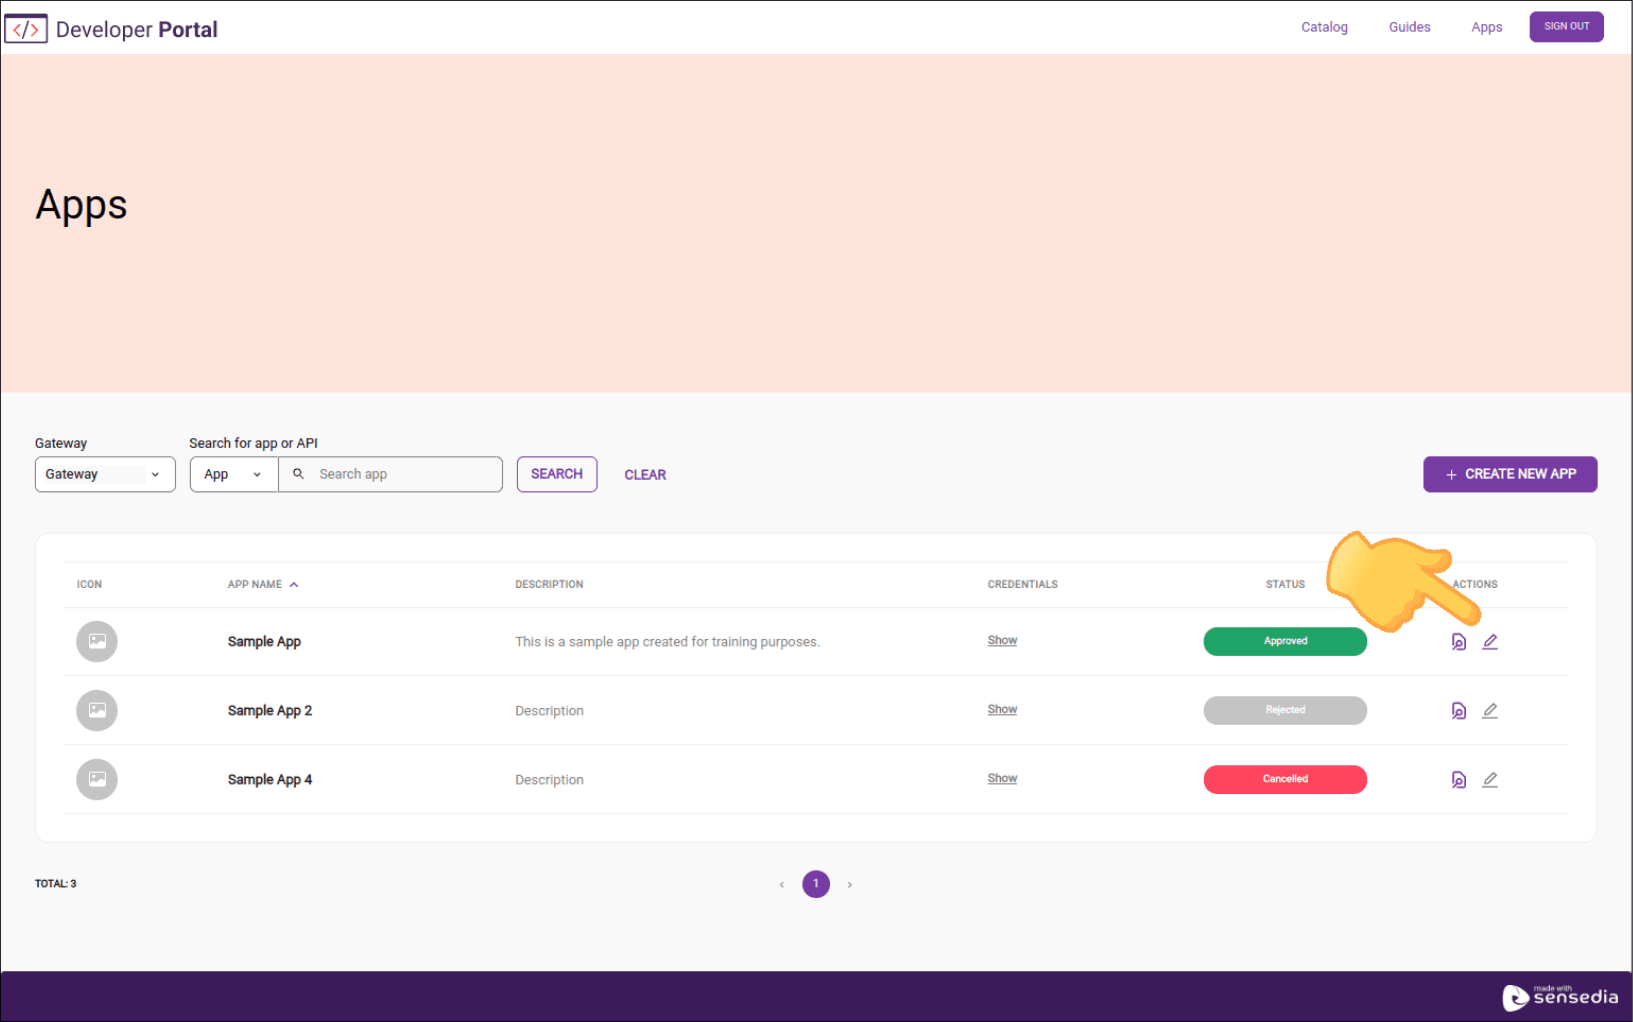
The page has a search tool that allows you to filter Apps by API or App name.
The image below is illustrative and may vary depending on the customization made for your Developer Portal.
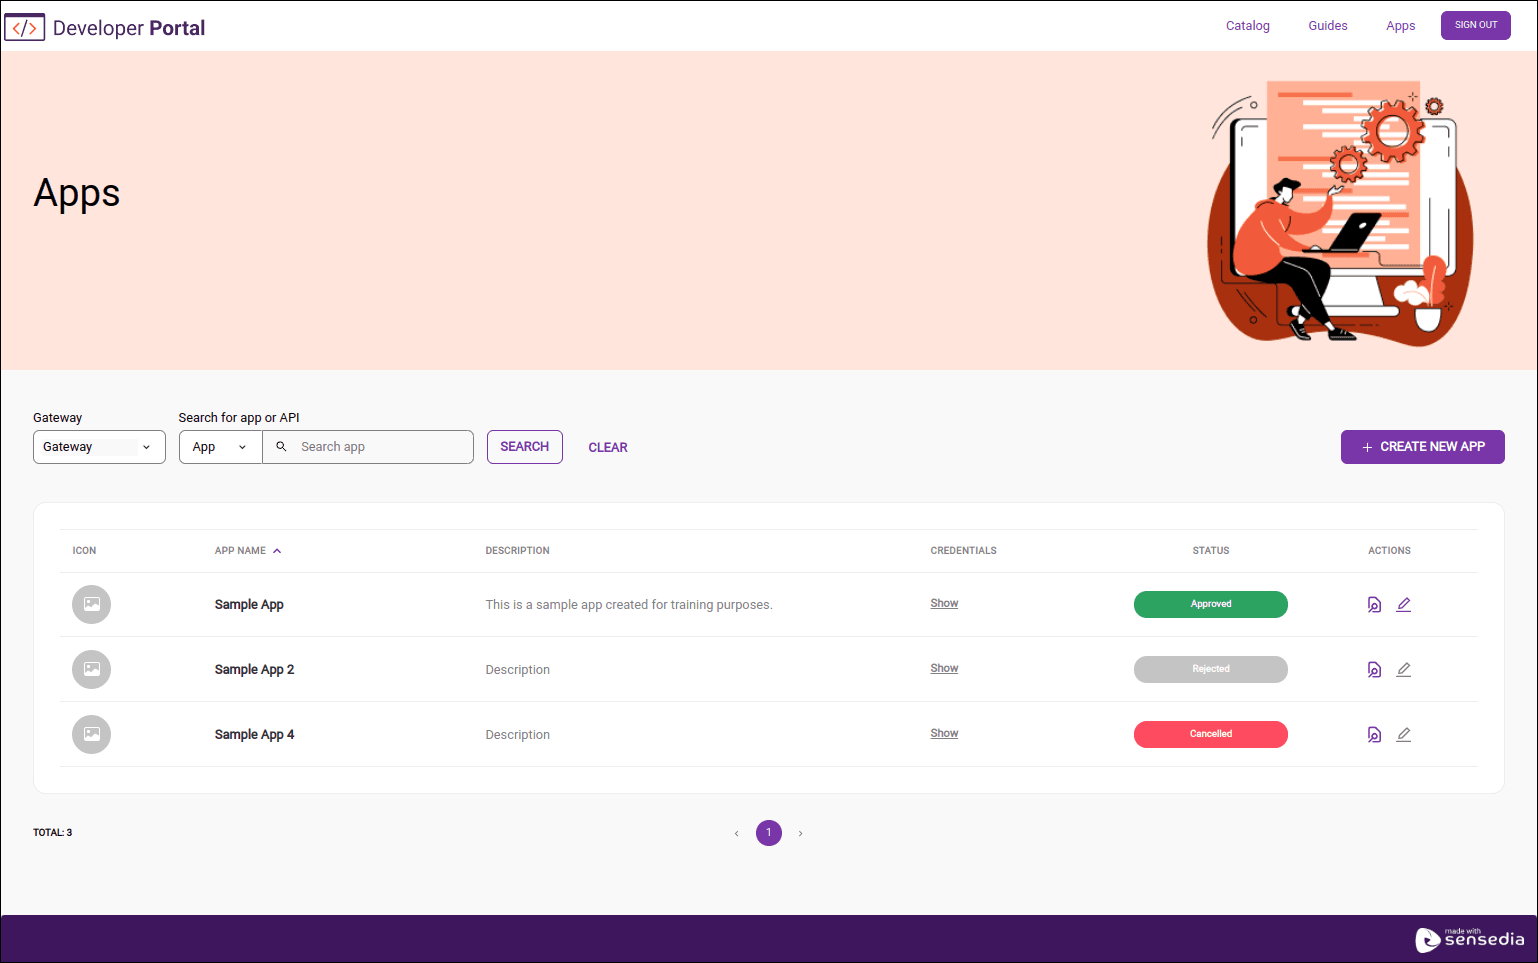
The table listing the Apps contains the following columns:
-
Icon: icon registered for the App. This registration is optional. Supported formats: JPG/JPEG, PNG, BMP, and GIF. Maximum image size: 140 x 140 pixels. Maximum file size: 1 MB.
-
App name: name registered for the App. Length: from 3 to 256 characters.
-
Description: description registered for the App. Length: 3 to 512 characters.
-
Credentials: link to obtain the Client ID and Client Secret;
-
Status: whether the App is enabled for use or not:
- Approved: enabled for use;
- Pending: waiting for approval or rejection;
- Rejected: App that was pending and was rejected;
- Canceled: App canceled or deleted;
-
Actions:
 : see an overview containing App description, credentials, list of APIs (with description, version, and API revision) and Access Tokens (with status, expiration date, and owner).).
 : edit the API.
For Sensedia Gateway Connections
Creating an App (Sensedia)
Step 3
Click Apps, located in the top right corner of the screen. The image below is illustrative and may vary depending on the customization made for your Developer Portal.
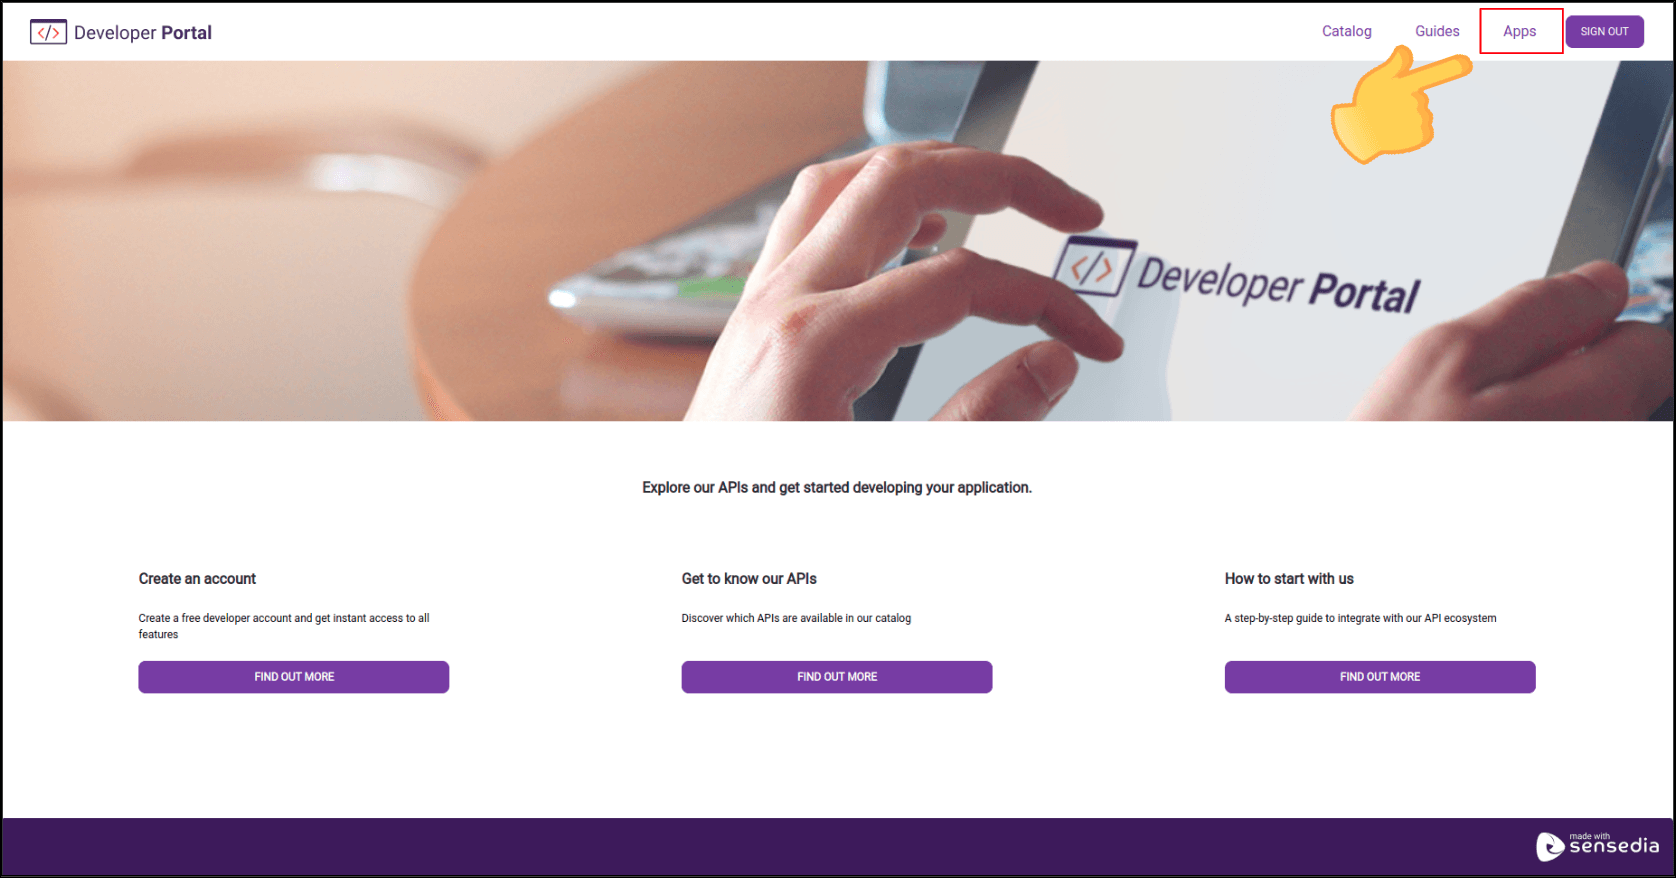
It is necessary to:
- log in to use this feature;
- have a Sensedia gateway registered;
Step 4
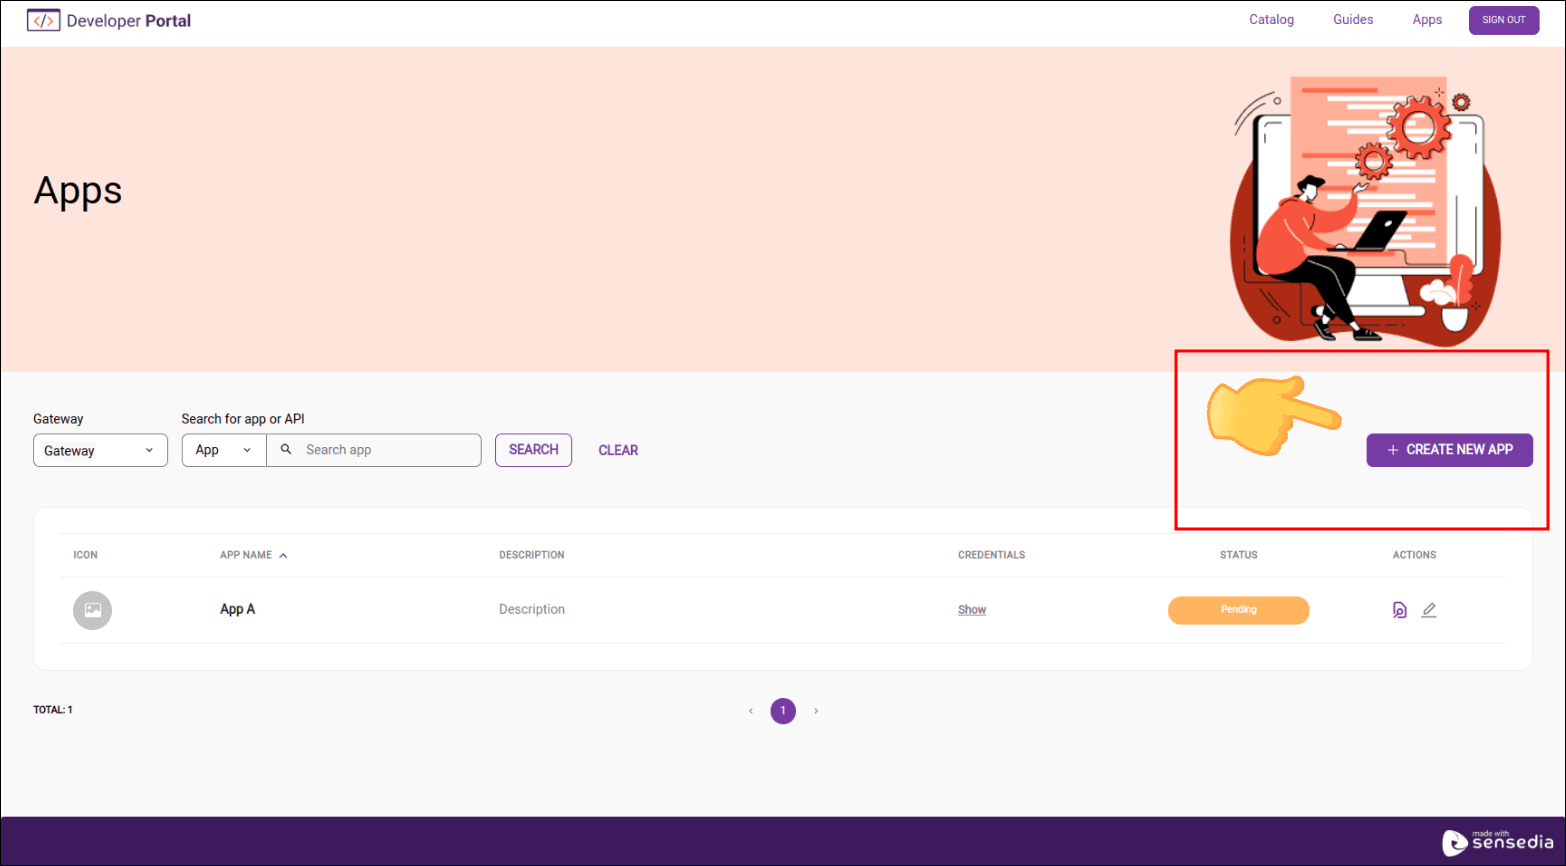
Click + CREATE NEW APP. The image below is illustrative and may vary depending on the customization made for your Developer Portal.
Step 5
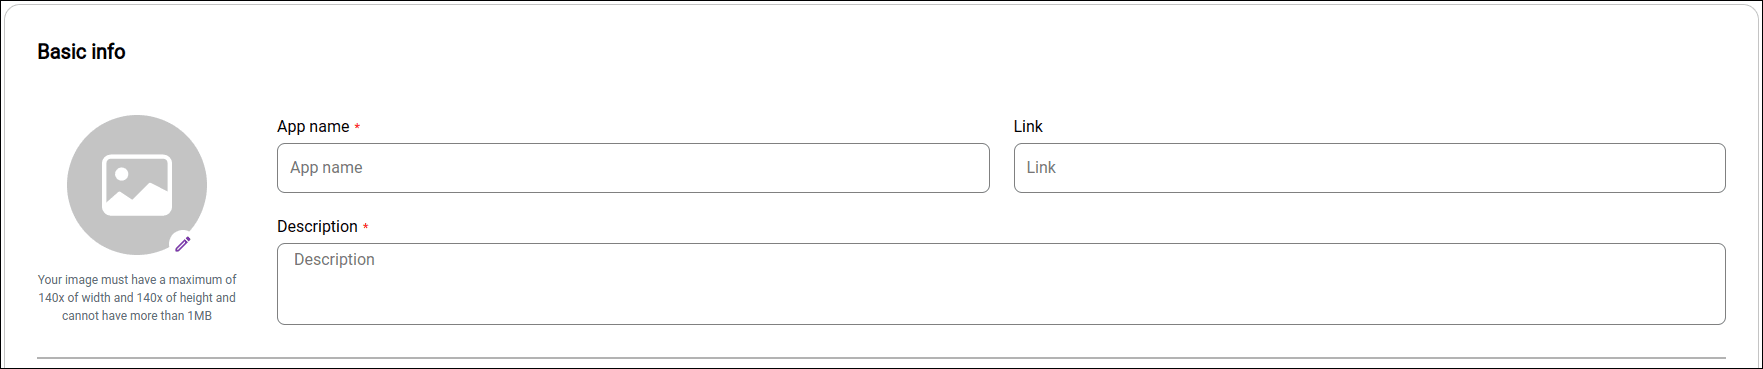
Fill in the Basic info fields with the App's name and description. If you wish, you can enter a link and add an image.
Step 6
In Available APIs, select the Sensedia gateway. Admins: if the gateway is not available, check the configuration in the Connections section.
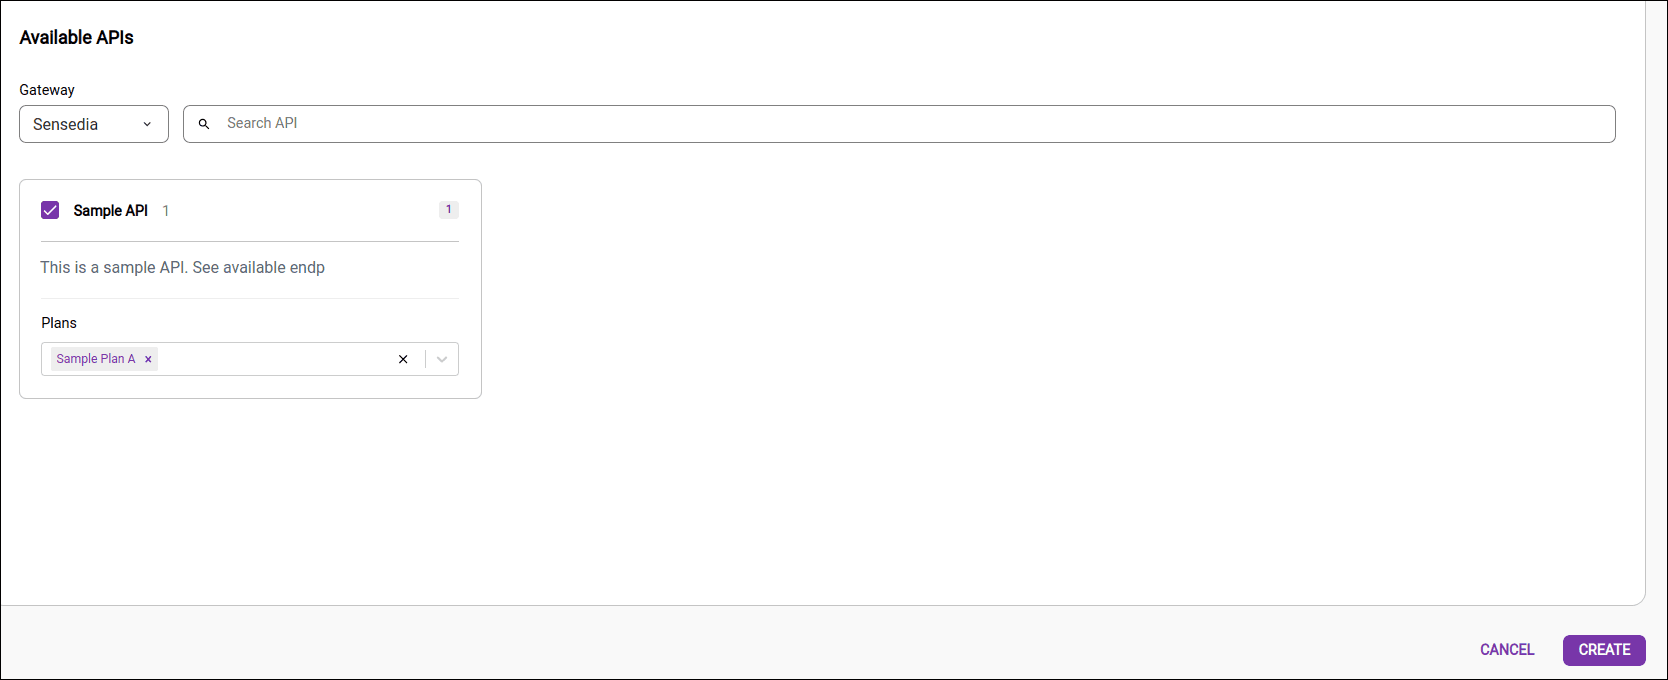
NOTEFor apps created in Sensedia API Management via the Developer Portal, it is not possible to define Inbound Addresses at the time of creation.
When no Inbound Address is selected, the app is automatically replicated to all available data planes in Sensedia API Management.
If you need to restrict the app to specific data planes, this configuration can be done through customizations offered by Sensedia's managed services.
See more in Creating Apps.
Editing an App (Sensedia)
For AWS Gateway Connections
Creating an App (AWS)
Registering Apps for AWS connections follows steps similar to registering Apps for Sensedia connections.
The main differences are the need for approval and the fact that it is not necessary to have a plan associated with the API.
Step 3
Click Apps, located in the upper right corner of the screen. You must be logged in to use this feature.
Step 4
Click the + CREATE NEW APP button. The image below is illustrative and may vary according to the customization made for your Developer Portal.
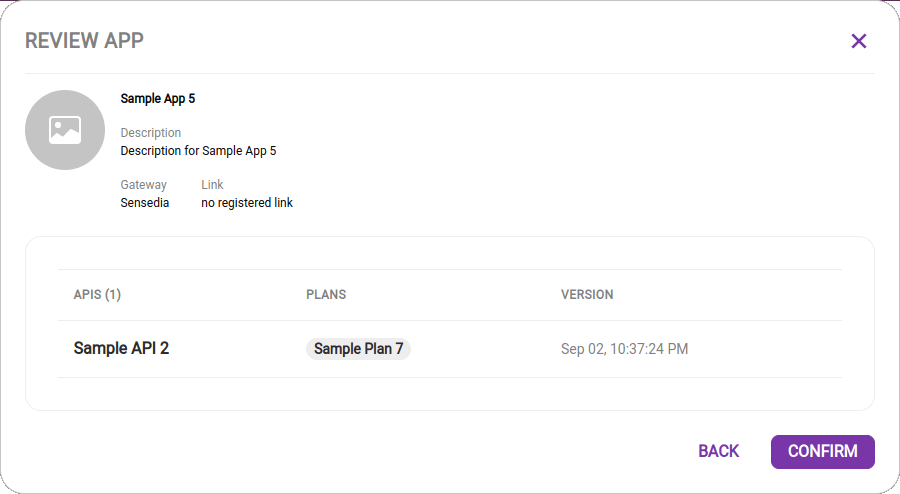
Step 8
Review the settings and click CREATE.
IMPORTANT
- The App will be listed in Developer Portal with the status
Pending.- The administrator should approve or reject the App registration in Portal Manager in Consumers.
- Other actions related to the management of AWS Apps are also performed in Portal Manager.
- For the auto-approval of AWS Apps, configure the Webhook accordingly.
- It is not possible to generate credentials or create Apps for HTTP APIs due to limitations of the current version of the AWS Gateway.
Editing an AWS App (AWS)
Step 3
Click Apps, located in the upper right corner of the screen. You must be logged in to use this feature. The image below is illustrative and may vary according to the customization made for your Developer Portal.