API Identity
API Identity is a type of API that we created just to facilitate authentication via the OAuth Password flow.
First, let’s understand what the Password flow is:
Now, the central question:
Every API that requires the Password flow to generate and validate access tokens must be linked to an API Identity (this link is made in the registration of the API Identity).
This API and the API Identity must be deployed to the same environment.
Other than that, for the API Identity to be able to handle calls for token generation, it must be deployed in the same environment as the POST / access-token flow (that is, in the same environment as the API OAuth, which comes with your Manager).
| An API Identity must be registered if you want to use the OAuth Password flow. You can see more about this flow here. |
How it works
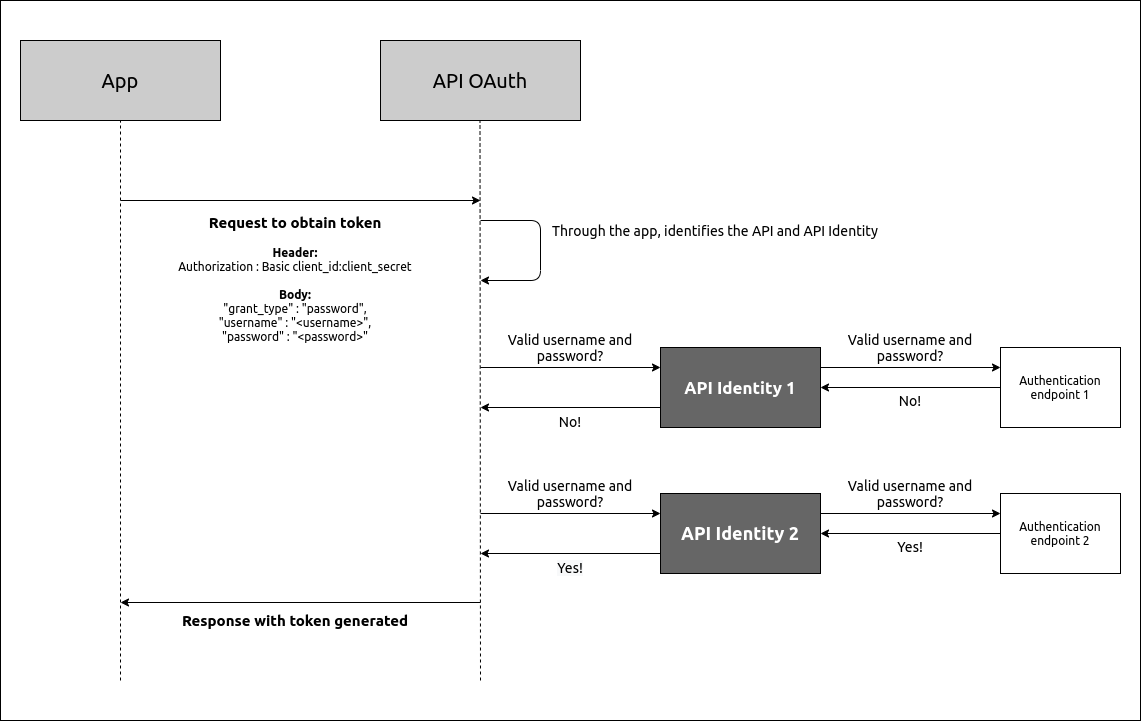
When an app calls an API linked to an API Identity, this is what happens: when the API requires an access token generated with the Password flow, a request is made to the API Identity, which handles the call and sends it to the authentication endpoint.
A regular API can be associated with more than one API Identity, and an app may be associated with more than one API. In these cases, the authorisation service will make requests for each associated API Identity, one at a time. If the password is valid for a given API Identity, the authorisation service will stop executing the remaining requests. In case the password isn’t valid for any API Identity, the access token won’t be generated.
All the body content sent to the Identity API when the call is made will be transferred to the access token request in the Password flow, allowing more possibilities in password authentication.
If the call to the API Identity returns a field in the body with the key extralnfo, the content of that field will be present in the extralnfo of the access token generated.
Creating an API Identity
To create a new API Identity, select the option CREATE API IDENTITY in the bottom right corner of the APIs page (in the menu that opens up when you hover the cursor over the +) floating button).

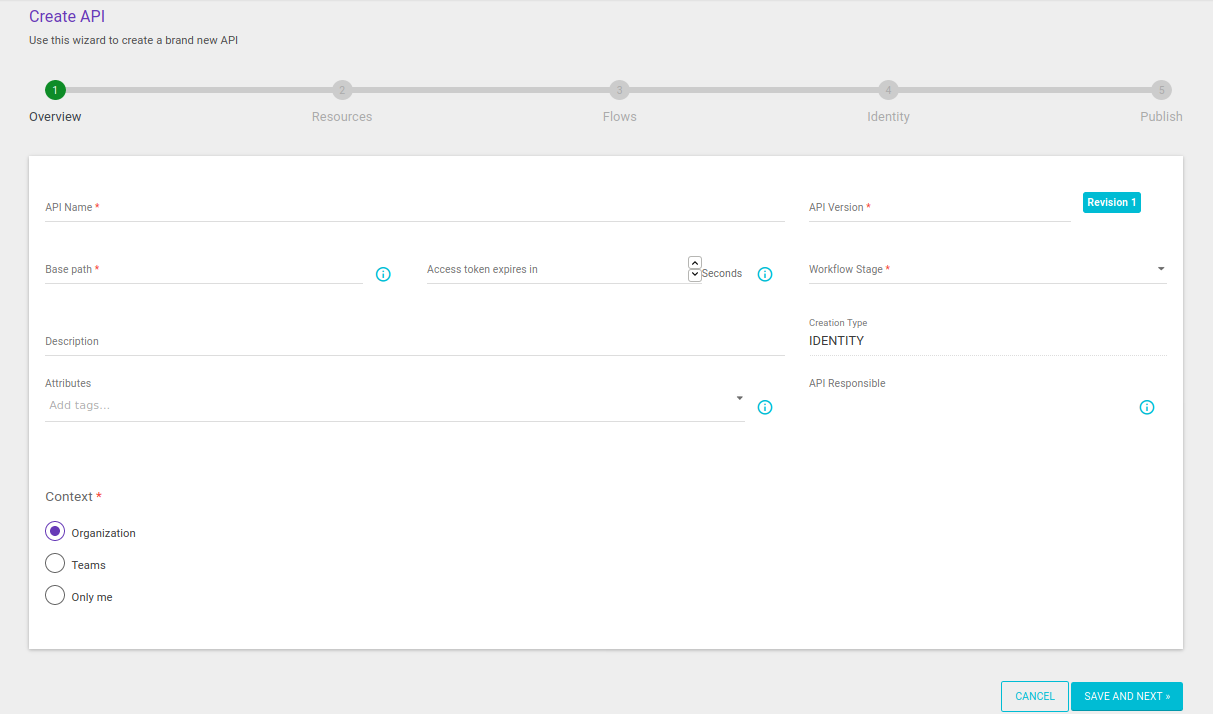
The API creation page will open and you must fill out the required information along the different steps, as in the case of creating a regular API:

|
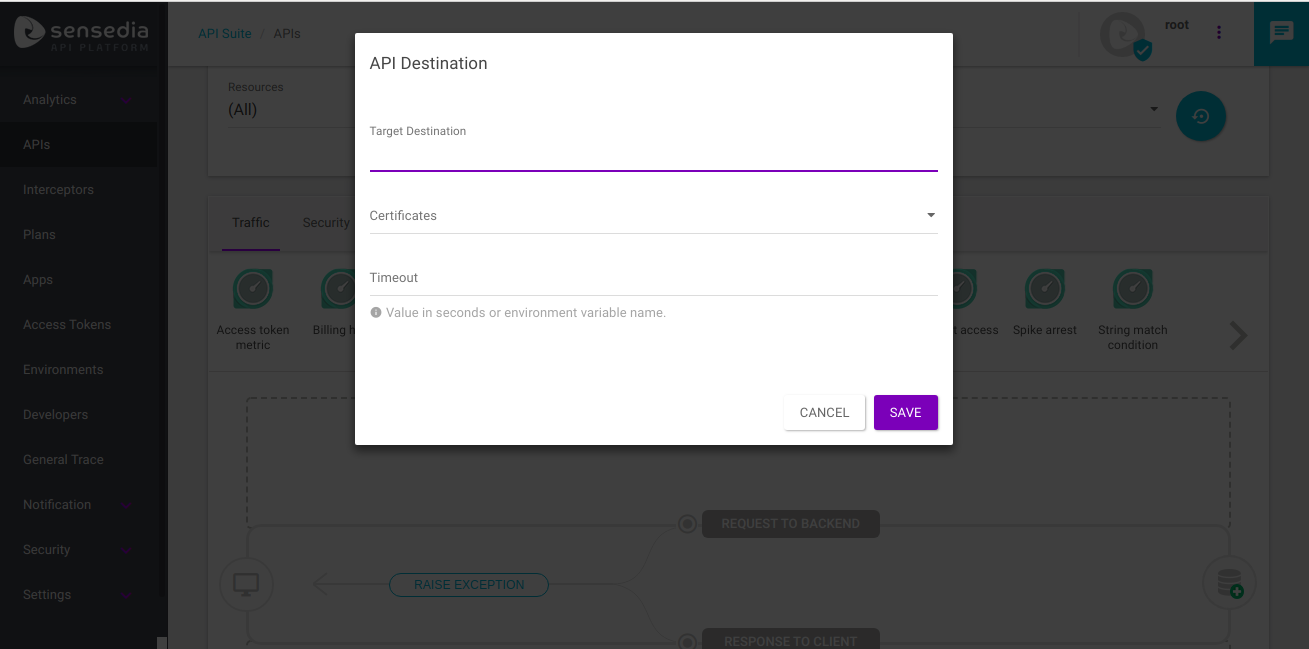
The API Destination (which you can configure clicking on the |

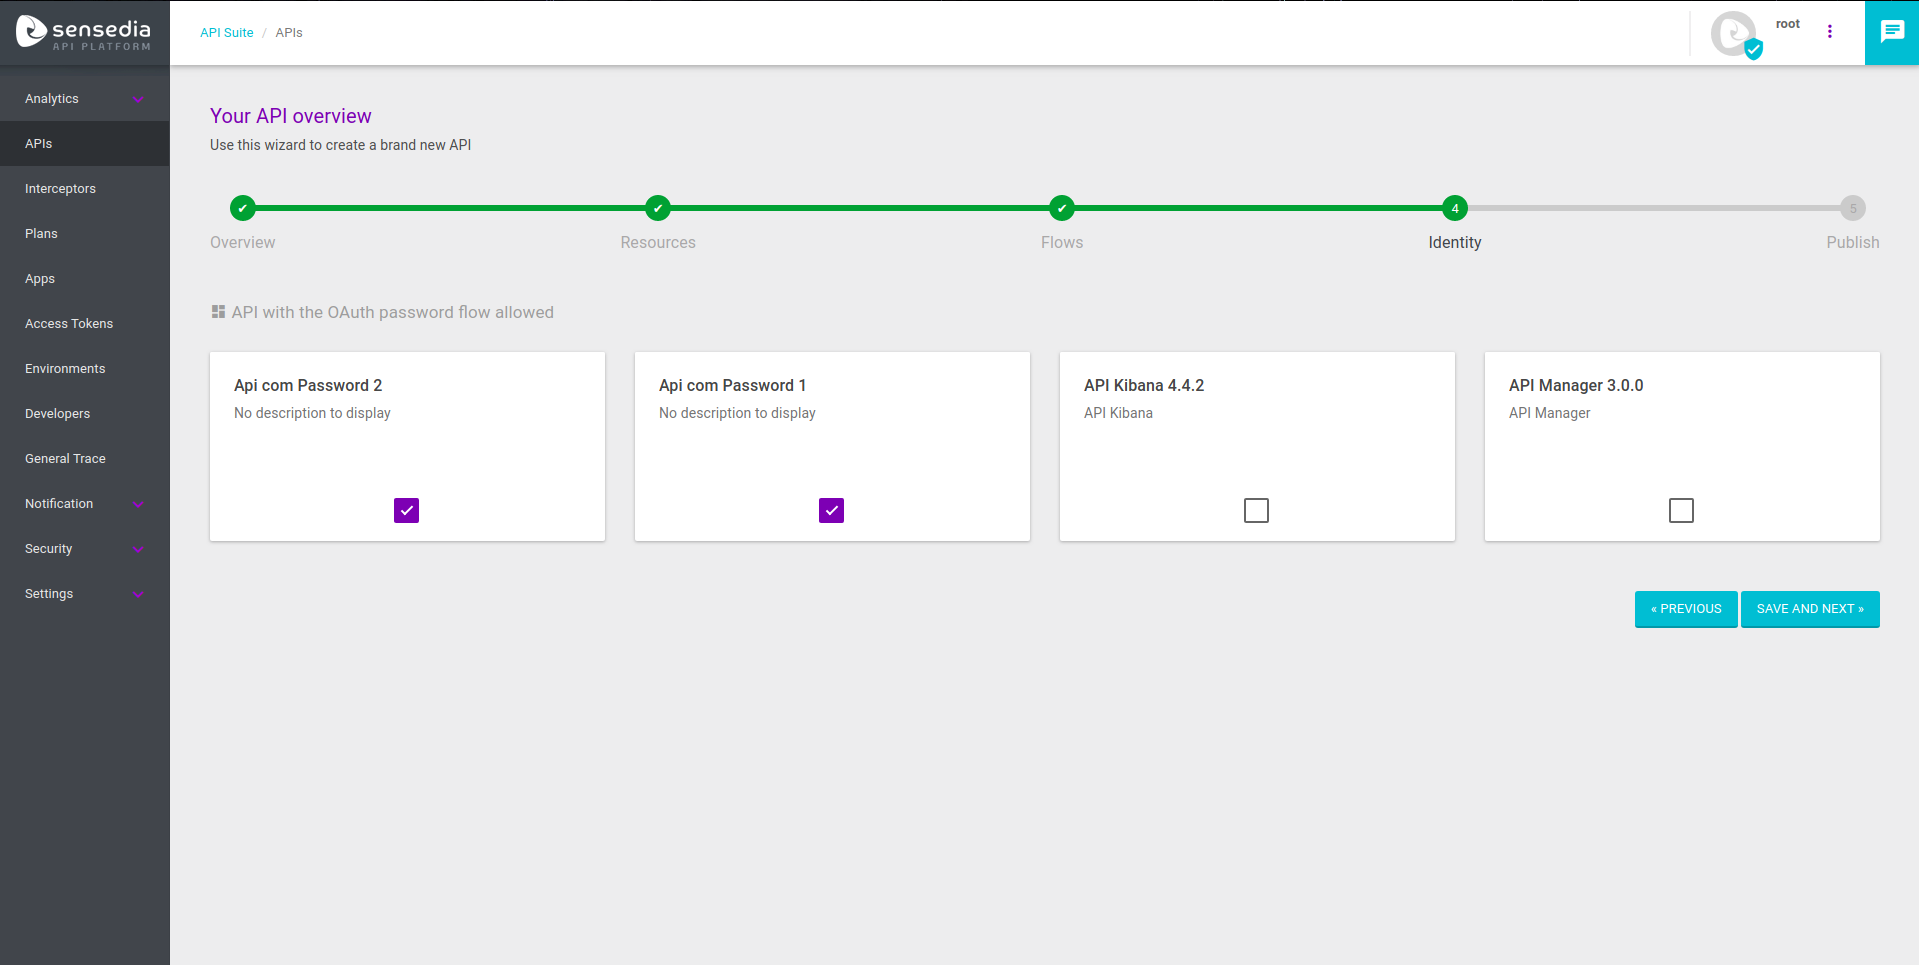
Unlike regular APIs, API Identities have the “Identity” field, which enables users to select APIs that use the OAuth and/or Access Token Validation interceptors, with the Password option enabled.

Once this is done, you can publish your API after the creation steps and it will be ready to be used.
Share your suggestions with us!
Click here and then [+ Submit idea]
