Cache Control
On the Cache Control page, you can manage the cache volume provisioned for your API Platform, allocating space for each of your environments.
| If you need more cache volume, get in touch with your Account Manager. |
You find the Cache Control screen under the Settings option of the main menu.

Configuring cache volume
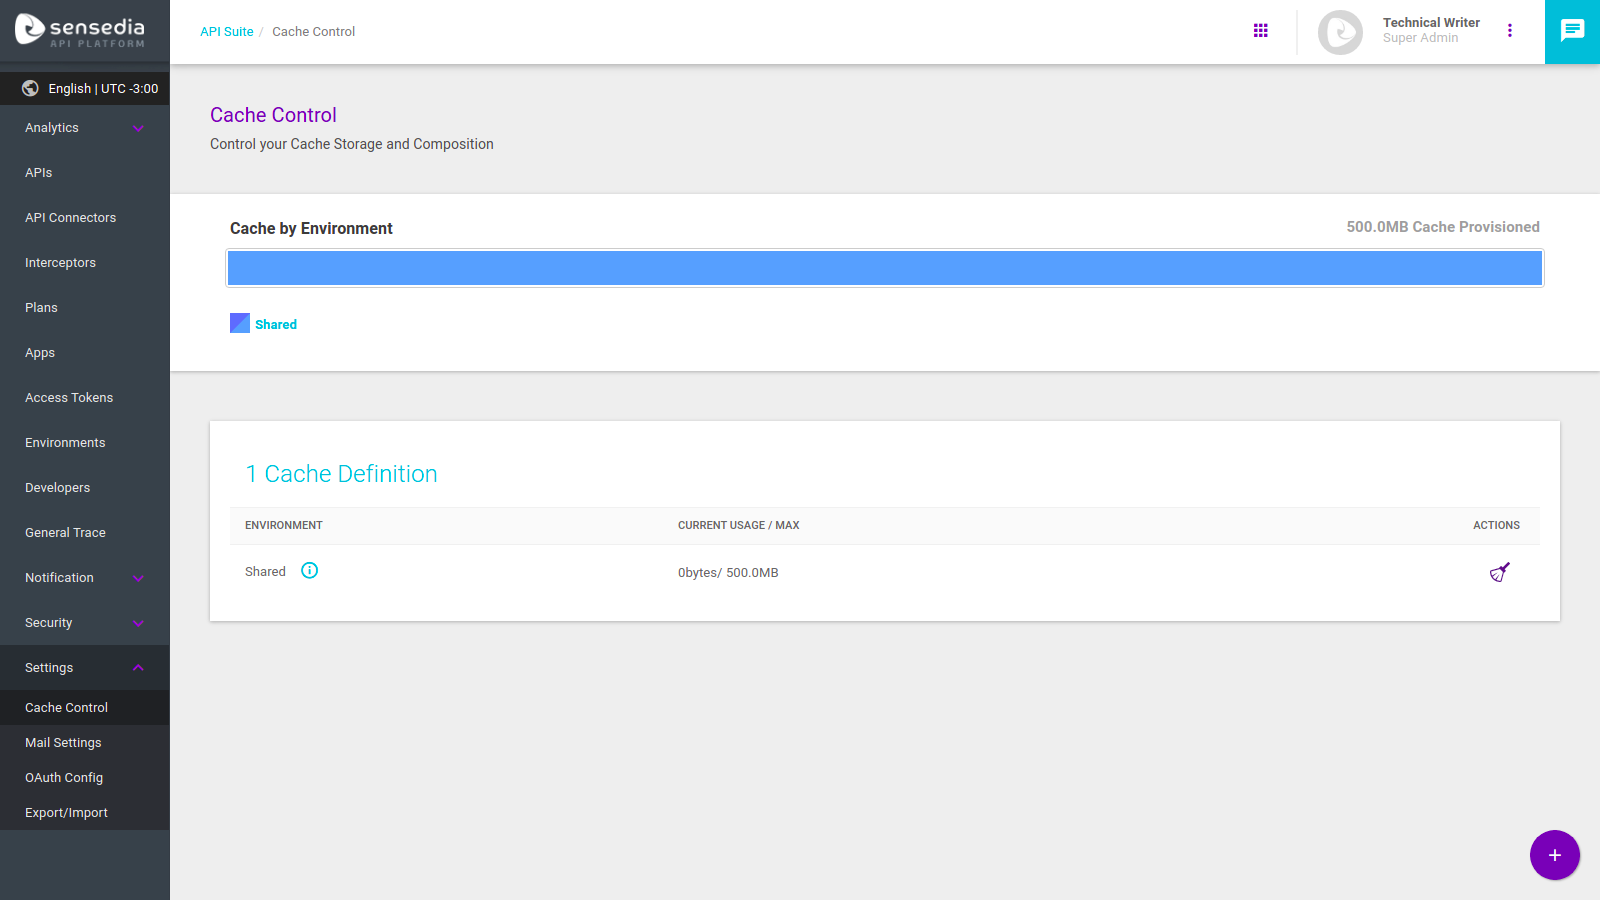
When you enter the Cache Control screen, you will see the default cache configuration, as the image below shows.

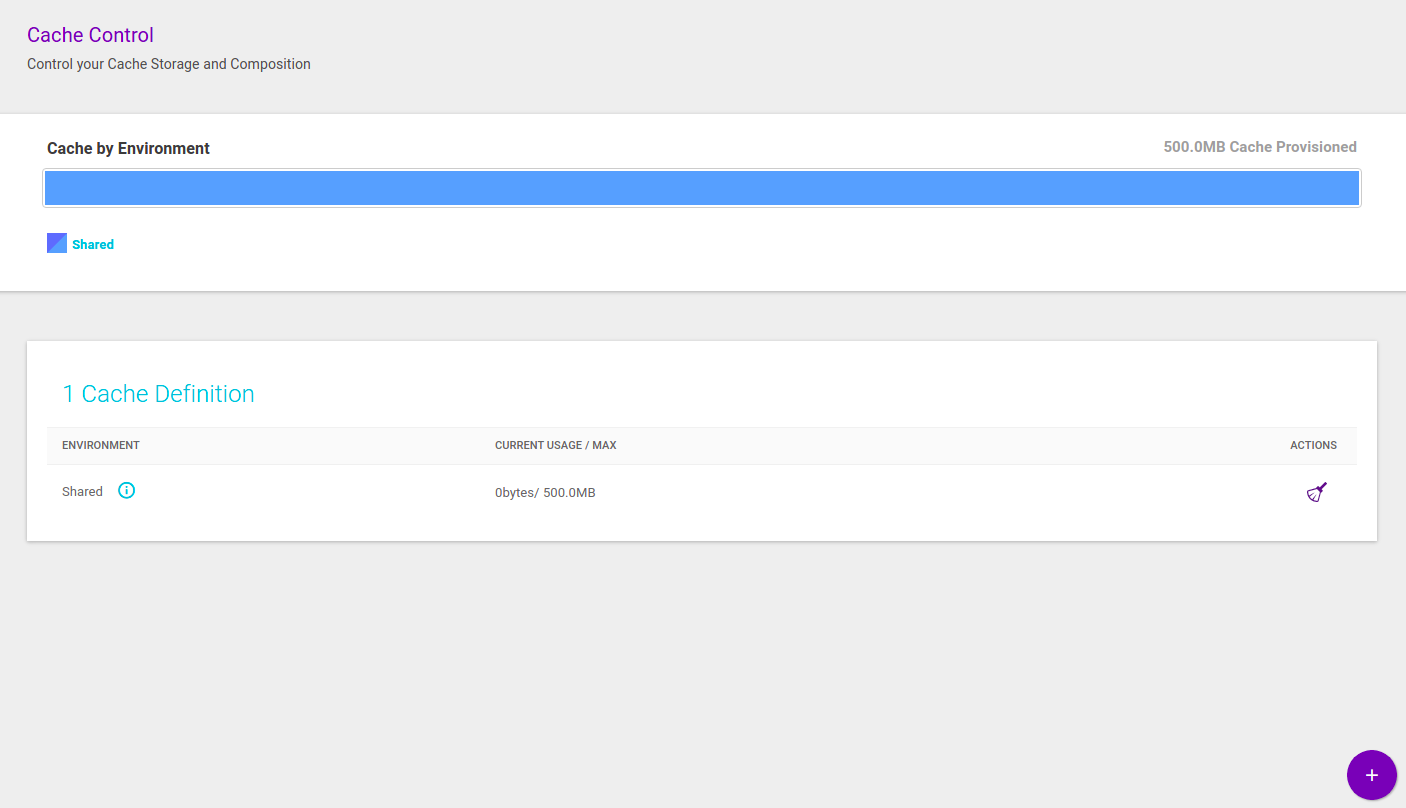
On this example image, you can see the total cache volume provisioned (500 MB) as a bar graph and, also, that the total volume is currently shared.
On the cache definitions field, you can see that there is only one cache partition, exactly that of 500 MB of shared cache (that is, for the use of all environments).
Clearing your cache
On the cache definitions field, there is a clearing icon (![]() ) under the Actions column.
The cache usage bar will show both the space provisioned and the amount used for each environment.
When you click the icon, the cached information will be cleared and the used cache space will be emptied out.
) under the Actions column.
The cache usage bar will show both the space provisioned and the amount used for each environment.
When you click the icon, the cached information will be cleared and the used cache space will be emptied out.
Allocating cache volume
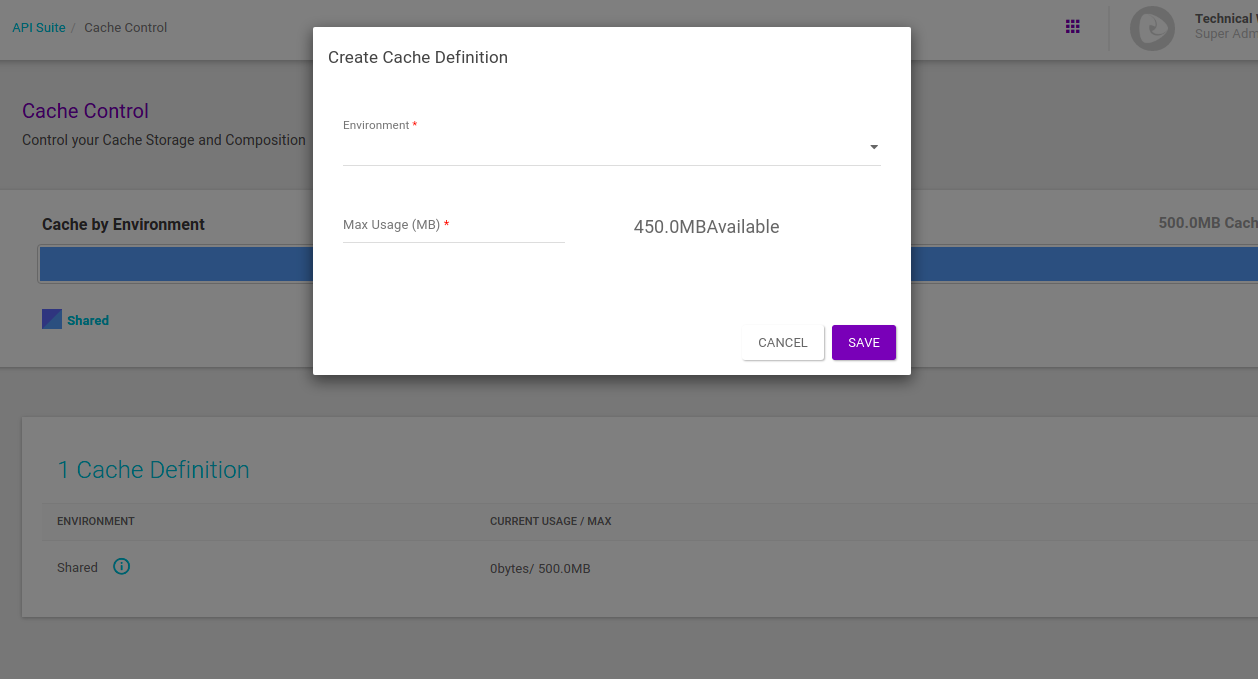
To set up new cache allocation, click the Add new definition button, represented by the + symbol on the bottom right corner of the page.

You must then select the environment that the cache provision will be applied to and the total volume available to this environment.
| The system will not allow allocating the full cache volume to any environment, since 10% of the space is reserved for the default cache. |
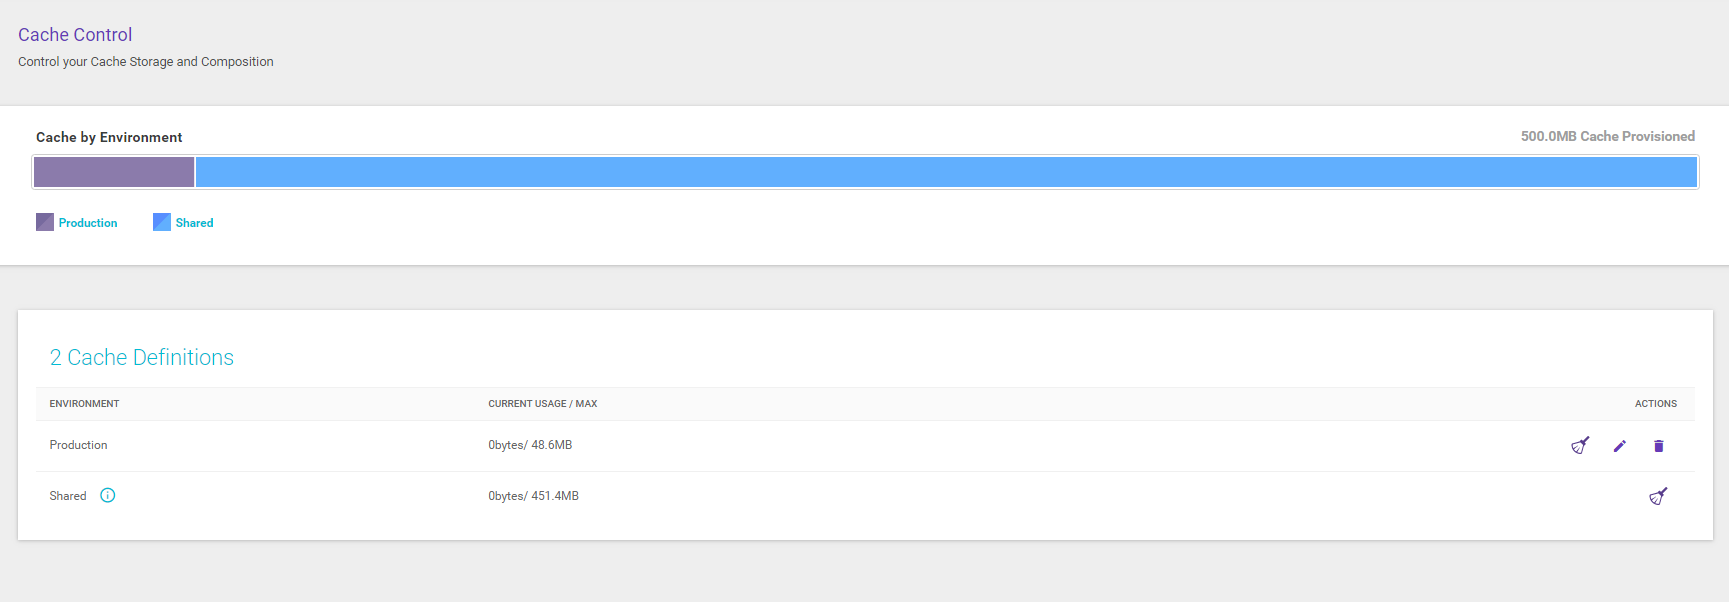
When you save your new cache partition, it will be displayed under the cache definitions field, but now with new action icons, in addition to cache clearing: the edition (![]() ) and deletion (
) and deletion (![]() ) icons.
) icons.

You can modify the allocated volume at any moment by clicking the ![]() icon.
icon.
To delete a cache partition, in turn, it must be empty.
You can delete a cache definition by clicking the ![]() icon after you clear the cache.
icon after you clear the cache.
Share your suggestions with us!
Click here and then [+ Submit idea]