Discovery
In Discovery, you have an overview of the main information about your APIs.
This API catalog supports multiple gateways, allowing greater control and organization of your ecosystem.
|
The Discovery catalog includes APIs originating from different providers and gateway types, including APIs imported from AWS API Gateway in both REST (v1) and HTTP (v2) versions. |
Quick Links
See how to:
-
Perform a search
-
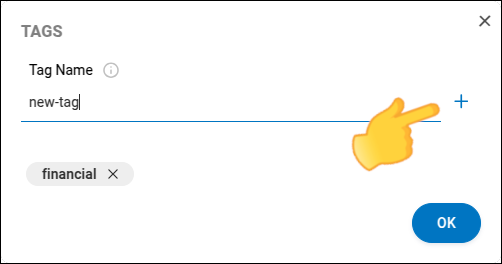
Add a tag to an API
-
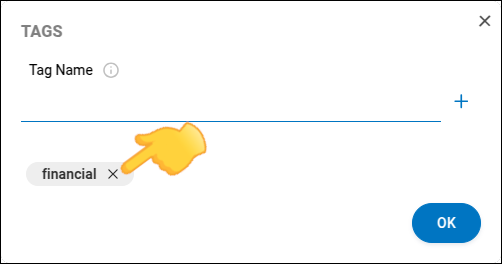
Remove a tag from an API
-
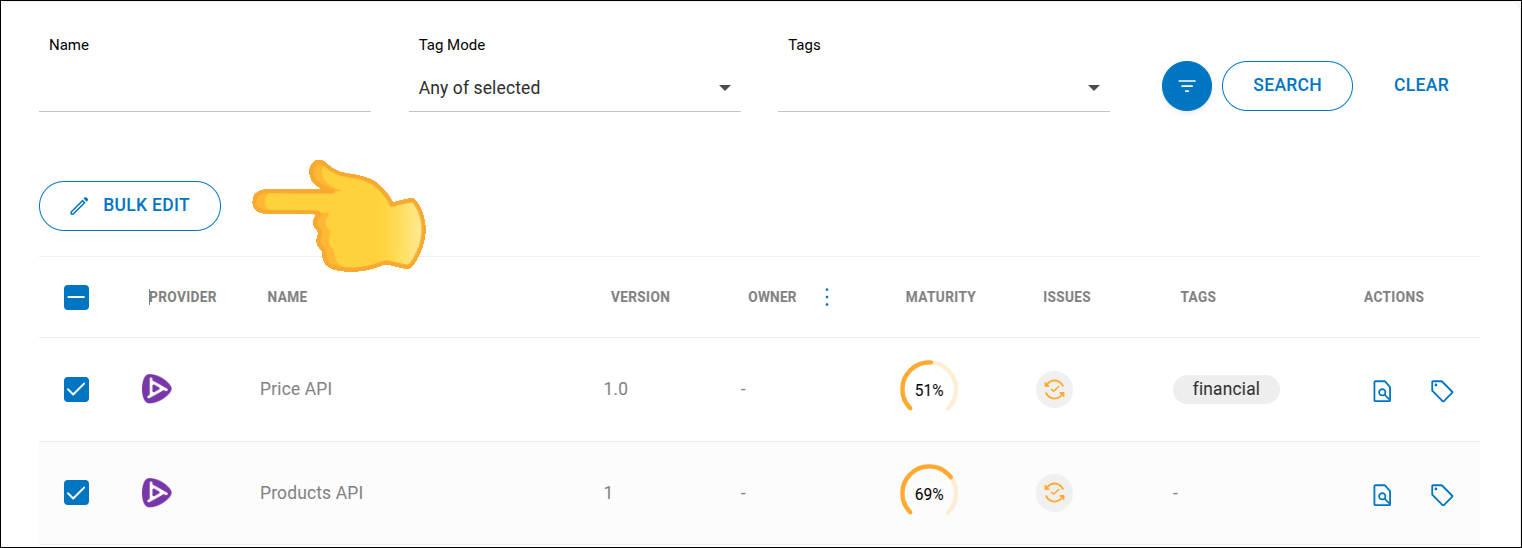
Apply a batch edit
-
View the API maturity level
-
Obtain Smart Recommendations (download contracts with the recommended changes already applied)
-
Check for redundant APIs.
Totals
At the top of the Discovery screen, you will find a dashboard with metrics from your catalog, based on the applied filters.

-
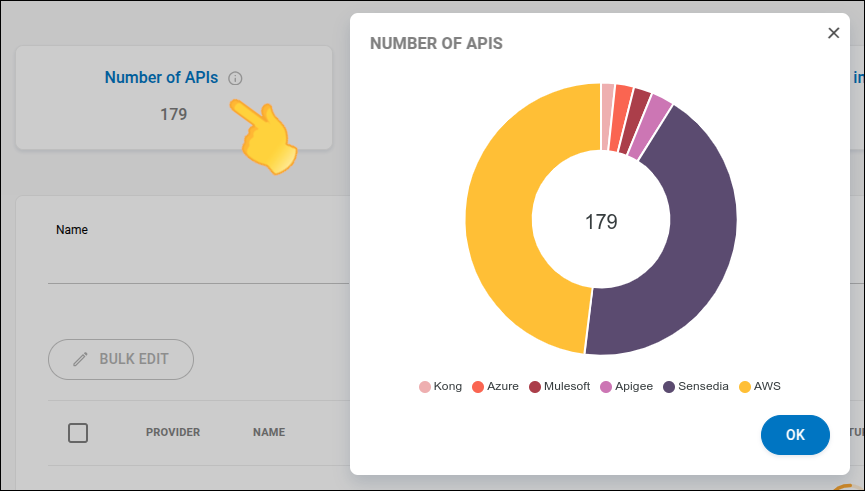
Number of APIs: Displays the total number of APIs in the catalog.
Click the card to see a graphical representation of the total APIs categorized by provider.
-
Uncategorized APIs: Total number of APIs without an associated tag.
-
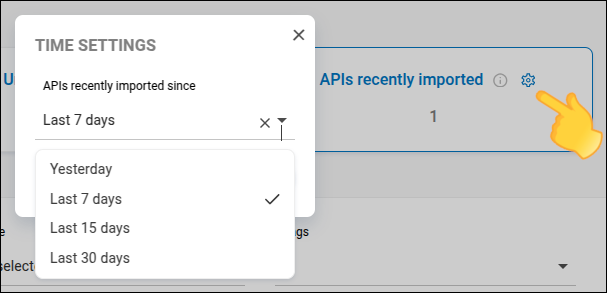
APIs recently imported: Total number of APIs imported into the catalog in the last 7 days. See how to change the period.
-
APIs recently updated: Total number of APIs in the catalog updated in the last 7 days. See how to change the period:
APIs listing
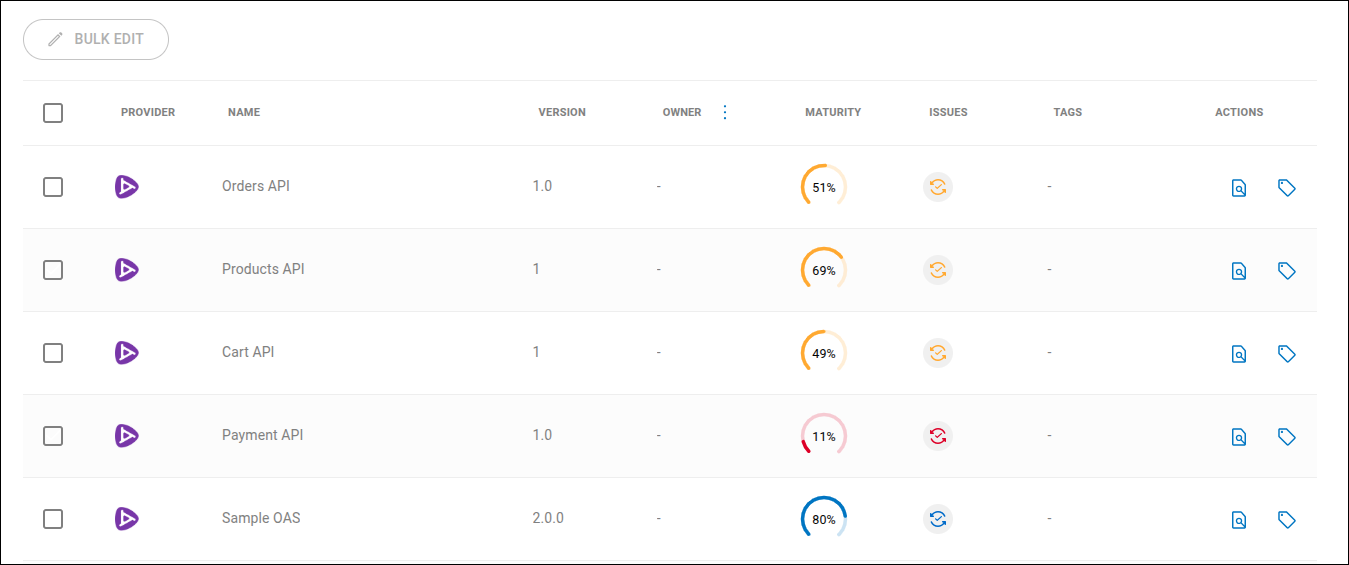
Imported APIs are listed in a table with the following columns:
-
PROVIDER: Icon identifying the gateway provider (examples: Sensedia, AWS, etc.)
-
NAME: API name.
-
VERSION: Current version.
-
OWNER: Click
 and select one of the options:
-
View owner: View the API owner, which can be a team or user.
-
View shared with: View who the APIs are shared with.
-
-
MATURITY: API maturity score, which can be:
Icon Level Range 
Basic
0 to 29%

Intermediate
30 to 79%

Advanced
80 to 94%

Excellent
95 to 100%
Get the full maturity report and AI-generated recommendations, with the option to download the Swagger with the applied recommendations.
-
ISSUES: Indicates the presence of issues that may impact API quality and the ecosystem. Identifies elements that can be modified to improve aspects such as organization and performance.
Common Issues types:-
Consistency: Related to API consistency and organization. Indicates violations of best practices in OpenAPI contracts. Ensures that contracts are complete and consistent, aligning development and documentation with organizational rules.
-
Efficiency: Related to resource usage. Indicates redundancies and optimization opportunities but does not cover performance aspects.
An empty field in the ISSUES column immediately after import does not necessarily indicate the absence of issues.
After import, APIs need processing, and the time to generate Issues can vary from minutes to hours, depending on the number of APIs and the size of imported contracts.
-
-
TAGS: Tags (labels). See how tags work.
-
TYPE: API category:
-
REST: Synchronous request-response based APIs.
-
Event: Event-driven APIs, such as webhooks, streams, or messages.
-
-
ACTIONS:
Searching for an API
To see all filtering options, click the ![]() icon.
icon.
You can search APIs by:

-
Name: API name.
-
Tag Mode: define the tag search criteria:
-
Any of selected: APIs with at least one of the selected tags (default).
-
All of selected: APIs with all selected tags.
-
None of selected: APIs without the selected tags.
-
No tag applied: Displays APIs without tags.
-
-
Tags: Select or type the tag name. See how tags work.
-
Version: API version.
-
Description: API description field content.
-
Type: API category:
-
REST: Synchronous request-response based APIs.
-
Event: Event-driven APIs, such as webhooks, streams, or messages.
-
-
Provider: Gateway provider (examples: Sensedia, AWS, etc.).
-
Connections: Name of the connection.
-
Owners: API owner (team or user).
-
Shared with: Team or user the API is shared with. You can use one or more teams or users for the search.
-
Imported At: API import date.
-
Updated At: Last API update date.
-
View only items with these issue types:
-
Consistency: APIs with issues related to API maturity.
-
Efficiency: APIs with issues related to resource redundancy.
-
After entering values in the desired fields, click SEARCH to perform the search or CLEAR to clear the fields.
Categorization by Tags
Tag categorization allows you to classify and group catalog APIs using customizable labels, making API management easier and faster. This feature lets you search for APIs in the same category using their tags.
Editing API Information
To edit API information, click the ![]() icon.
icon.
In the BASIC INFO panel, you can edit:
-
Owner: To edit the API owner (user or team), click Owner
 and select the desired option.
 -
Shared with: To edit who the API is shared with, click Shared with
 and select one or more users.
Bulk Editing
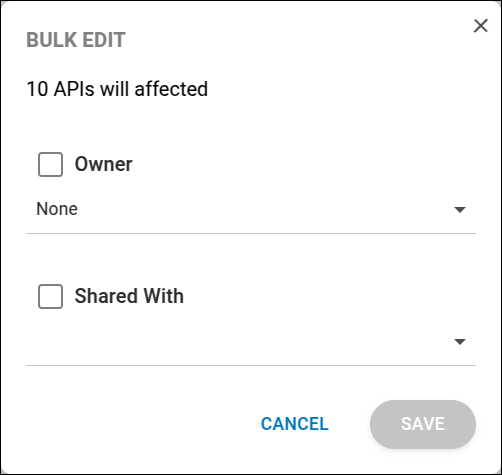
Use the BULK EDIT feature to apply the same information to multiple APIs in a single action.
To do this, follow these steps:
Share your suggestions with us!
Click here and then [+ Submit idea]
