LDAP Setup
LDAP (Lightweight Directory Access Protocol) is a mechanism for directory services used to exchange information between different systems. In the case of the API Manager, it allows users of an external network to login into the Manager using their credentials from this external network.
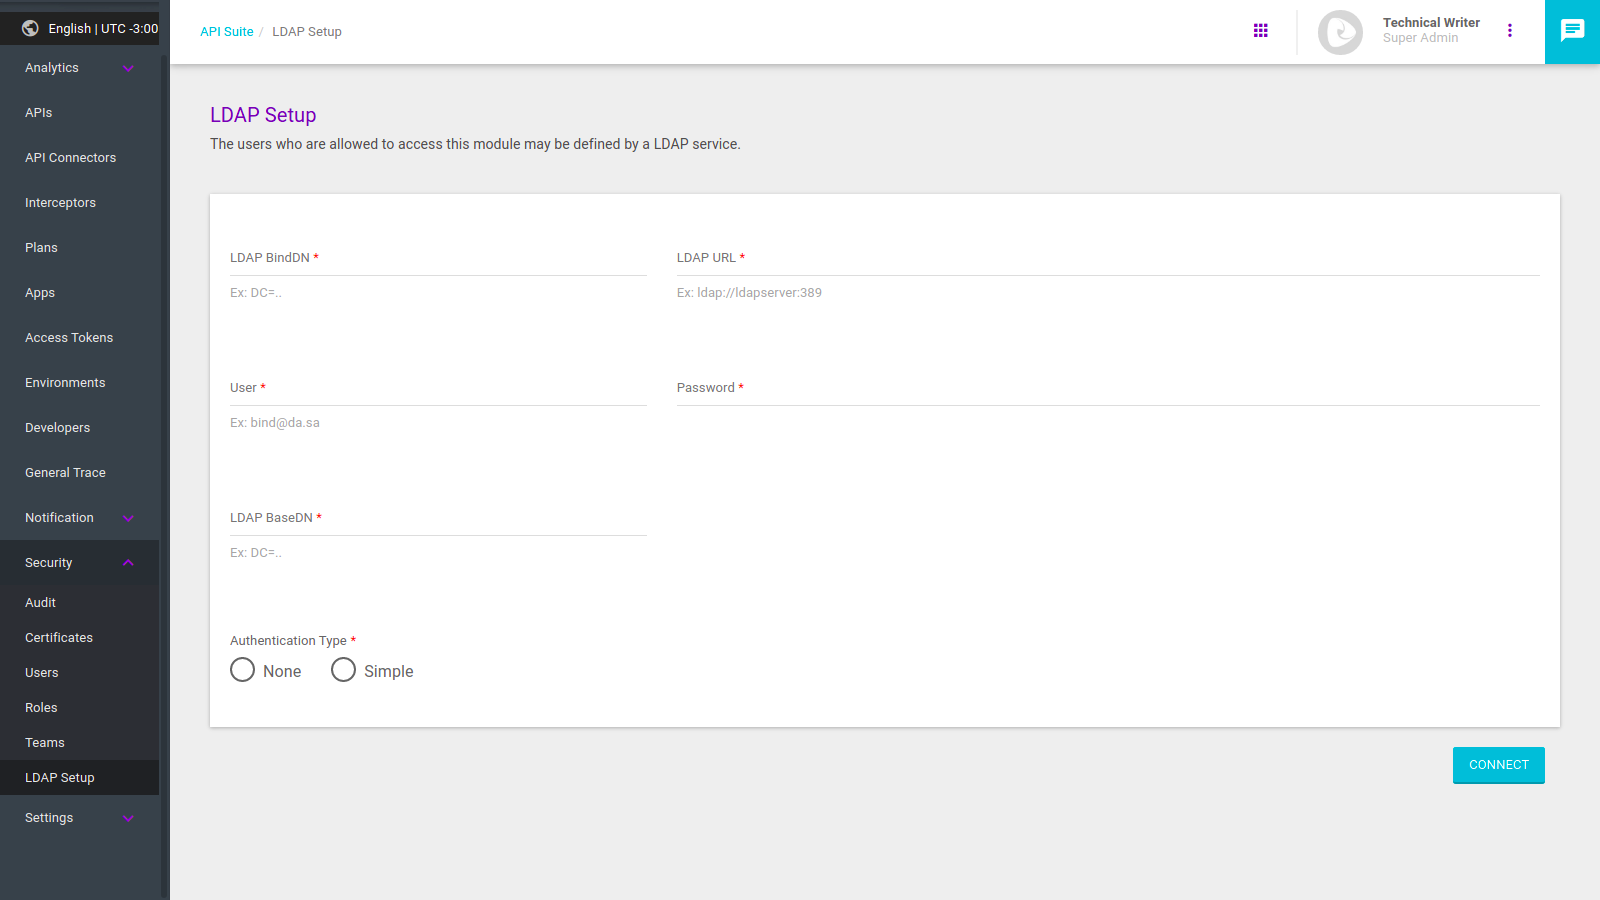
The LDAP Setup screen is found inside the Security option on the main menu.

Setting up LDAP
The LDAP protocol creates a hierarchical organisation of objects — users, groups and organisational units (OUs) — found in a directory.
To configure the LDAP access, you must assign the directory that contains the objects mentioned above and specify their location inside the directory.
For this, you must fill in the data required into the following fields.
| Note that the fields LDAP BindDN, LDAP URL and LDAP BaseDN use LDAP syntax. You can read about it here. |
-
LDAP BindDN: field to insert the DN (distinguished name), which identifies the objects and their location inside the directory.
-
The objects may be users, groups or OUs. We recommend that clients that want to use LDAP create a specific OU for the Sensedia Platform. That is because a large number of OUs or groups might slow up the processes of LDAP setup and Manager login.
-
-
LDAP URL: it must contain the URL of the LDAP server.
-
User: insert the Manager user responsible for the LDAP connection. This user must have permission access to LDAP and users (see more about this on the Roles session).
-
Password: inform the password of the user inserted into the previous field.
-
LDAP BaseDN: base DN identifies the starting point of searches for objects in the directory.
-
Authentication Type: field to select the authentication format of the LDAP server. These are the options:
-
None: no authentication is required (the connection is anonymous). It only requires user validation.
-
Simple: it uses simple authentication (a cleartext password). It requires user validation and password;
-
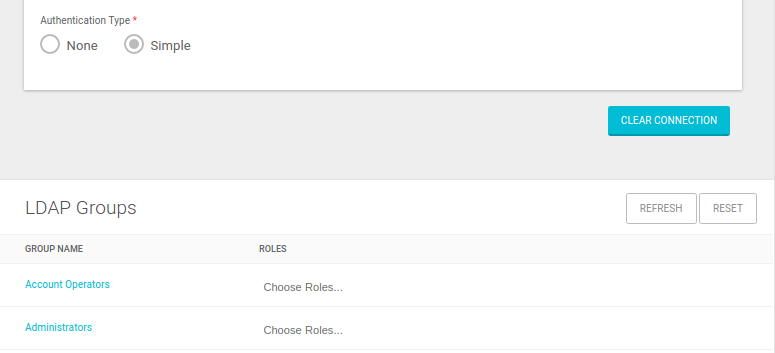
To confirm the configuration, click the Connect button, which will activate the LDAP feature. If the connection is successful, the Manager will search for existing user groups in LDAP server’s active directory, following the search parameters informed on the fields above. These groups will be displayed on the LDAP Groups field.

To remove the current LDAP connection or set up a new one, click the Clear Connection button. The current LDAP connection will be removed.
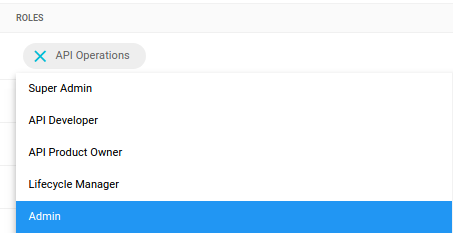
Under the Roles column of the LDAP Groups field, you can create an automatic association between the users of an LDAP group and a pre-determined permission role (see more about roles here). You can select more than one role for each group.
| If a role is deleted from the Manager, the association is automatically excluded. |


The Reset button deletes all associations between groups and roles. A warning will be exhibited if you click on it, since all existing ties will be cleared.

The Refresh option updates existing LDAP groups by performing another search. In case there is any modification, the affected group will be highlighted.

Share your suggestions with us!
Click here and then [+ Submit idea]