Thanks for your feedback!
EDIT
On the Handlers screen you can create new handlers as well as make modifications to existing ones, either by editing their settings or deleting the handler entirely.
It’s in the process of creating or editing handlers that you can create the topics that will complete the publication URL, used by publishers to send requests to the Events Hub.
You can create a new handler by clicking the + floating button.
The configuration process spans four stages, described below: OVERVIEW, TOPICS, POLICY, and REVIEW.
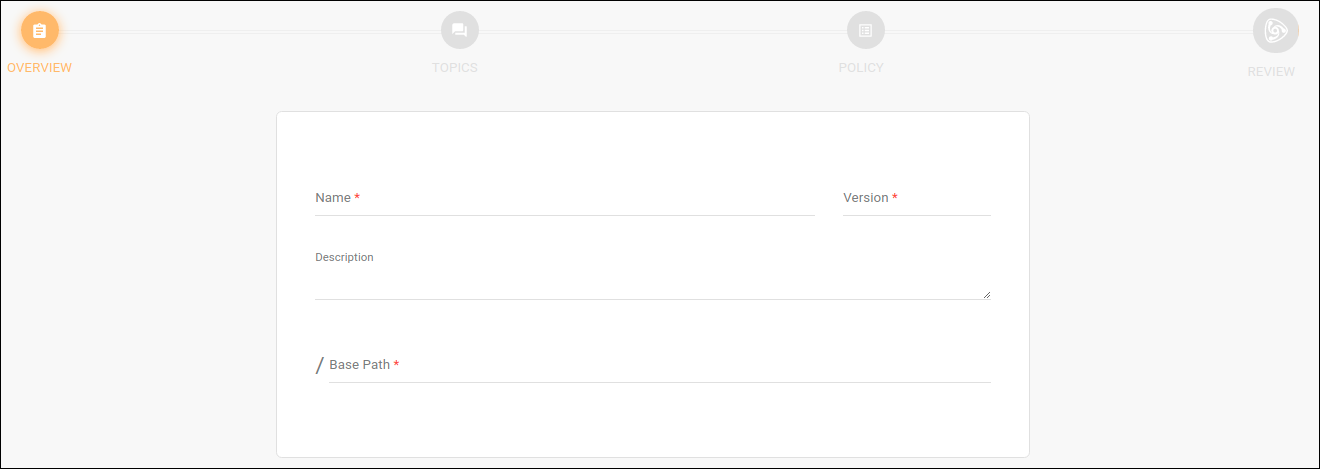
The first screen contains the fields for basic data:
Name.
Version.
Description (optional field).
Base Path: required field to type in the path that refers to the handler; it will be used as part of the publication URL (see more about it here).
| The handler’s base path must be unique; that is, it is not possible to register more than one handler with the same base path. |
The second step of configuring a handler is when you create the topics that will be grouped together. The topics are the last placeholder that comprise the publication URL for events to be sent to Events Hub.
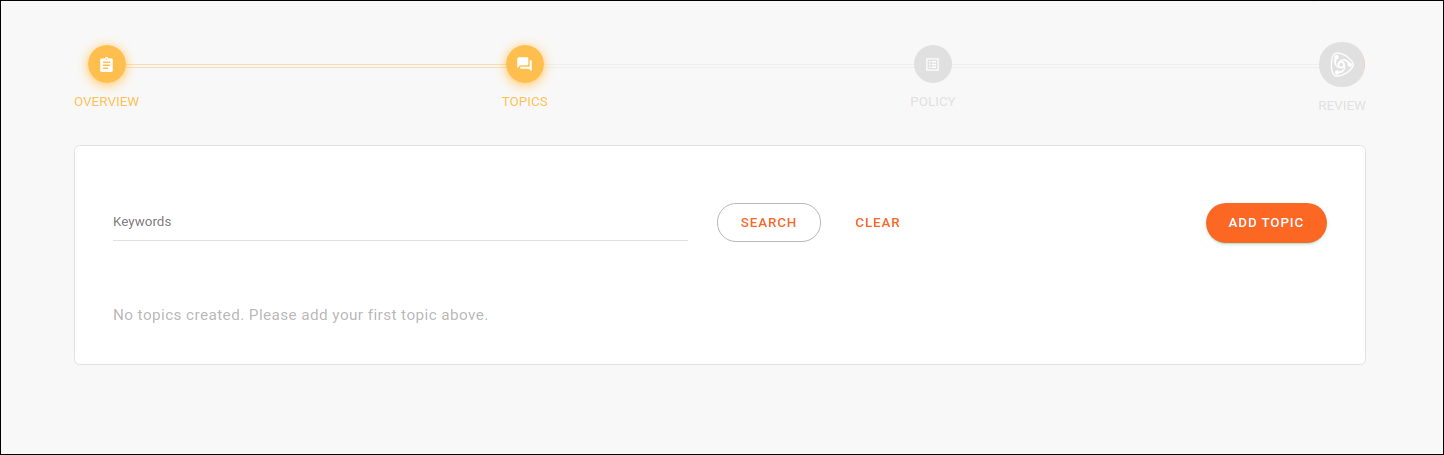
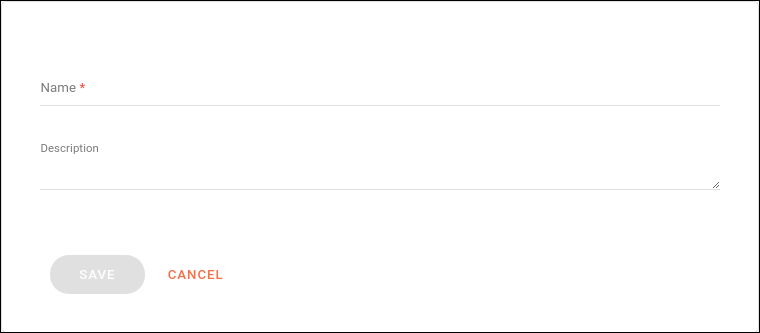
To create a new topic, click on ADD TOPIC. This will lead to a screen to type in a name (that will be concatenated to the publication URL) and a non-required description:
You can add as many topics as you want and they will be listed as in the example below:

You can edit the topic’s name and description by clicking on ![]() and delete it by clicking on
and delete it by clicking on ![]() .
.
By clicking the icon ![]() , you can see the contexts that are registered and can enable each topic to the contexts you wish (through the button under the column AVAILABLE):
, you can see the contexts that are registered and can enable each topic to the contexts you wish (through the button under the column AVAILABLE):
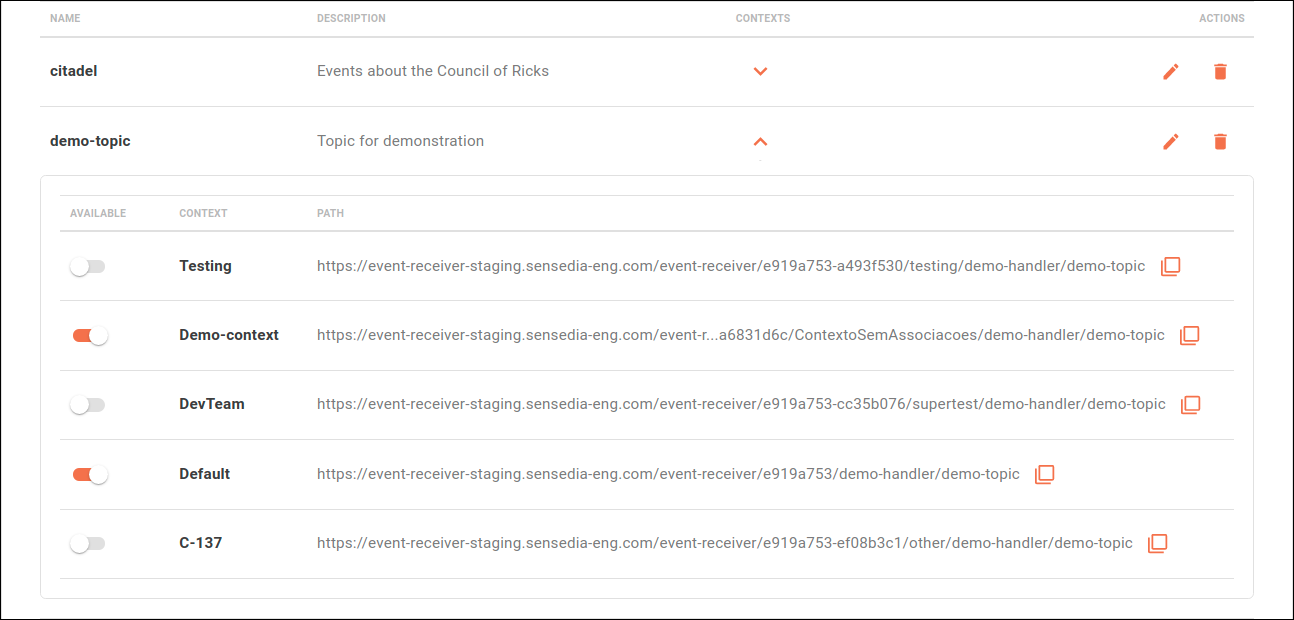
| The topics can be associated with contexts later through editing. But if a topic is not associated with a context, it won’t be possible to send events to it. |
In the POLICY step you can apply a policy of security and automatic delivery retries to the handler:
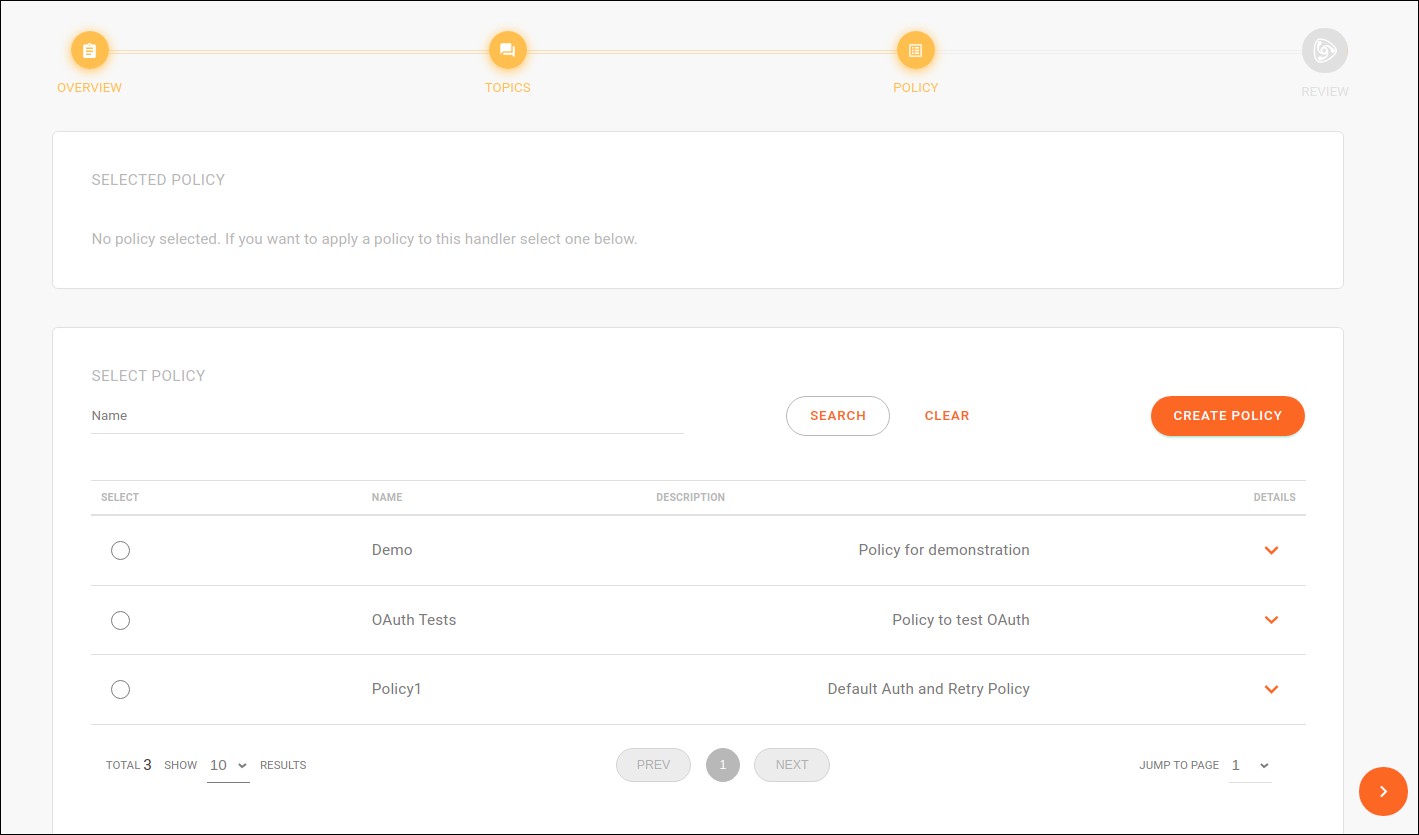
In this step, security is defined by authorization validation interceptors that must be applied for requests from publishers to be accepted by Events Hub. In turn, the delivery retry configuration defines the number of automatic attempts that must be made if the first publication delivery to subscribers fails. It also defines the state codes that must trigger a new retry and the request timeout.
| See more about policy configuration here. |
You can choose a policy that has already been created on the Policies page (by selecting it from the list) or create a new policy (through the CREATE NEW POLICY button). The creation process is the same (see details about it here.
If you click the icon ![]() , the screen will display de delivery retry settings and the security interceptors applied:
, the screen will display de delivery retry settings and the security interceptors applied:
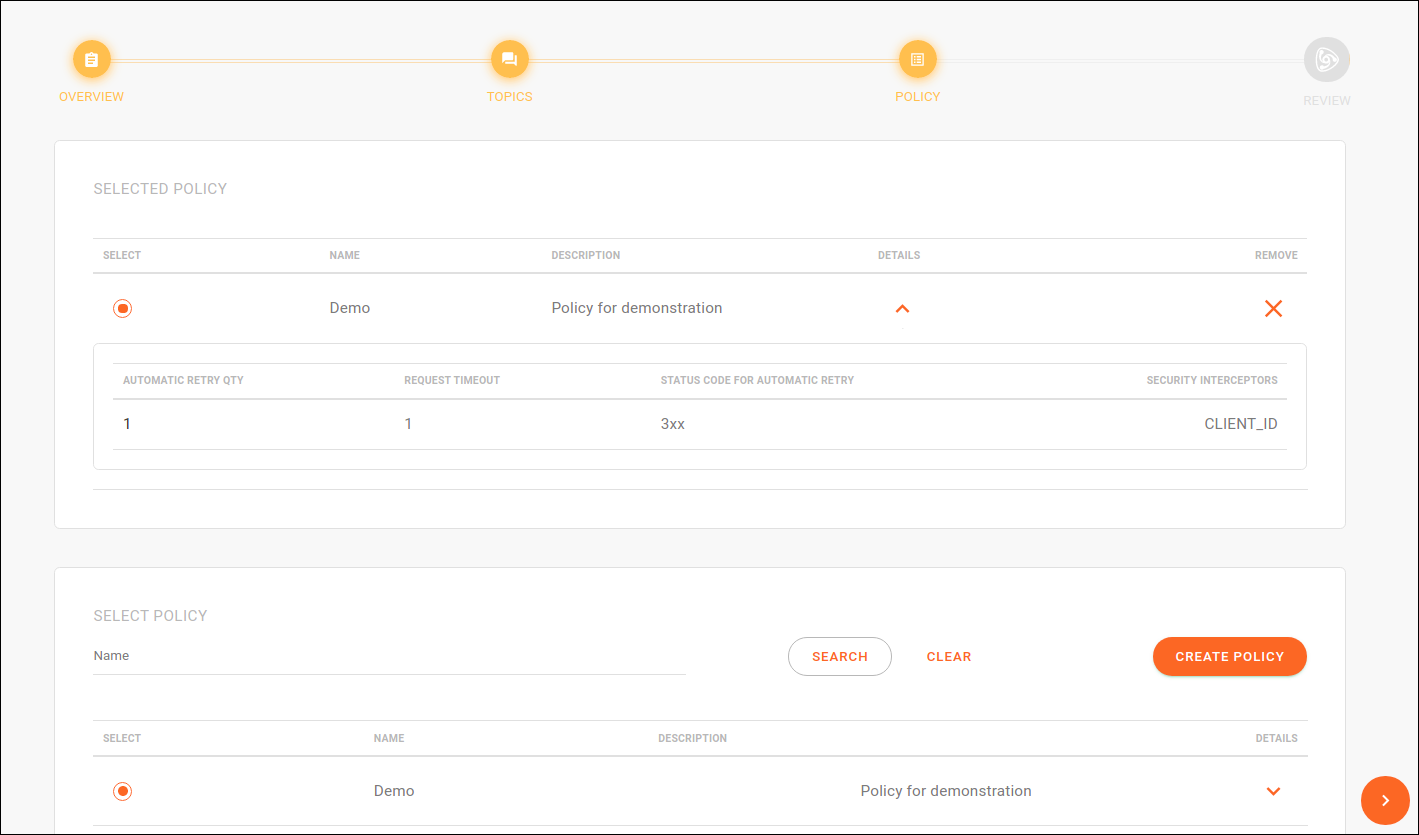
| You can apply only one policy to a handler. |
The last stage shows a summary of the handler created, listing the topics grouped under it and the policy applied:
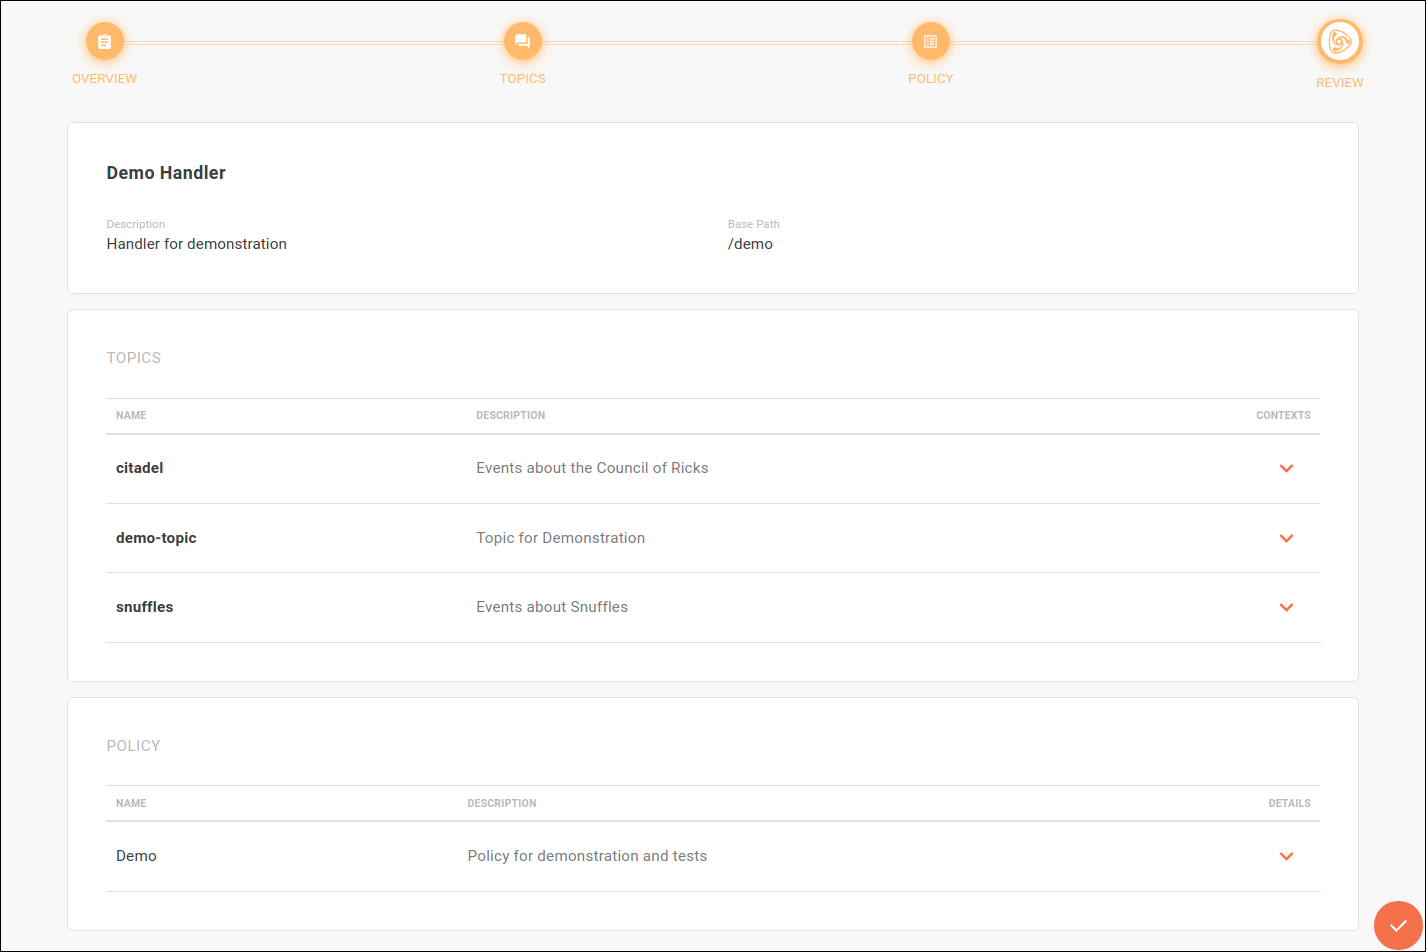
As in the TOPICS step, by clicking the icon ![]() for a topic, you will see the contexts registered and can enable each topic in the contexts you wish.
And as in the POLICY step, when you click the icon
for a topic, you will see the contexts registered and can enable each topic in the contexts you wish.
And as in the POLICY step, when you click the icon ![]() next to the policy, the screen will display de delivery retry settings and the security interceptors applied.
next to the policy, the screen will display de delivery retry settings and the security interceptors applied.
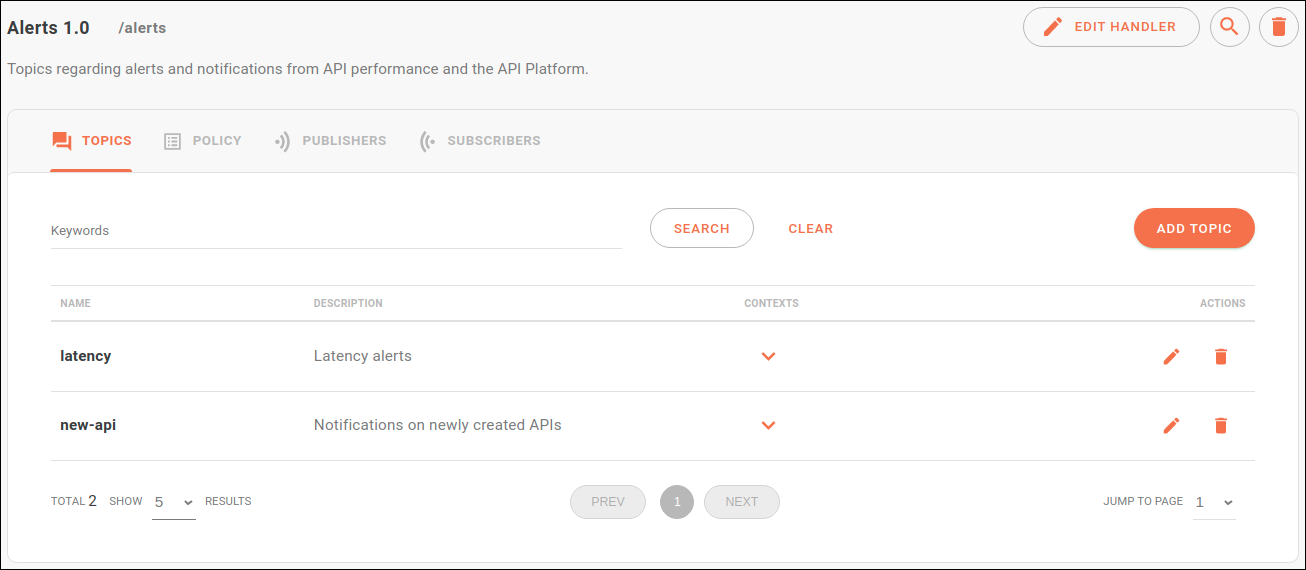
A handler is edited on its overview screen (as in the example image below) by clicking the button EDIT HANDLER.
The overview screen is accessed by clicking on a handler’s card (when the Handlers screen is set to card view) or on the icon ![]() in the table (when the Handlers screen is set to list view).
in the table (when the Handlers screen is set to list view).
The button EDIT HANDLER allows modifying the basic data (name, description and base path).
In turn, topics may be edited by clicking the icon ![]() in the TOPICS tab.
in the TOPICS tab.
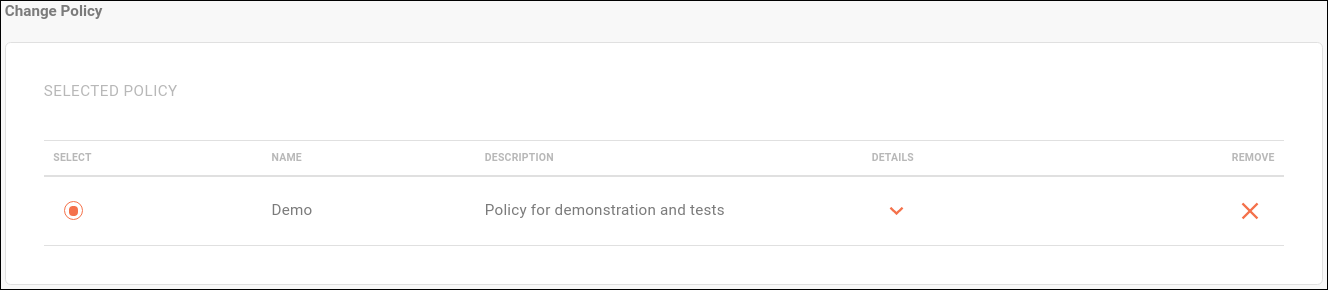
The selected policy may be replaced.
To do this, click the icon ![]() in the POLICY tab and select another policy from the list.
To remove the policy selected, click the same icon
in the POLICY tab and select another policy from the list.
To remove the policy selected, click the same icon ![]() and then
and then ![]() :
:
You can also edit the policy by clicking its name in the POLICY tab and then ![]() .
.
You can delete a handler completely by clicking the icon ![]() in the handler’s row in the list view of the Handlers screen or, alternatively, by clicking the same icon on the handler’s overview screen.
The overview screen is accessed by clicking on a handler’s card (when the Handlers screen is set to card view) or on the icon
in the handler’s row in the list view of the Handlers screen or, alternatively, by clicking the same icon on the handler’s overview screen.
The overview screen is accessed by clicking on a handler’s card (when the Handlers screen is set to card view) or on the icon ![]() in the table (when the Handlers screen is set to list view).
in the table (when the Handlers screen is set to list view).
If a handler is deleted, all the topics grouped under it will be deleted as well.
You can delete topics individually in the TOPICS tab of the overview screen, clicking the icon ![]() in the topic’s row.
in the topic’s row.
Share your suggestions with us!
Click here and then [+ Submit idea]