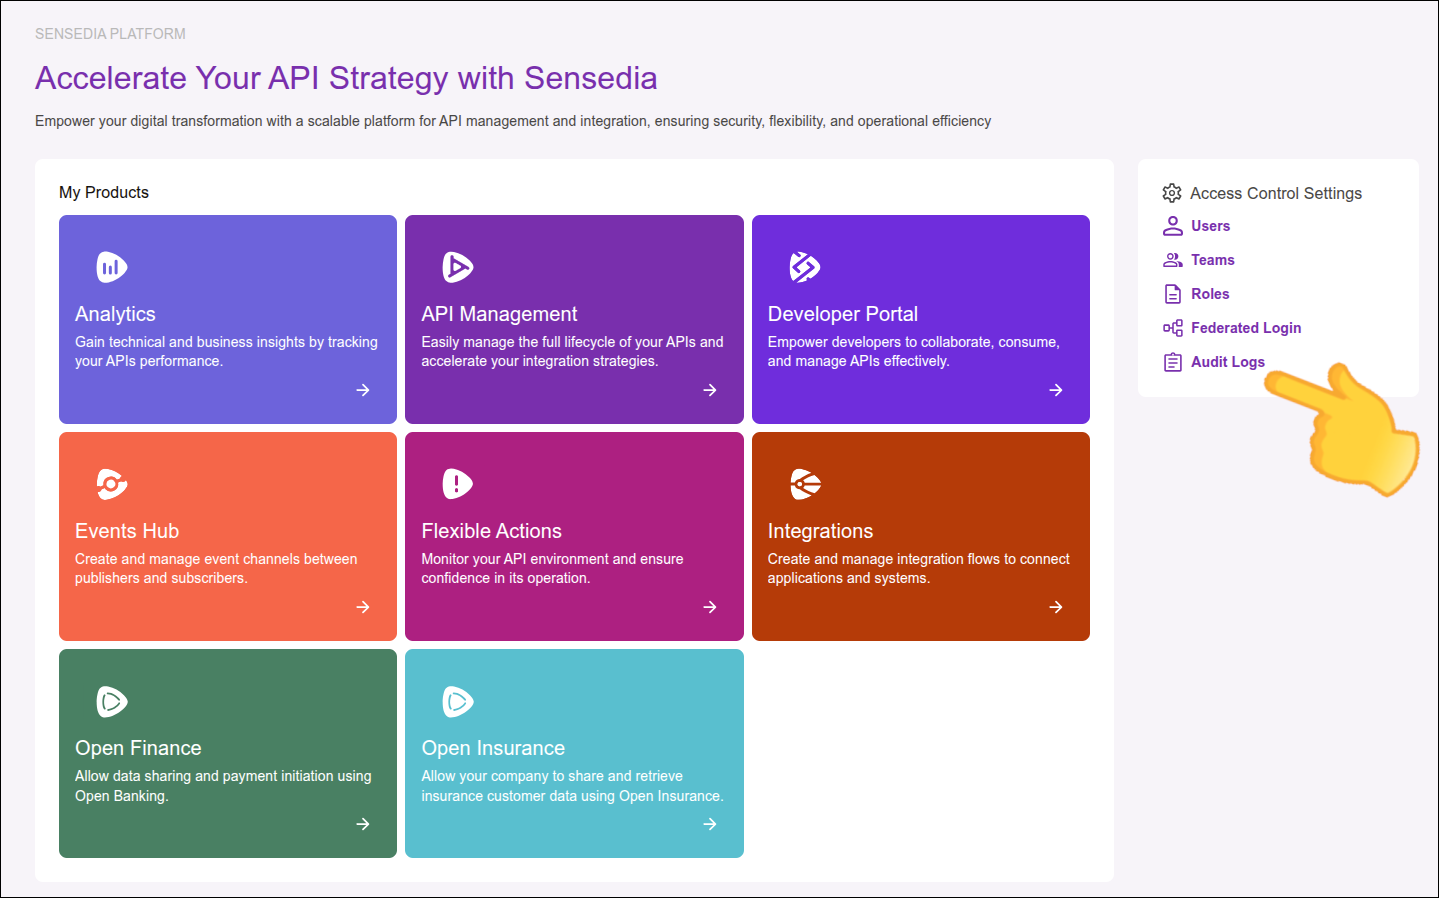
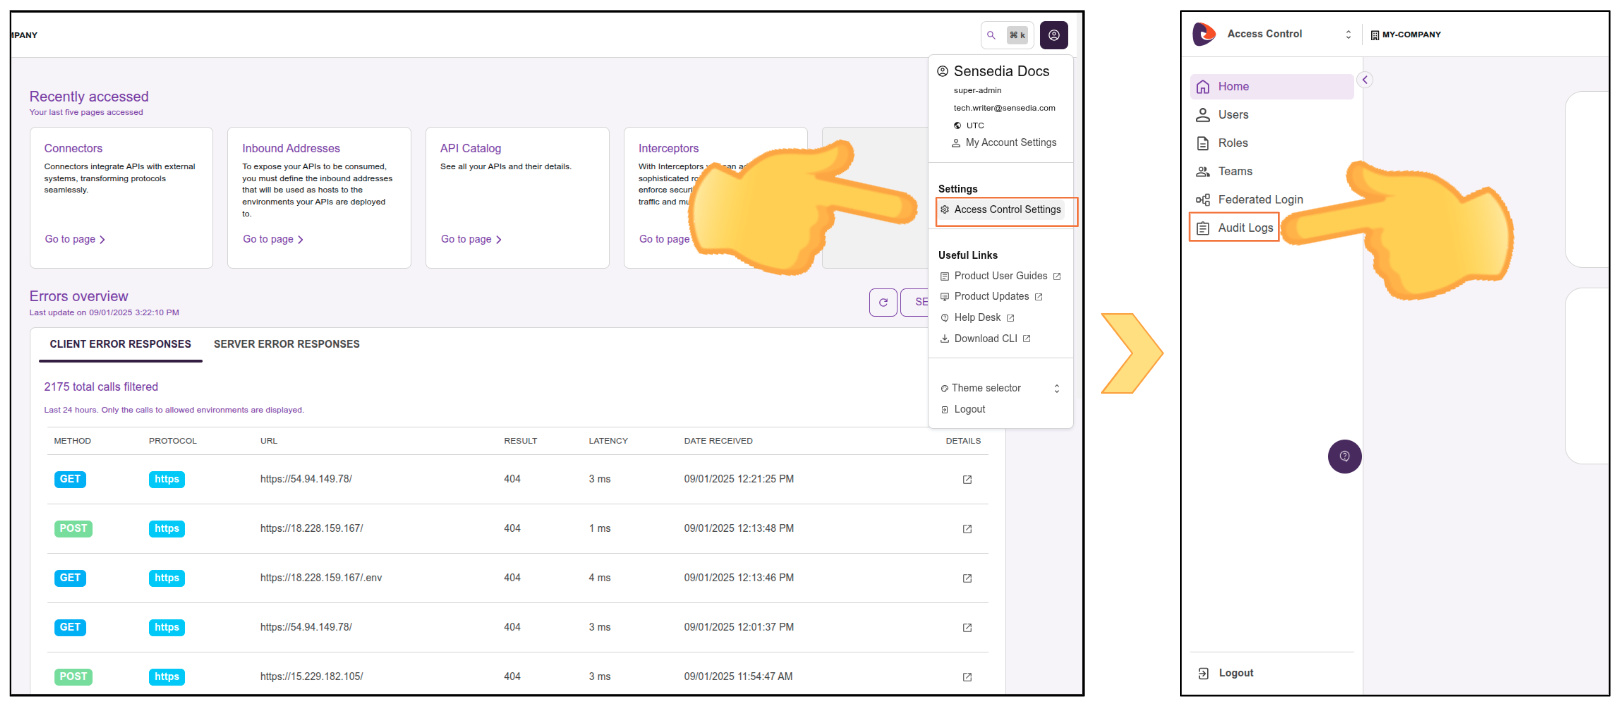
Audit Logs
The Audit Logs feature acts as an auditing tool, listing all events that have occurred in the system.
A log is generated whenever an object is created, updated, or deleted from the system. For example, when you finish registering a new API in the Manager, the log of that creation is saved in the Audit Logs list.
|
Logs stored in the Audit Logs feature are retained for a period of 1 year from the date the event is generated. After this period, records are automatically deleted from the system. |
Log Listing
You can configure the log listing to display the fields you prefer. To do this:
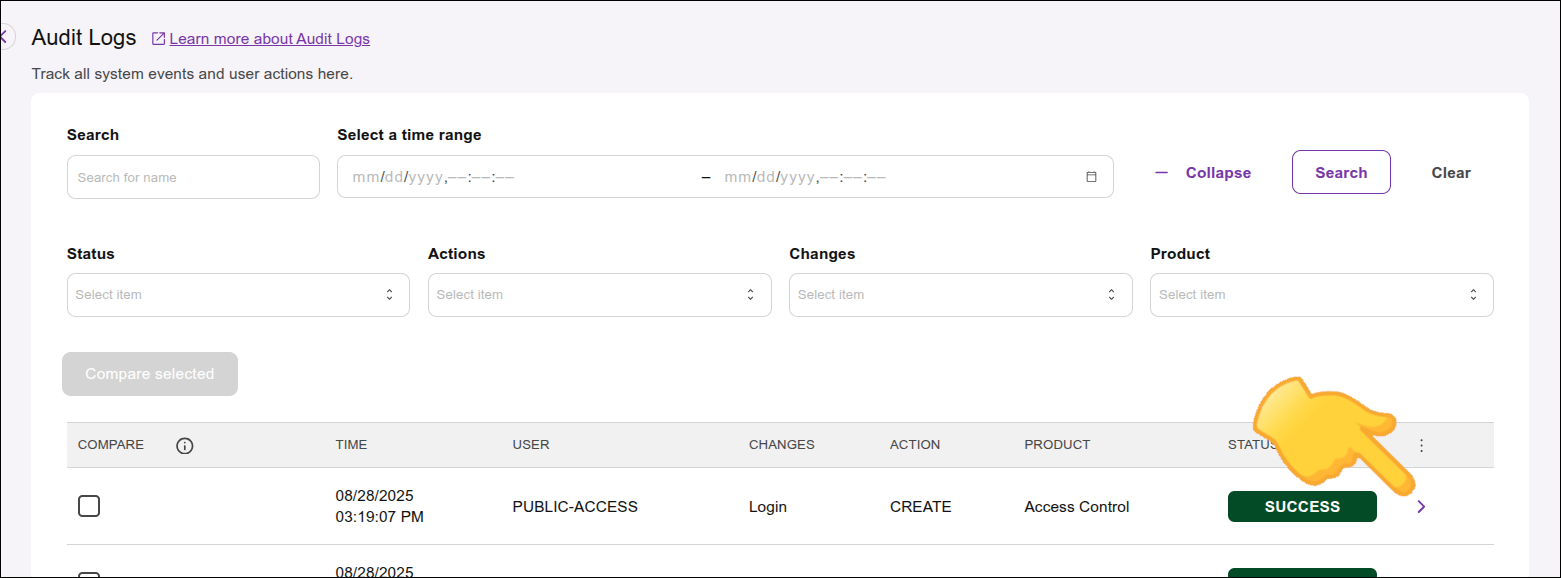
The fields available for display are:
-
COMPARE: displays selectable boxes to compare two different logs from the JSON of each one.
-
TIME: shows the time the event occurred.
-
USER: indicates the user who performed (or intended to perform) the action on the object.
-
CHANGES: displays the type of object that was changed or intended to be changed. The change can occur in any accepted object, from API data to a modification in the log of any user, for example.
-
ACTION: shows the action performed or intended by the user — creation (create), deletion (delete), or update (update).
-
PRODUCT: displays the Sensedia products that have audit logs.
-
ORIGIN: displays the method used by the application to perform the action, e.g., API Manager or the product’s API.
-
STATUS: indicates the status of the action intended by the user; that is, whether it was successful or failed.
Search Filters
The listing screen also has a search area with filters. To see all fields, click Expand — or click Collapse to see less.

Viewing and Comparing Logs
To view the JSON of a specific log:
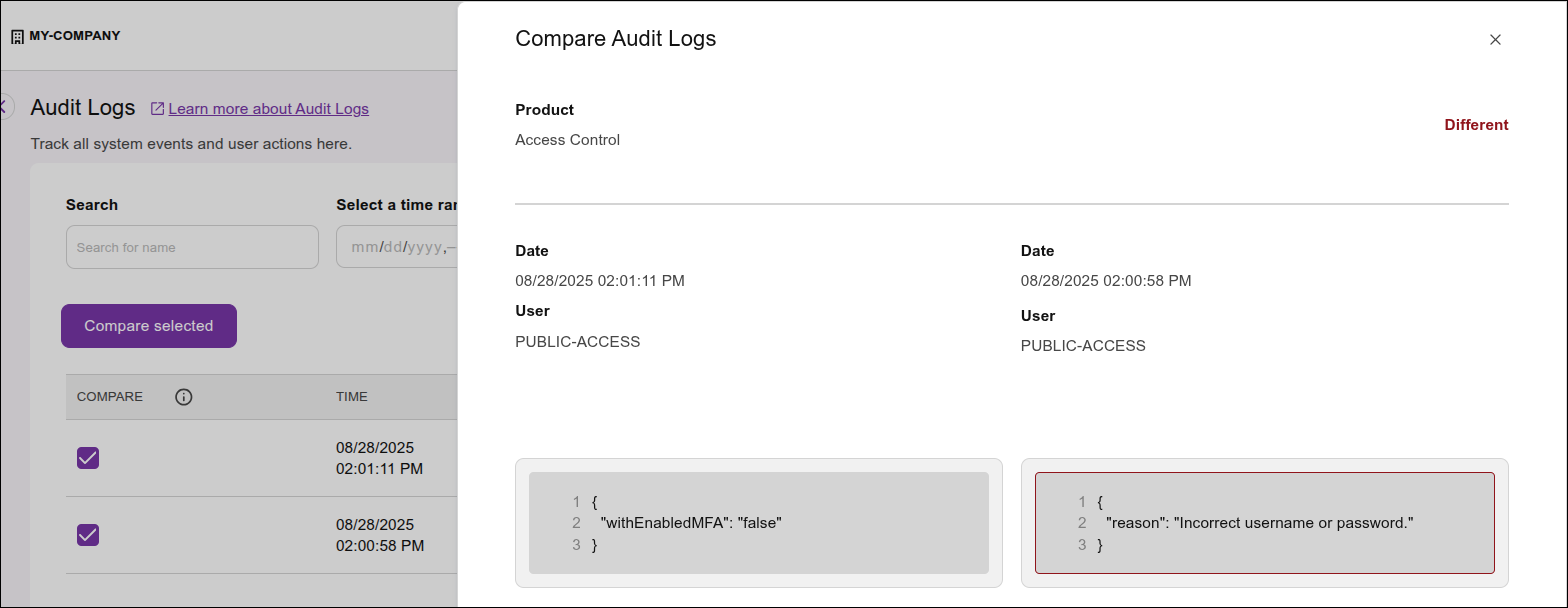
To compare two different logs:
| You can only compare logs that share the same object type. |
Share your suggestions with us!
Click here and then [+ Submit idea]


