Thanks for your feedback!
EDIT
See how to:
Activate or inactivate users.
Edit user tags.
Assign teams and roles to users.
Change user passwords.
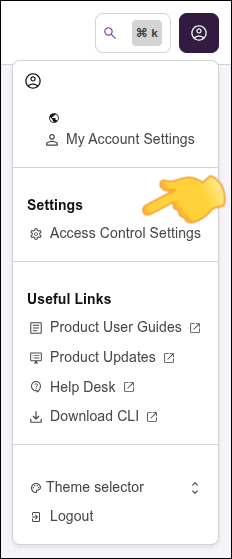
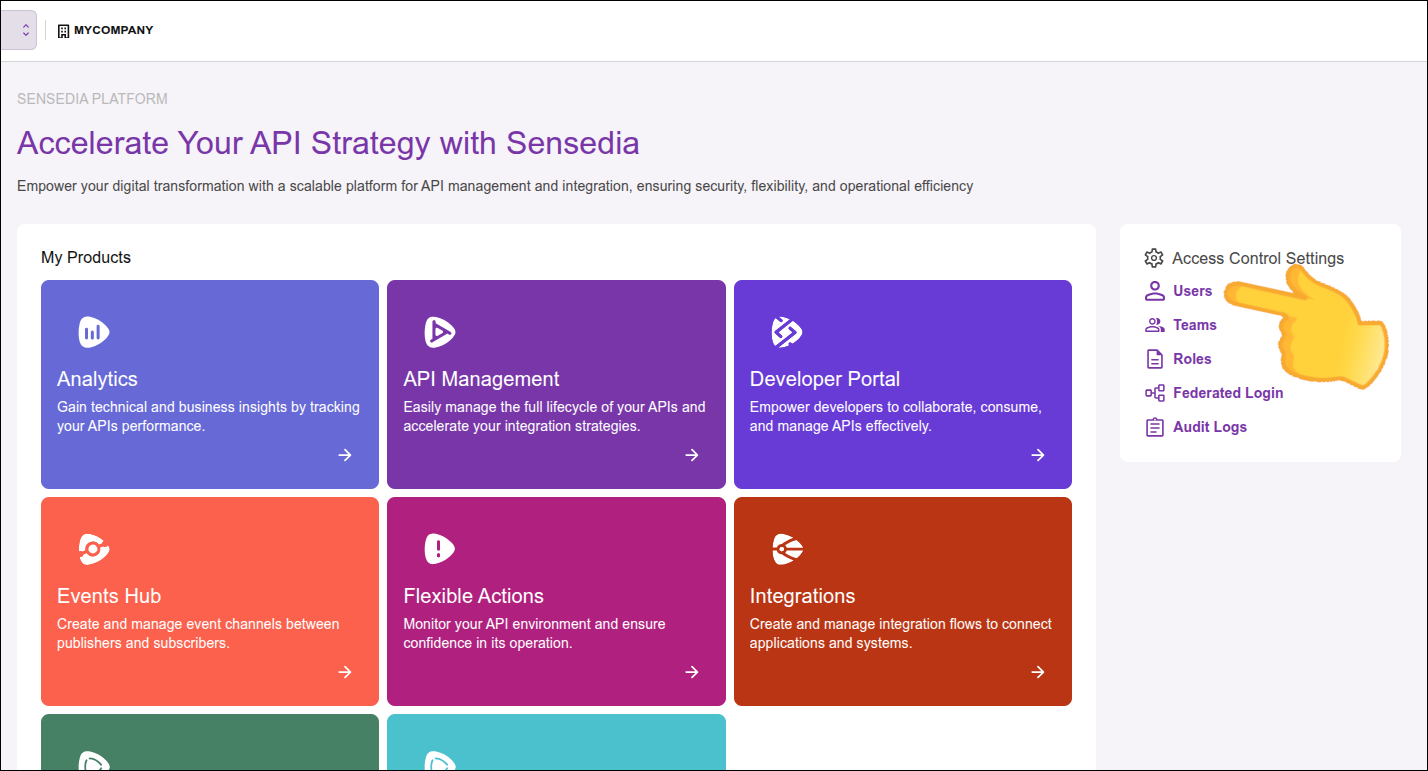
To perform these actions, go to the Users screen in Access Control Settings. You can access these settings by clicking the icon in the top right corner of any Sensedia product screen, or from the right side menu of a home page.
|
|
|
| Use the inactivate option as an alternative to deleting a user. |
Go to the Users screen.
Locate the user you want to activate or inactivate and click the > icon in the Actions column corresponding to the user.

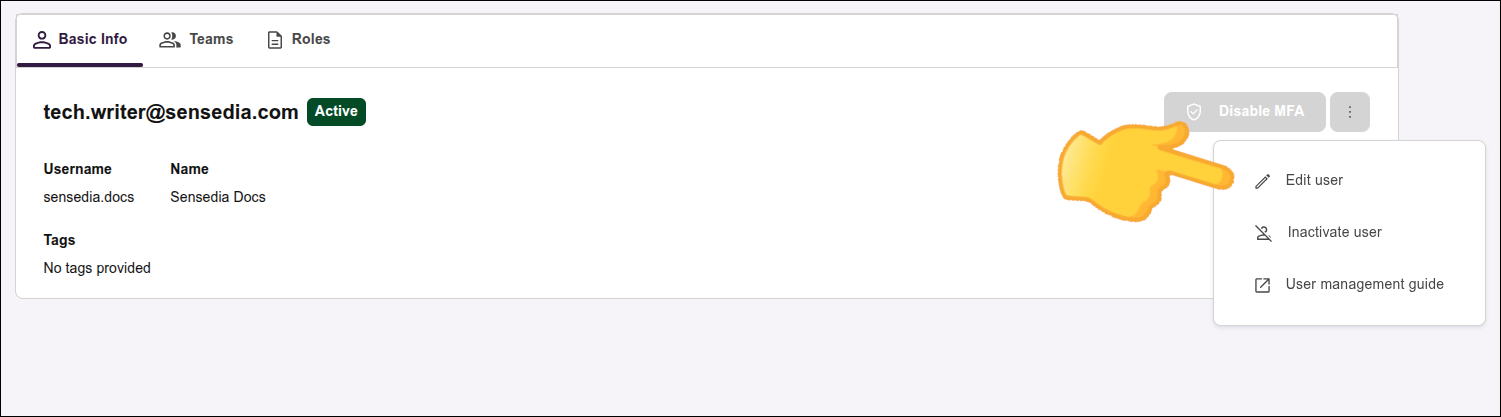
On the screen that opens, click the menu icon ![]() in the top right corner of the screen and select either Activate user or Inactivate user.
in the top right corner of the screen and select either Activate user or Inactivate user.
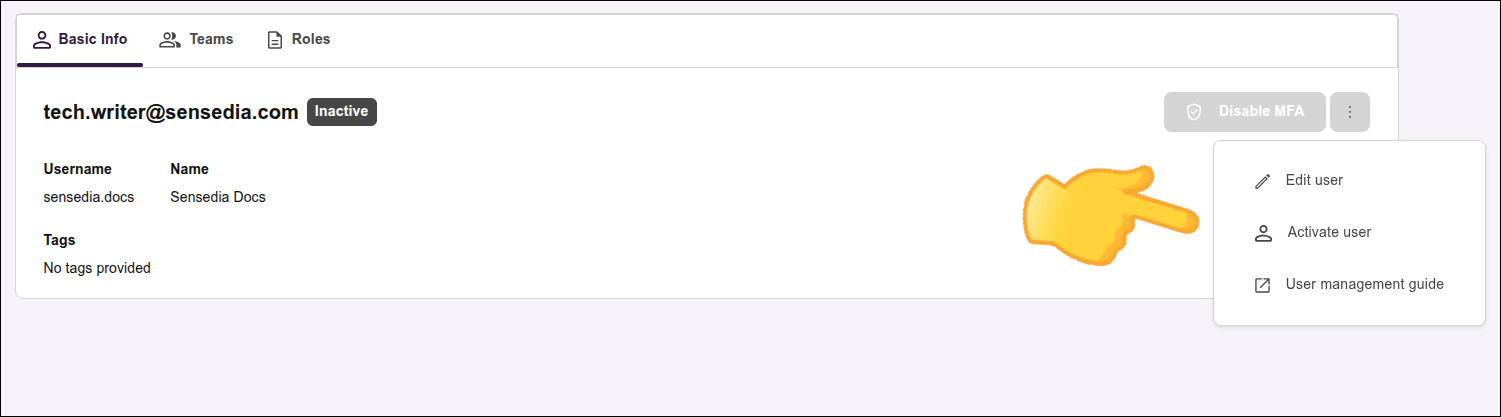
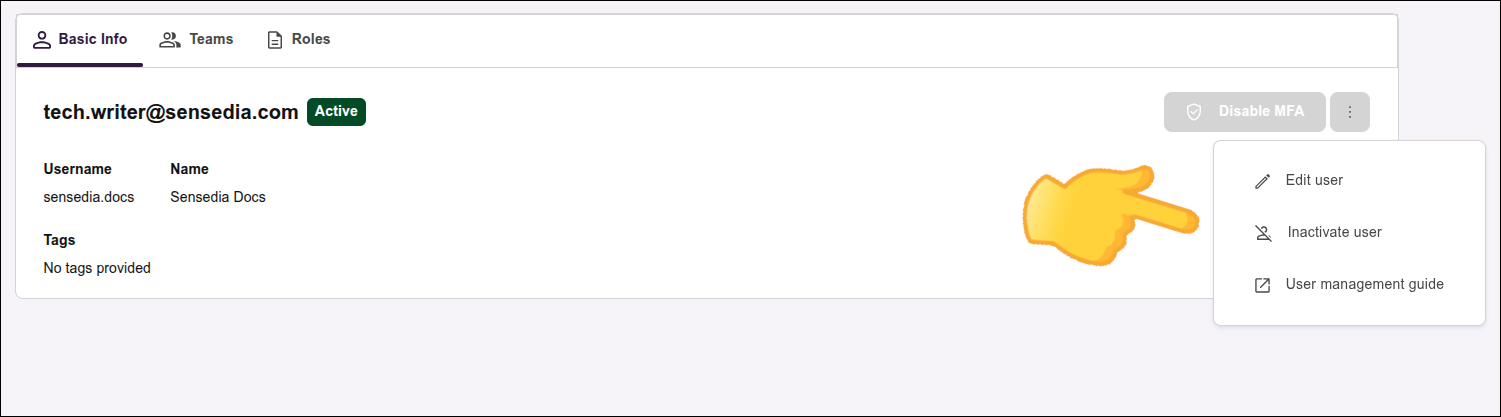
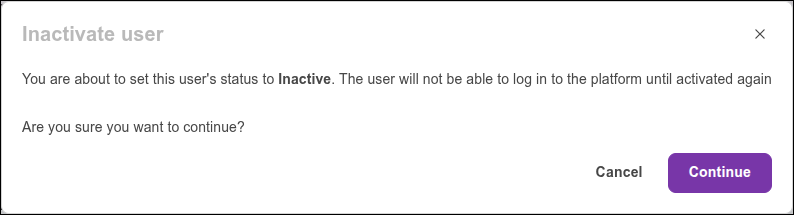
Confirm the action by clicking Continue.
|
This video illustrates the process to inactivate and activate a user:
To edit a user’s tags:
Go to the Users screen.
Locate the user you want to edit and click the > icon in the Actions column corresponding to the user.
On the screen that opens, click the menu icon ![]() in the top right corner of the screen and select the Edit user option.
in the top right corner of the screen and select the Edit user option.
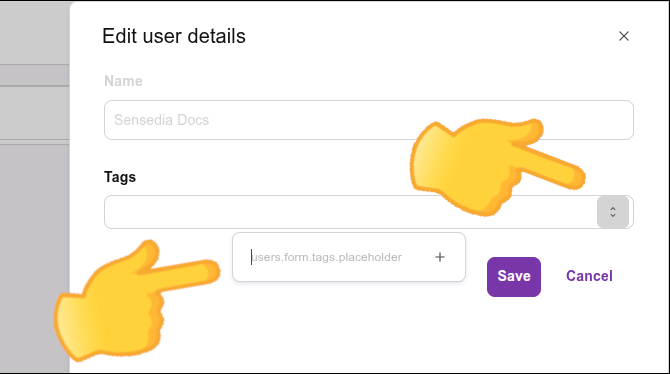
To add a tag, click the scroll bar and select the desired tag or type the text to create a new tag.
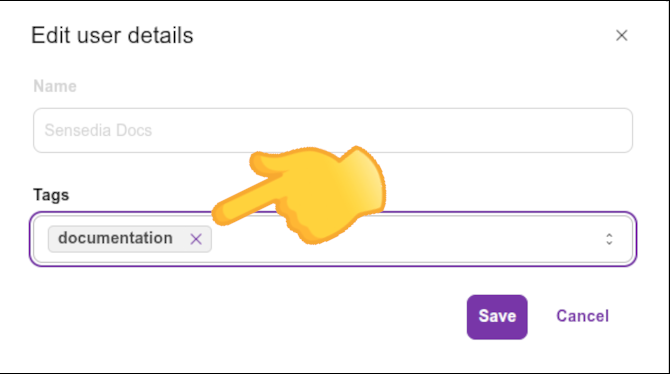
To remove a tag, click the X next to the tag you want to remove.
To assign teams and roles to a user:
Go to the Users screen.
Locate the user you want to edit and click the > icon in the Actions column corresponding to the user.
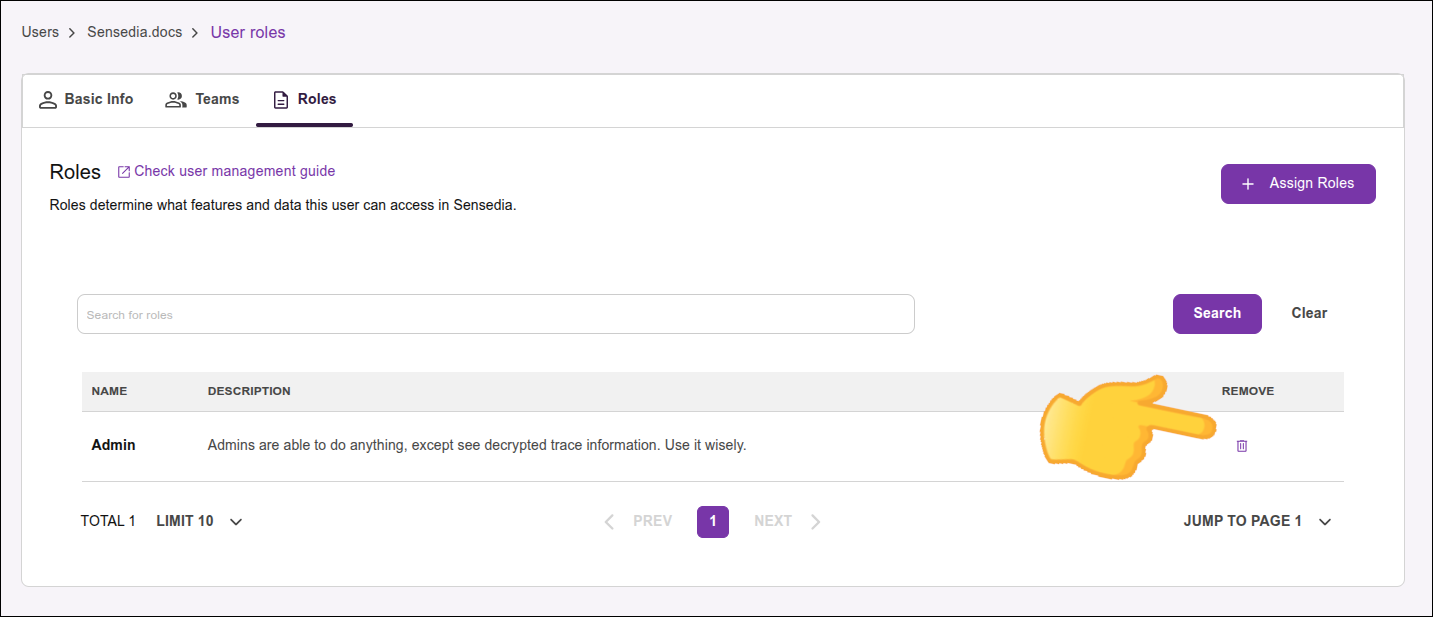
Select the Teams or Roles tab.
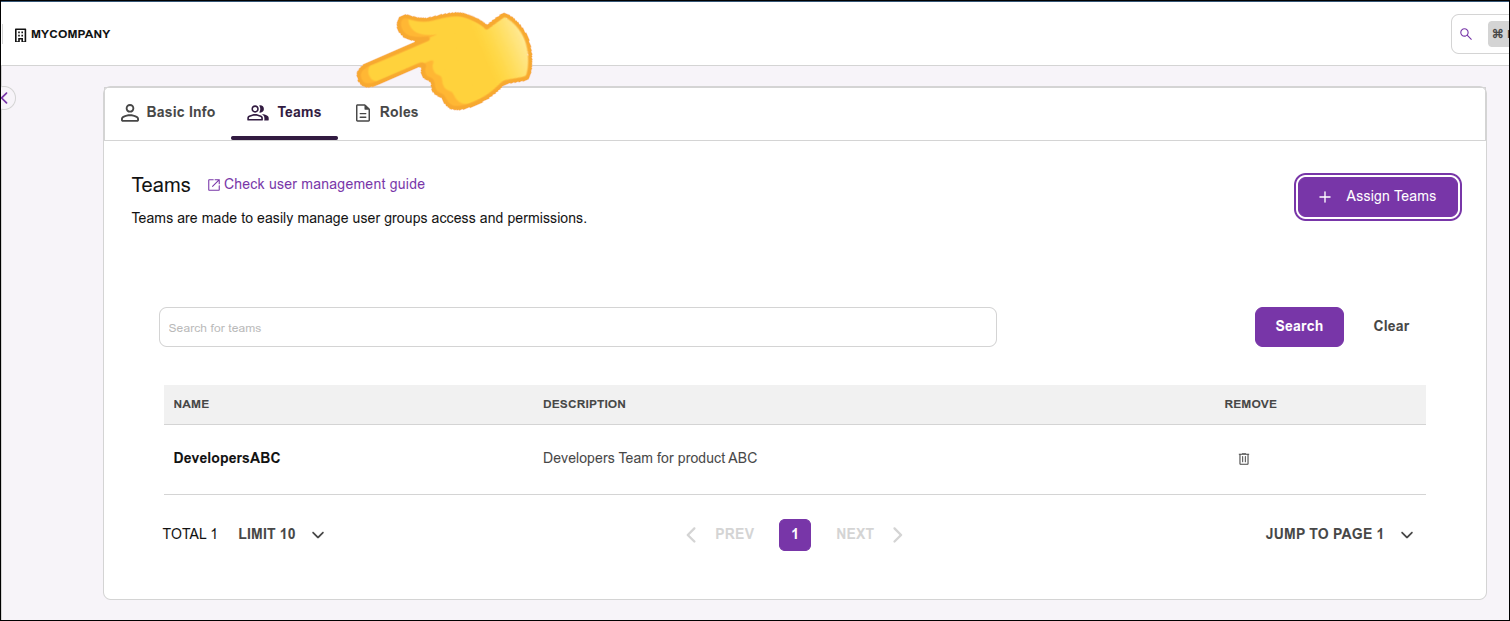
To assign a team or role:
Click + Assign team or + Assign role.
Select one or more teams or roles from the list that opens and click + Add n teams or + Add n roles, where n is the number of selected items.


To remove a team or role, click the icon next to the item you want to remove.
| Teams and Roles correspond to the former Groups and Policies, respectively. |
To change the password:
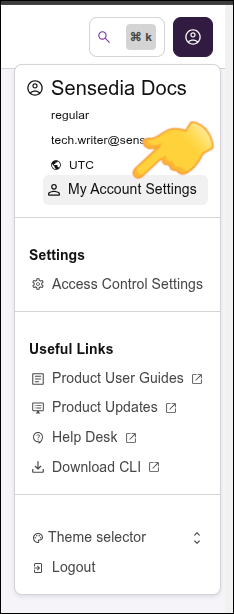
On any Sensedia product screen, click the user icon in the top right corner of the screen and select the My Account Settings option.
Click Change Password.
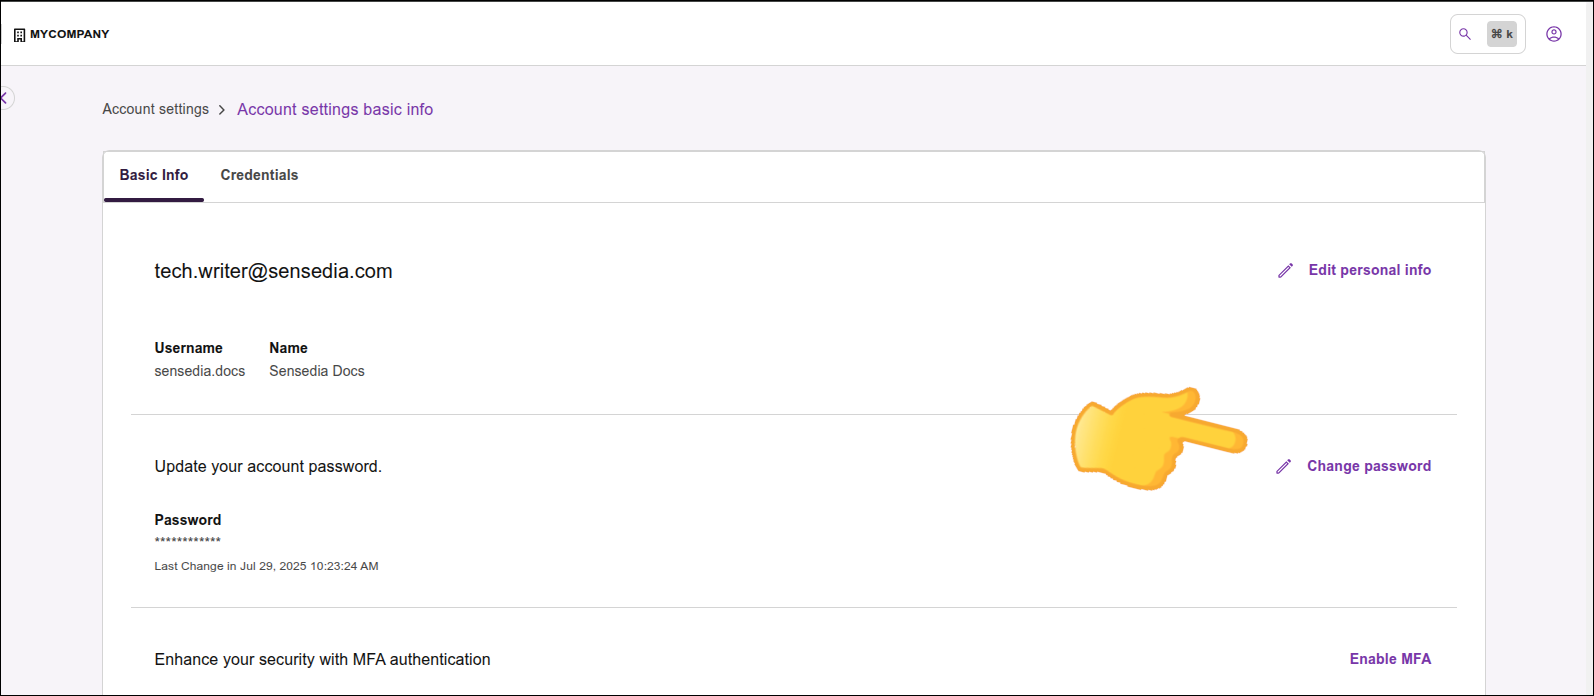
Enter the current password and the new password in the corresponding fields.
Click Change Password to confirm the change.
You must comply with the password policy.
More specifically, the password must contain:
uppercase and lowercase letters,
numbers,
special characters,
a minimum of 12 characters.
| Your new password must be different from the last four passwords used. |
If you prefer, follow the password change procedure with the video below:
| Access Control does not require password changes at defined intervals (such as every 45, 60, or 90 days)[1]. |
Alternatively, you can also configure integration with an external Identity and Access Management (IAM) provider for logging into Sensedia products.
Share your suggestions with us!
Click here and then [+ Submit idea]