Thanks for your feedback!
EDIT
In Roles, you can control user permissions and manage all access according to your company’s security needs and policies. This gives you greater control, limiting the actions and privileges of users who utilize the resources available in Sensedia products.
The rules are applied to each user, ensuring that resources are accessed only by authorized individuals.
You can create and edit your own roles, as shown below, or you can use the default roles.
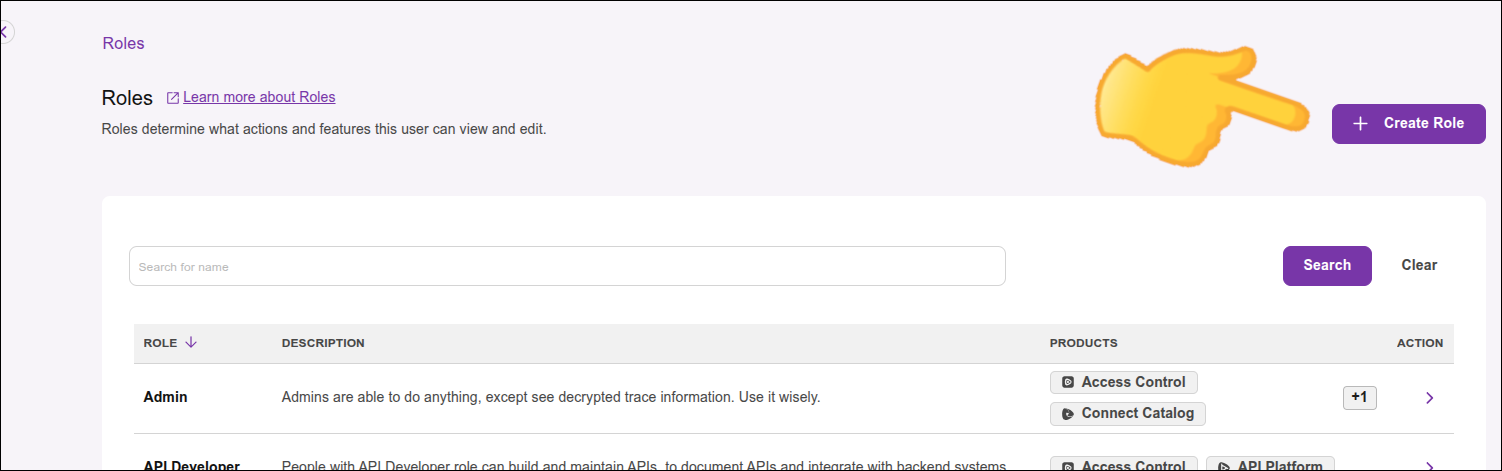
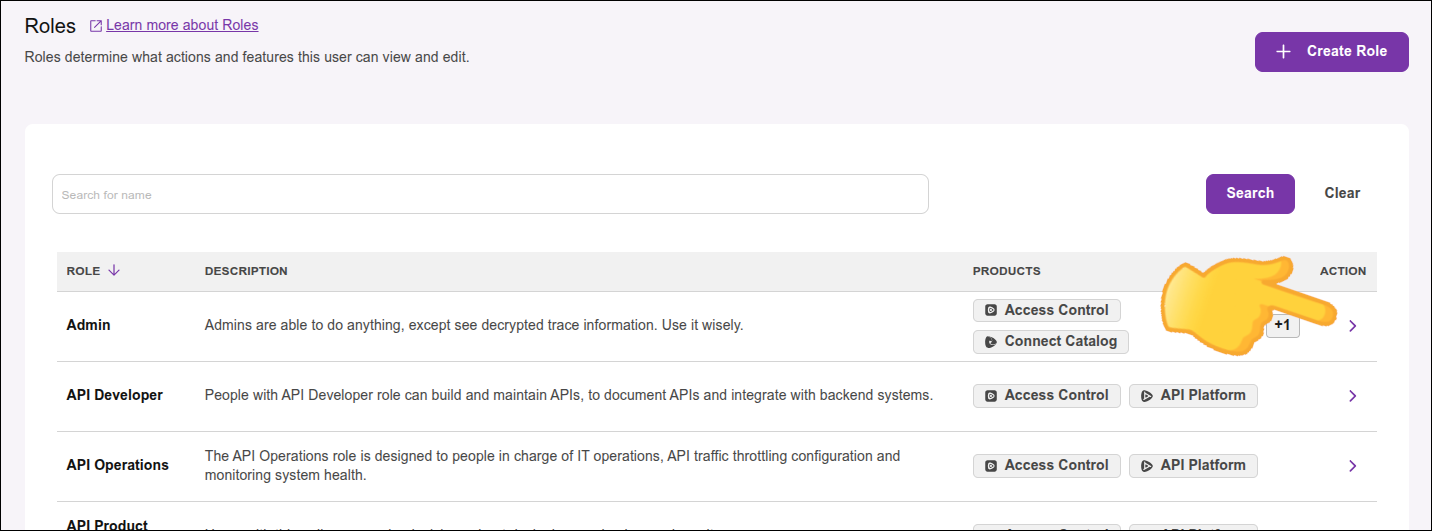
The main Roles page in Access Control lists the existing roles. In addition to the role name, you can see the description (when it exists) and the products to which the role applies.
A user who has the Super Admin role permissions can perform all available operations, however:
a Super Admin user cannot remove themselves (i.e., they cannot delete their own Super Admin user);
only a Super Admin user can remove another Super Admin;
no user can edit the Super Admin role’s permissions.
Remove own user |
Remove (another) Super Admin user |
Remove regular user (except their own user) |
Edit or delete Super Admin role |
Create, edit, delete default roles |
Create, edit, delete roles (except Super Admin and default) |
|
Super Admin |
no |
yes |
yes |
no |
no |
yes |
Regular user |
no |
no |
yes |
no |
no |
yes |
To add a new role:
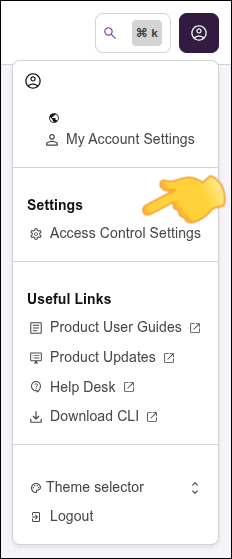
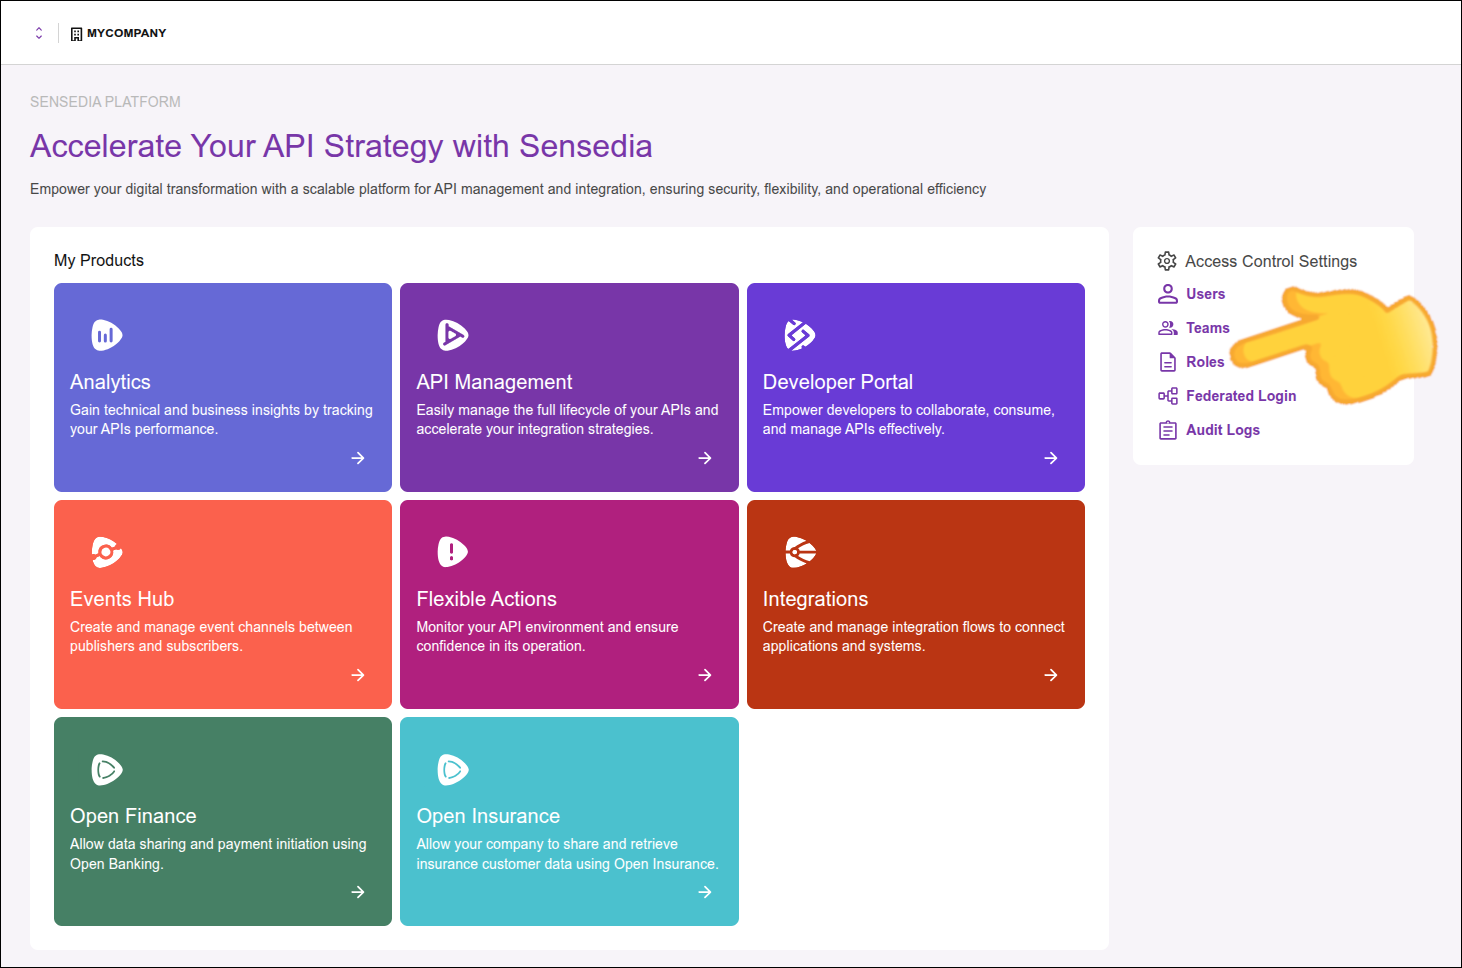
Go to Roles in Access Control Settings.
You can access these settings by clicking the icon in the top right corner of any Sensedia product screen, or from the right side menu of a home page.
|
|
On the Roles screen, click the + Create Role button in the top right corner of the screen.
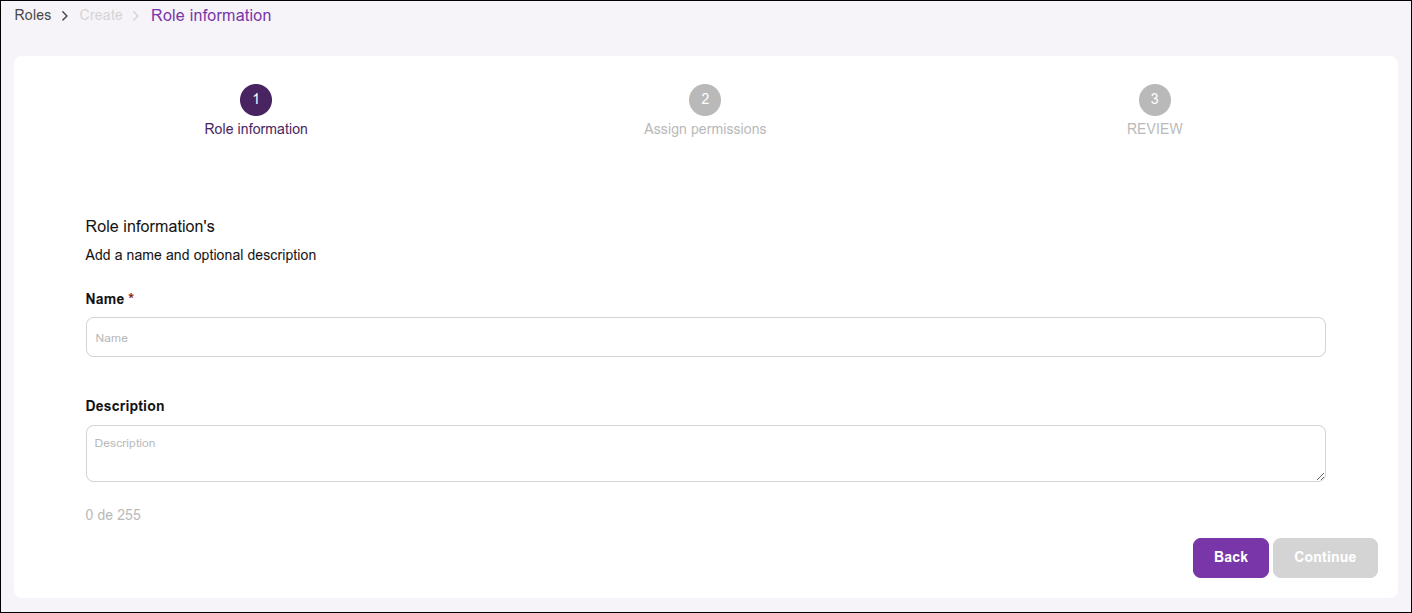
Provide:
Name: Role name (mandatory).
Description: Role description (optional).
Click Continue.
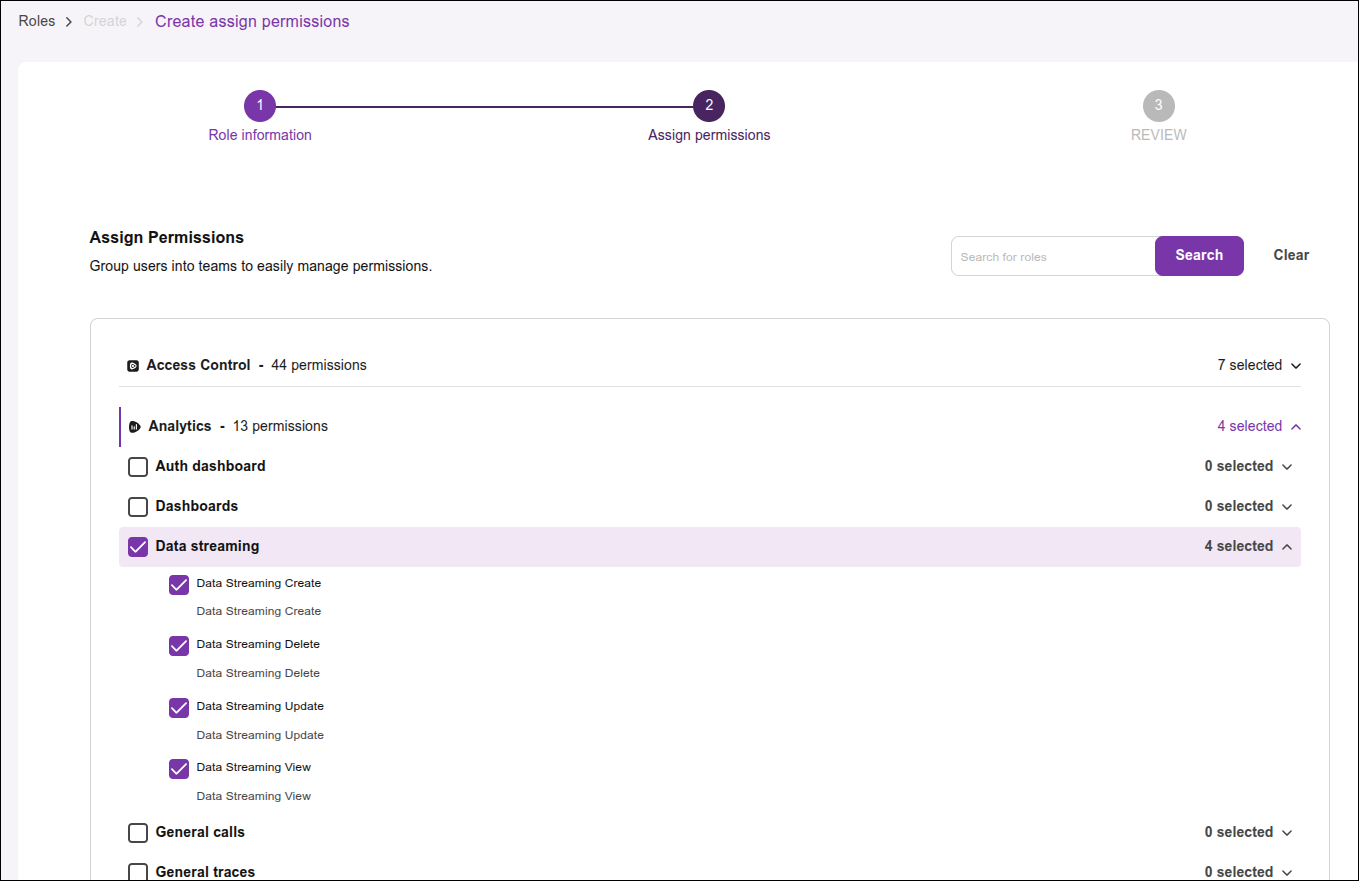
In Assign permissions, select the permissions you want to add to this role and click Continue at the bottom of the screen.
Review the role information and click Create Role to finish creating the role.
|
Default roles cannot be edited. |
To edit a role, go to Roles in Access Control Settings.
You can access these settings by clicking the icon in the top right corner of any Sensedia product screen, or from the right side menu of a home page.
|
|
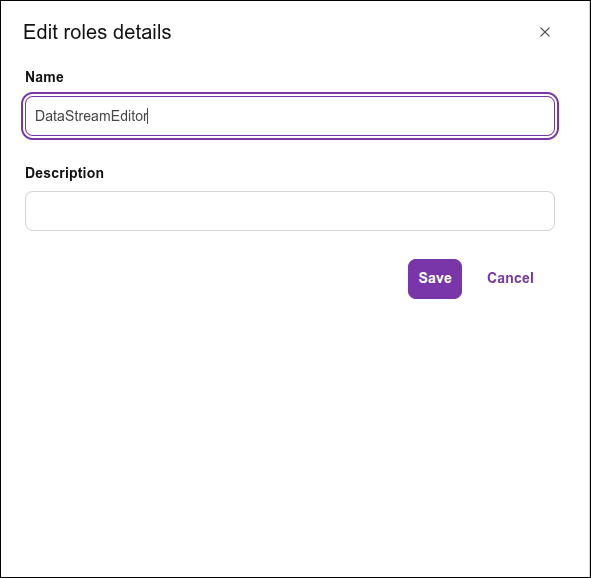
To edit the role’s name and/or description:
On the Roles screen, click > in the Actions column of the row for the role you want to edit.
On the Role Info tab, click Edit Role.

Edit the role’s name and/or description and click Save.
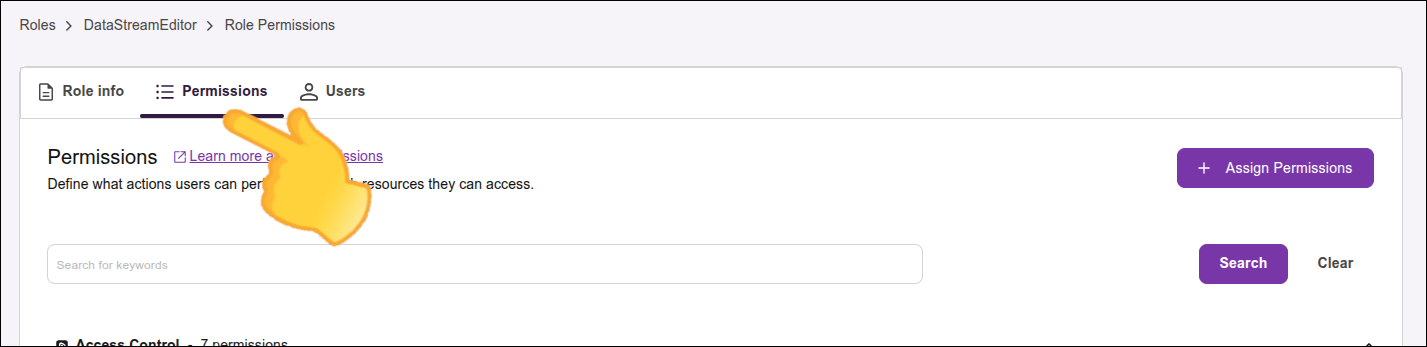
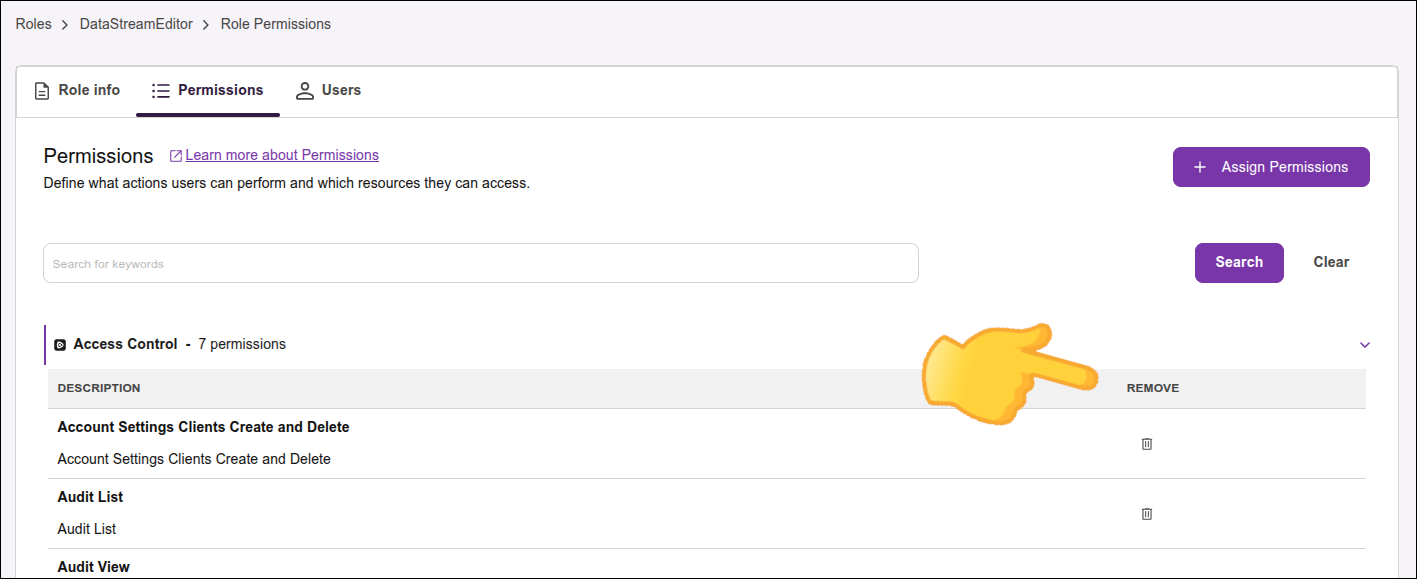
To edit a role’s permissions:
On the Roles screen, click > in the Actions column of the row for the role you want to edit.
Click the Permissions tab.
To remove a permission, click the trash can icon, located in the Remove column of the row corresponding to the permission you want to remove.
To add a permission:
Click + Add Permissions.
Select the permissions you want to add to the role.
At the end of the screen, click + Assign n Permissions, where 'n' is the number of permissions you selected.

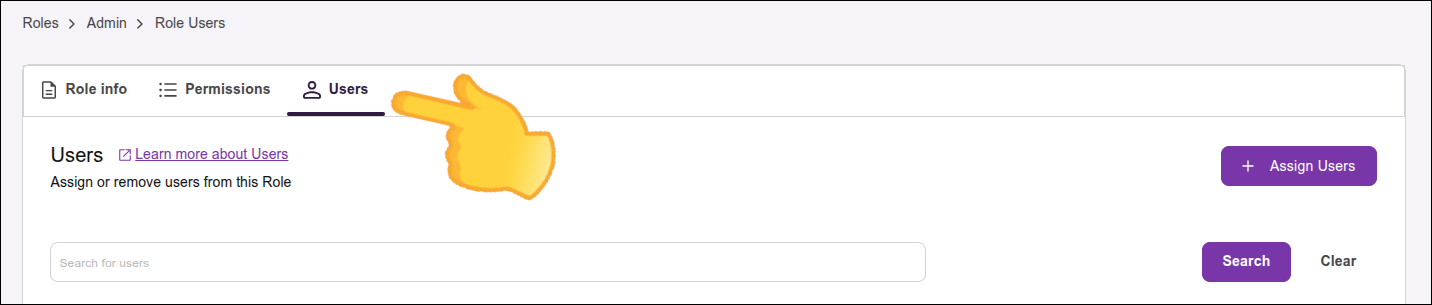
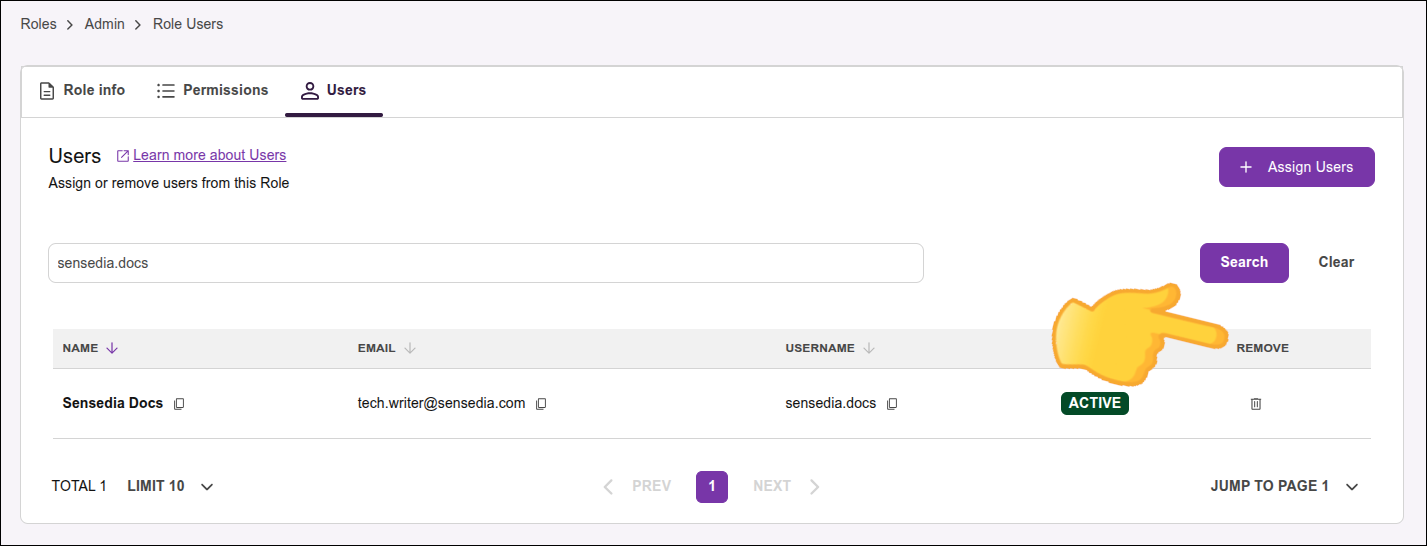
The USERS tab lists the users who have the permissions associated with the selected role. From this tab, you can:
search for users by keyword;
see the user’s email, name, and status;
remove a user from this role (revoke the permissions related to this role, for this user);
assign user(s) to the selected role (see below).
Some exceptions apply to the Super Admin role. See the Super Admin table.
To edit the users associated with a role:
Go to Roles, in Access Control Settings.
You can access these settings by clicking the icon in the top right corner of any Sensedia product screen, or from the right side menu of a home page.
|
|
On the Roles screen, click > in the Actions column of the row for the role you want to add users to.
Click the USERS tab.
To remove a user associated with this role, click the trash can icon, located in the REMOVE column of the user’s row you want to remove.
The user will no longer have the permissions associated with this role.
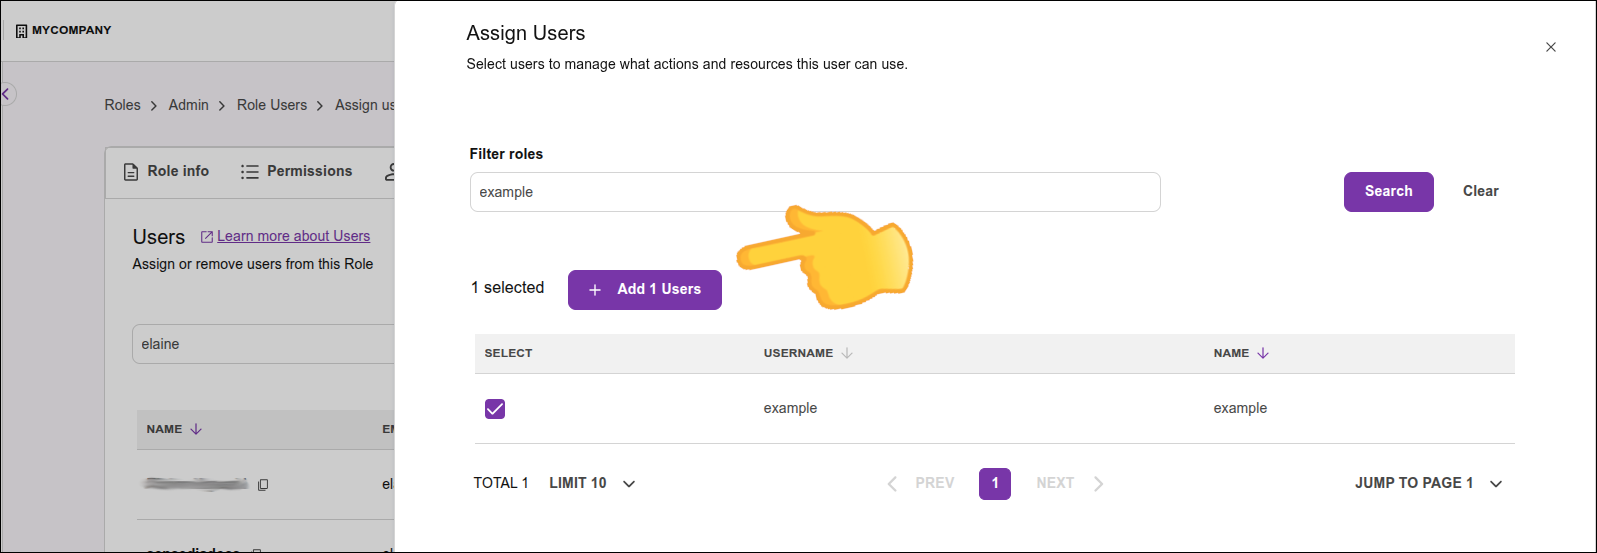
To assign a user to this role:
Click + Assign Users.
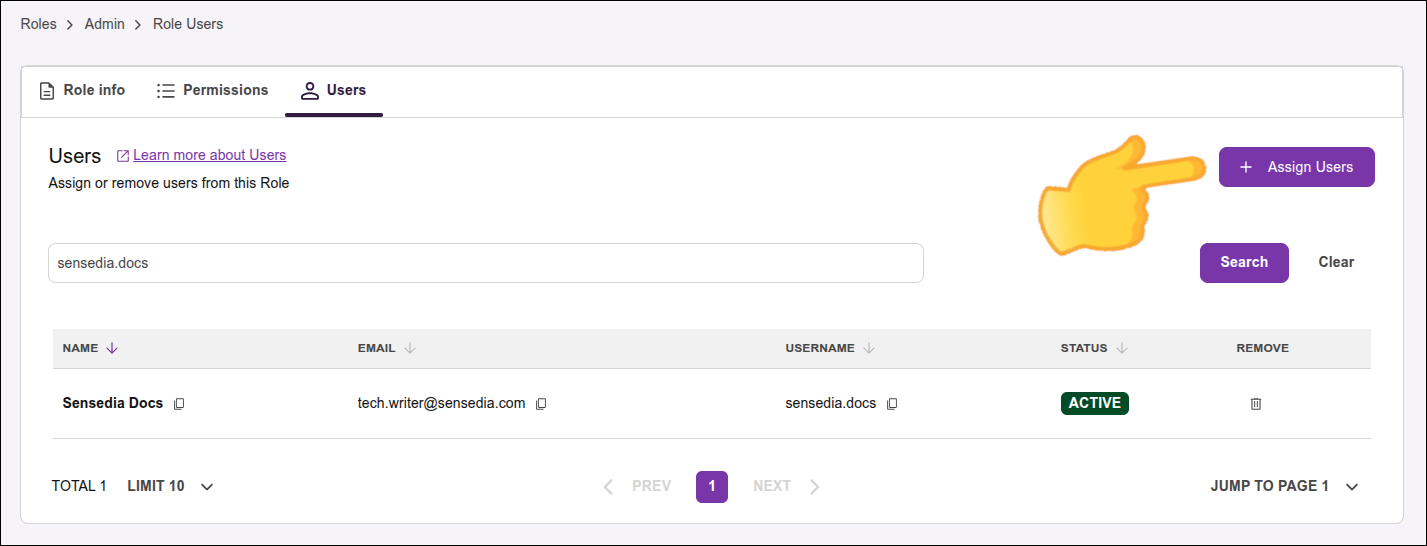
Select the users you want to assign to the role.
Click + Assign n Users, where '<n>' is the number of users you have selected.
The assignment will be effective, and the selected users will now have the permissions associated with this role.
Share your suggestions with us!
Click here and then [+ Submit idea]