Teams
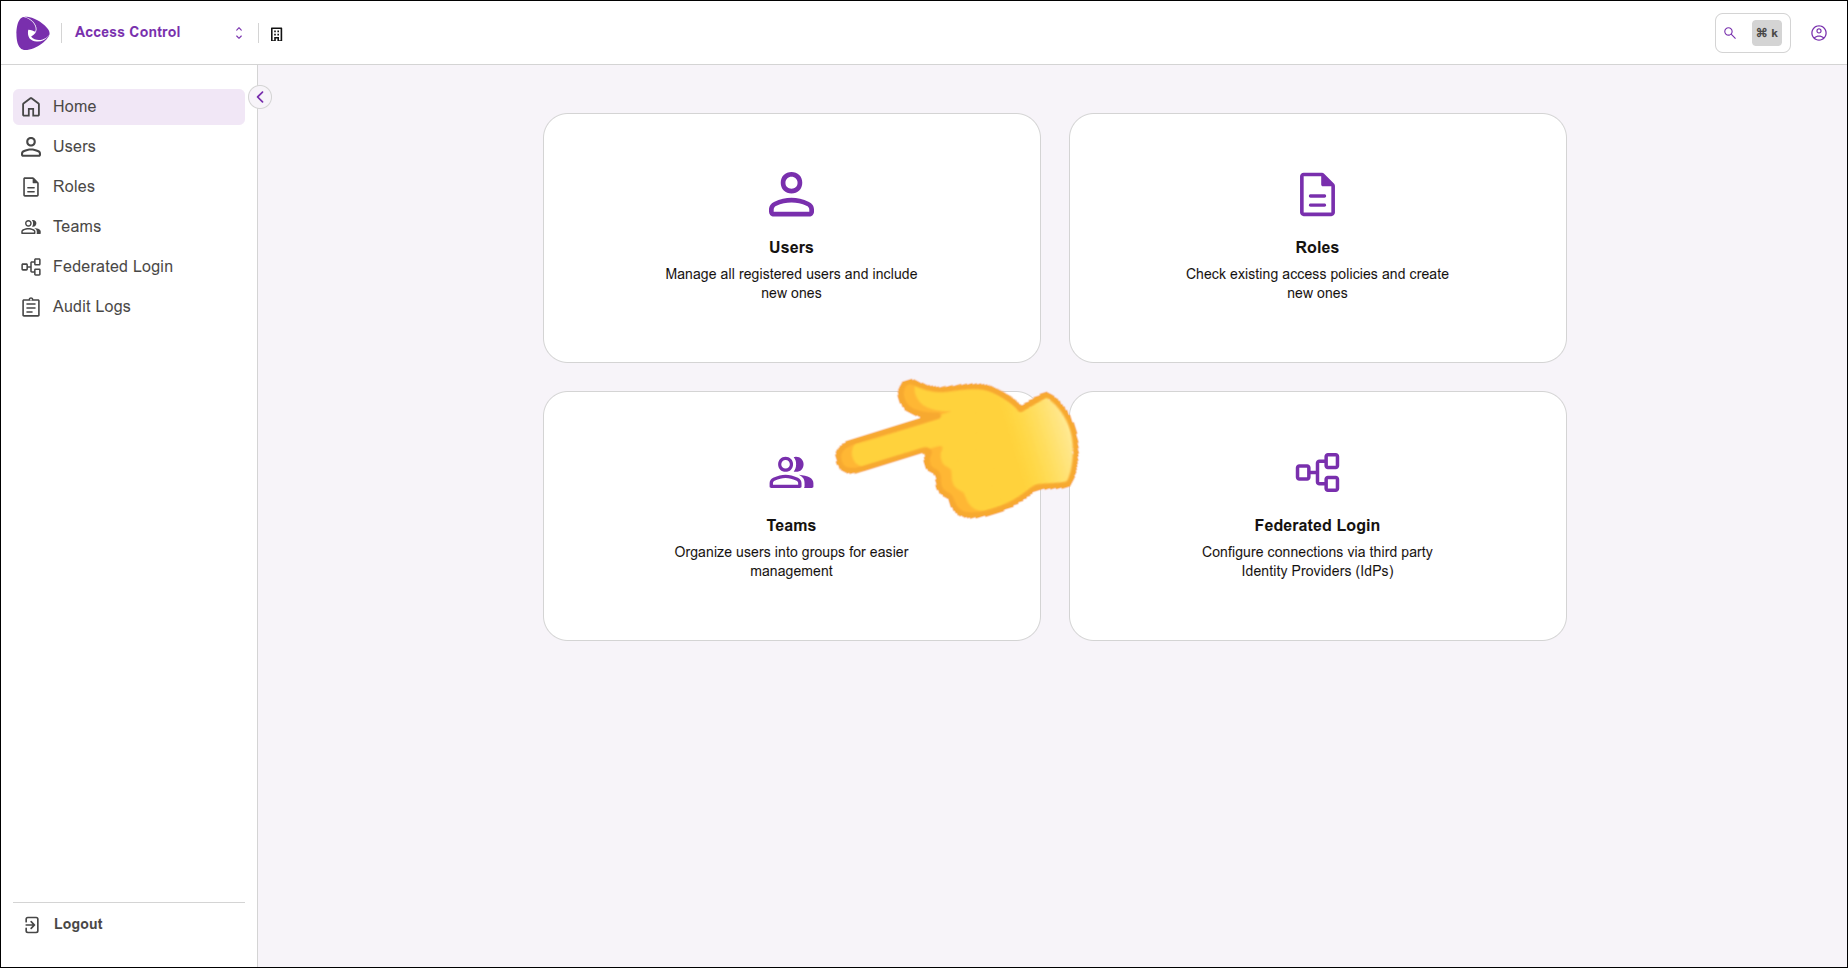
In Teams you can create and manage groups of users to access Sensedia products.
Teams Listing
The Teams screen shows a list of existing teams. The list informs the name of each team (NAME column), and their description (DESCRIPTION column).
To edit or view more information click the team’s name (or anywhere else on the same line).
Search Field
Above the list of existing teams there is a search field. You can use keywords to search for specific teams.
The field accepts word compositions or excerpts of a word to filter the teams.
Creating Teams
To register a new team, click the New Team button, represented by the + symbol, on the lower right corner of the screen.
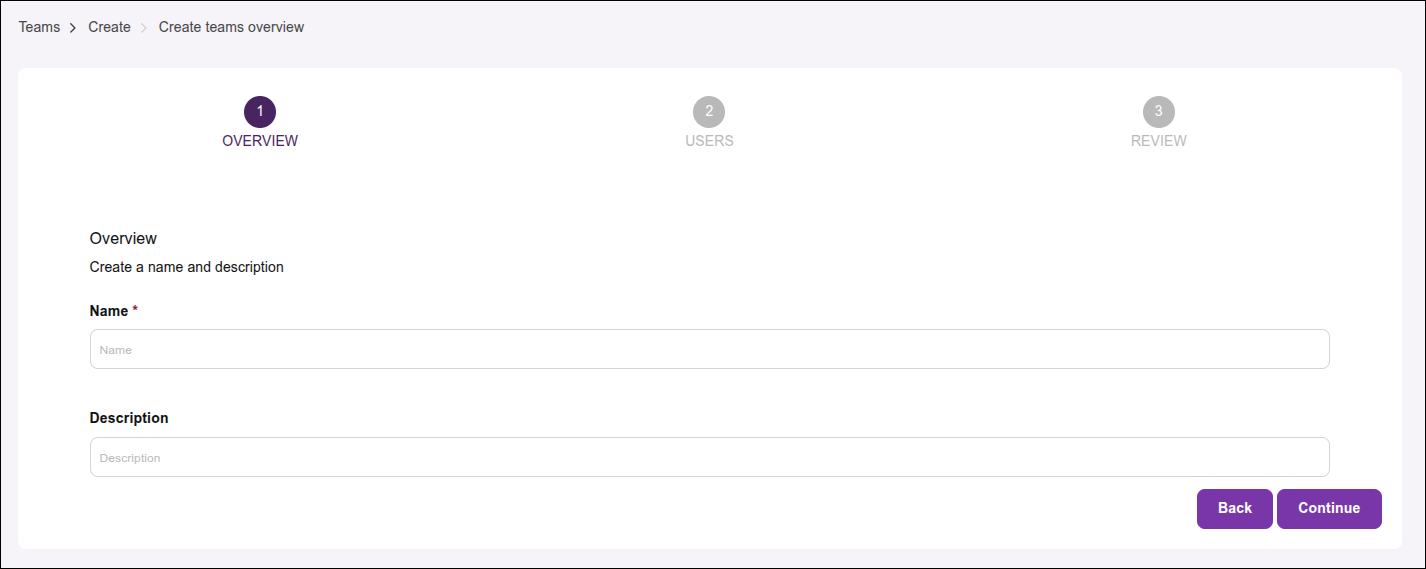
The next screen is the beginning of a three-step process. To navigate between steps, click the button represented by the symbol > on the lower right corner of the screen and then choose NEXT to advance to the next step or CANCEL to abort. You can also skip steps (only after entering the team’s name) by clicking on the navigation bar (breadcrumbs).
-
OVERVIEW: here you can define a name (mandatory) and add a description.
-
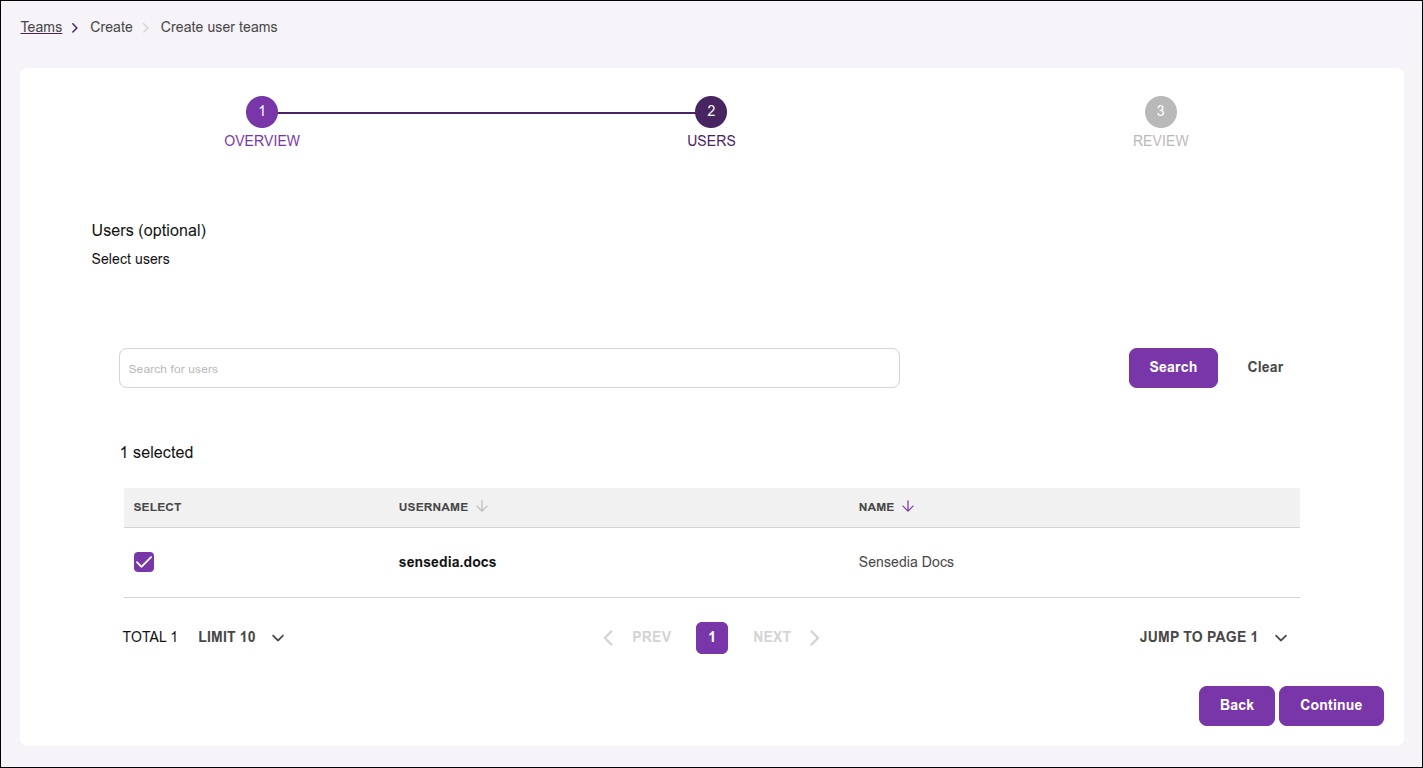
USERS: choose the users that will be part of the team. You can select from the list of users or search by a specific name. You can use name snippets or compositions. By clicking on SHOW SELECTED ONLY you can list only the users you have already selected, making it easier to check the team’s members.
-
REVIEW: review the information and, if everything is correct, click the FINISH button on the bottom right corner of the screen. Attention: make sure you click FINISH to confirm the creation of the team. If you leave the screen without clicking that button, the group will not be created and the information will be lost.
Valid characters for team’s name include letters, numbers and hyphens (no spaces or other special characters) |
Editing a Team
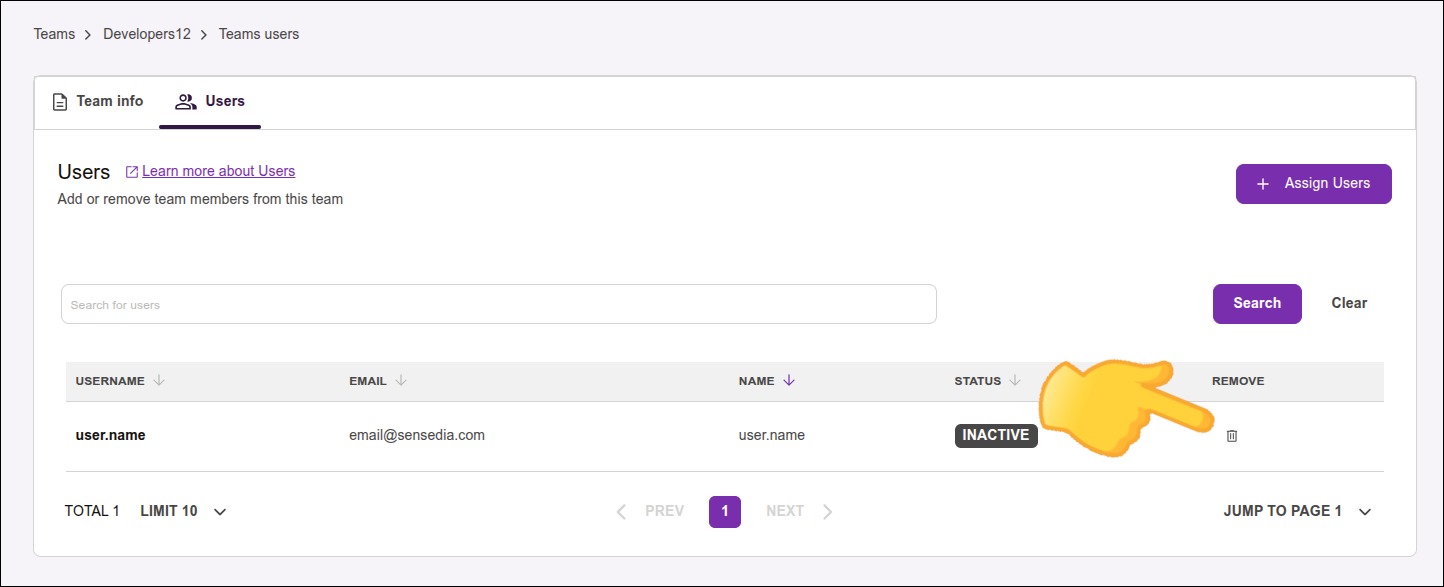
To edit a team, click the name of the team that appears in the teams list. You will be directed to a screen that shows the list of users that belong to that team.
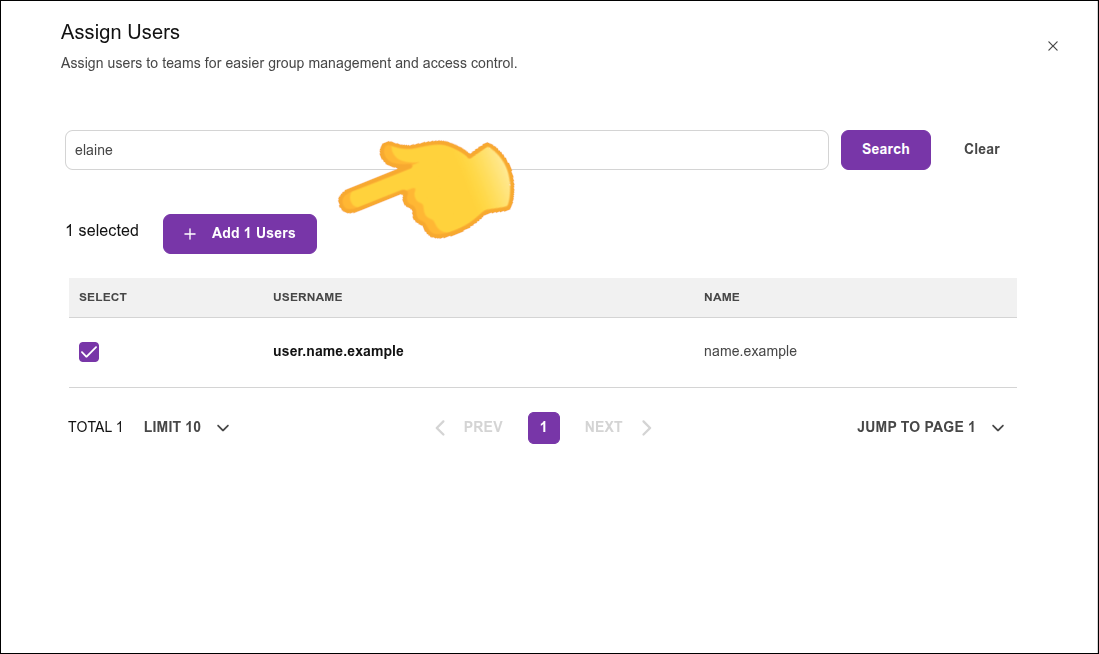
To add new users to the team, click the button ASSIGN USERS. In the screen that opens, select the user you want to include. You can select more than one user at once.
You can also use the search field to find a user. To check the selected users, click the SHOW SELECTED ONLY button. Click SAVE to confirm or CANCEL. You will see these options when you hover over the check mark (✓) located on the lower right corner of your screen.
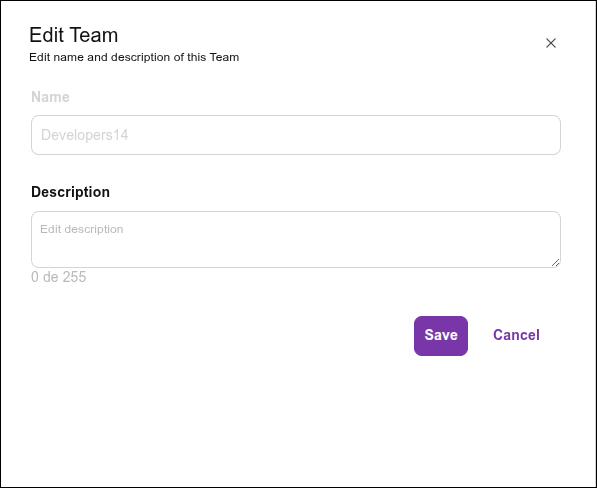
You can also edit the team’s description. To do so, click the button EDIT TEAM INFO on the top right area of the screen.
Deleting a Team
To delete a team, click the trash can icon next to the edit team button. A window will open for you to confirm the action. Click DELETE to proceed with the deletion or CANCEL.
Share your suggestions with us!
Click here and then [+ Submit idea]