Apps
In the Apps tab, you can:
-
Define the approval method (manual or automatic) for apps created by developers using the Developer Portal (apps Sensedia).
-
View information about webhook configuration in your connections.
-
Configure webhooks to manage AWS application credentials.
-
Reset webhook configurations.
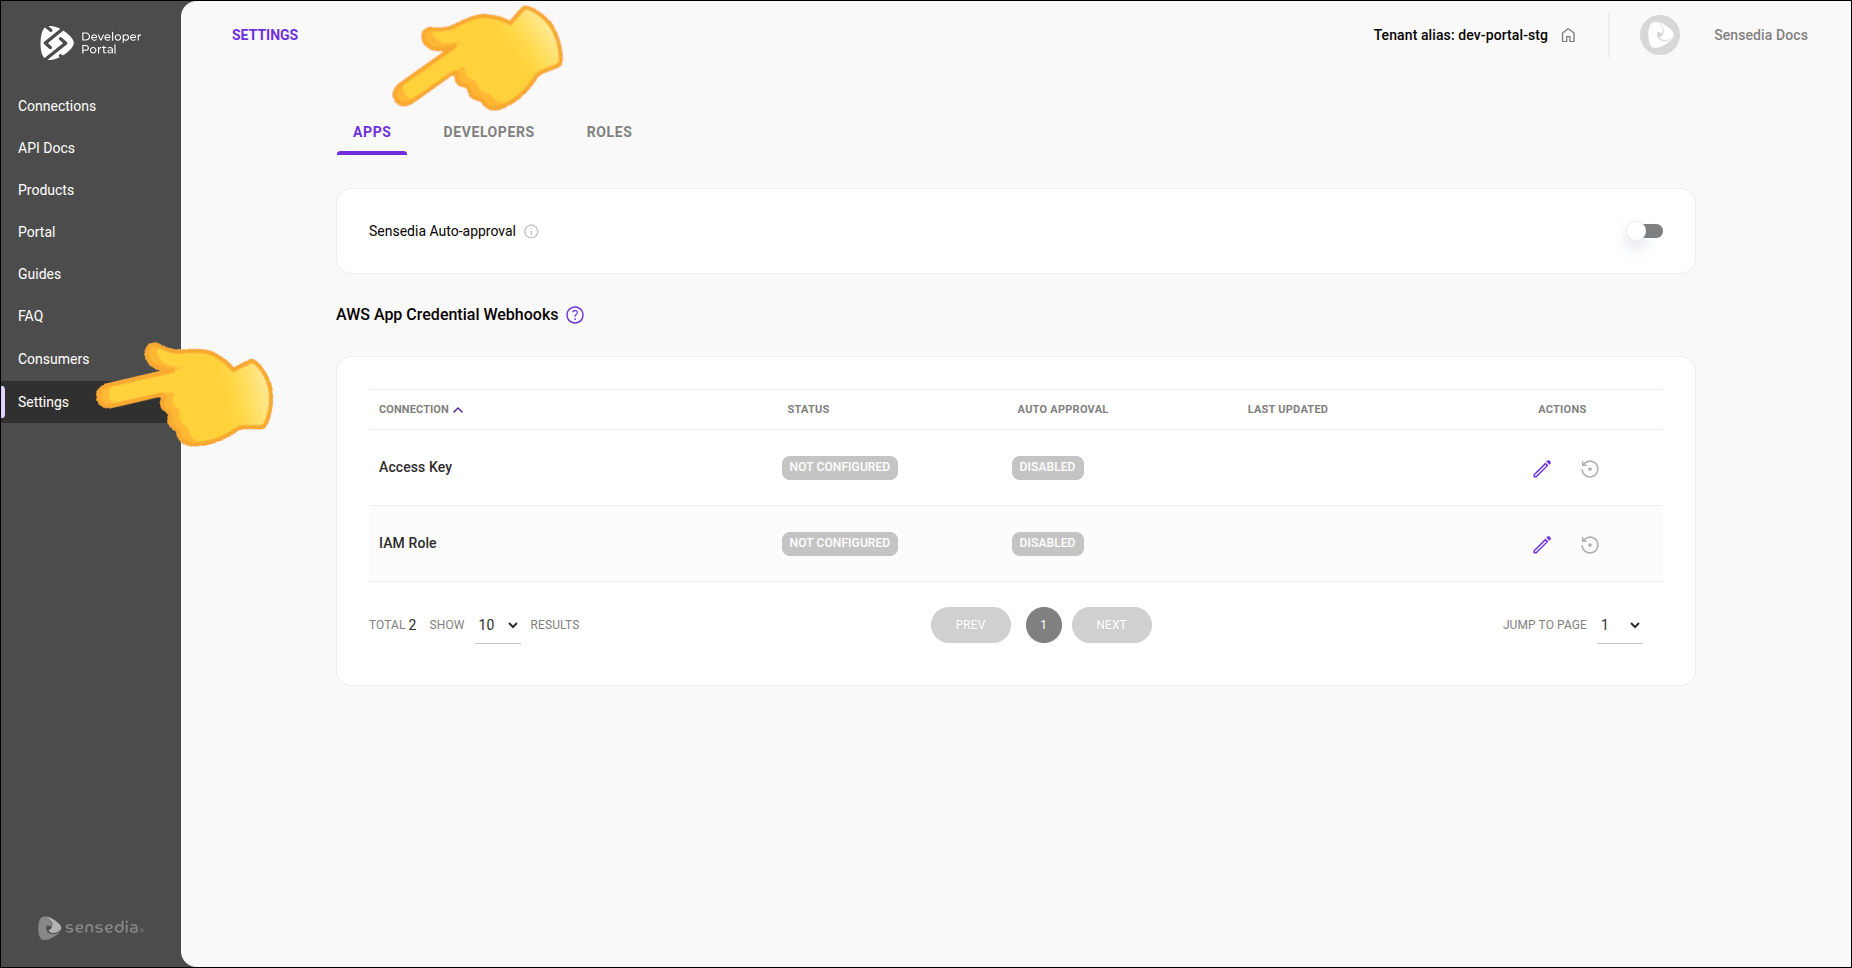
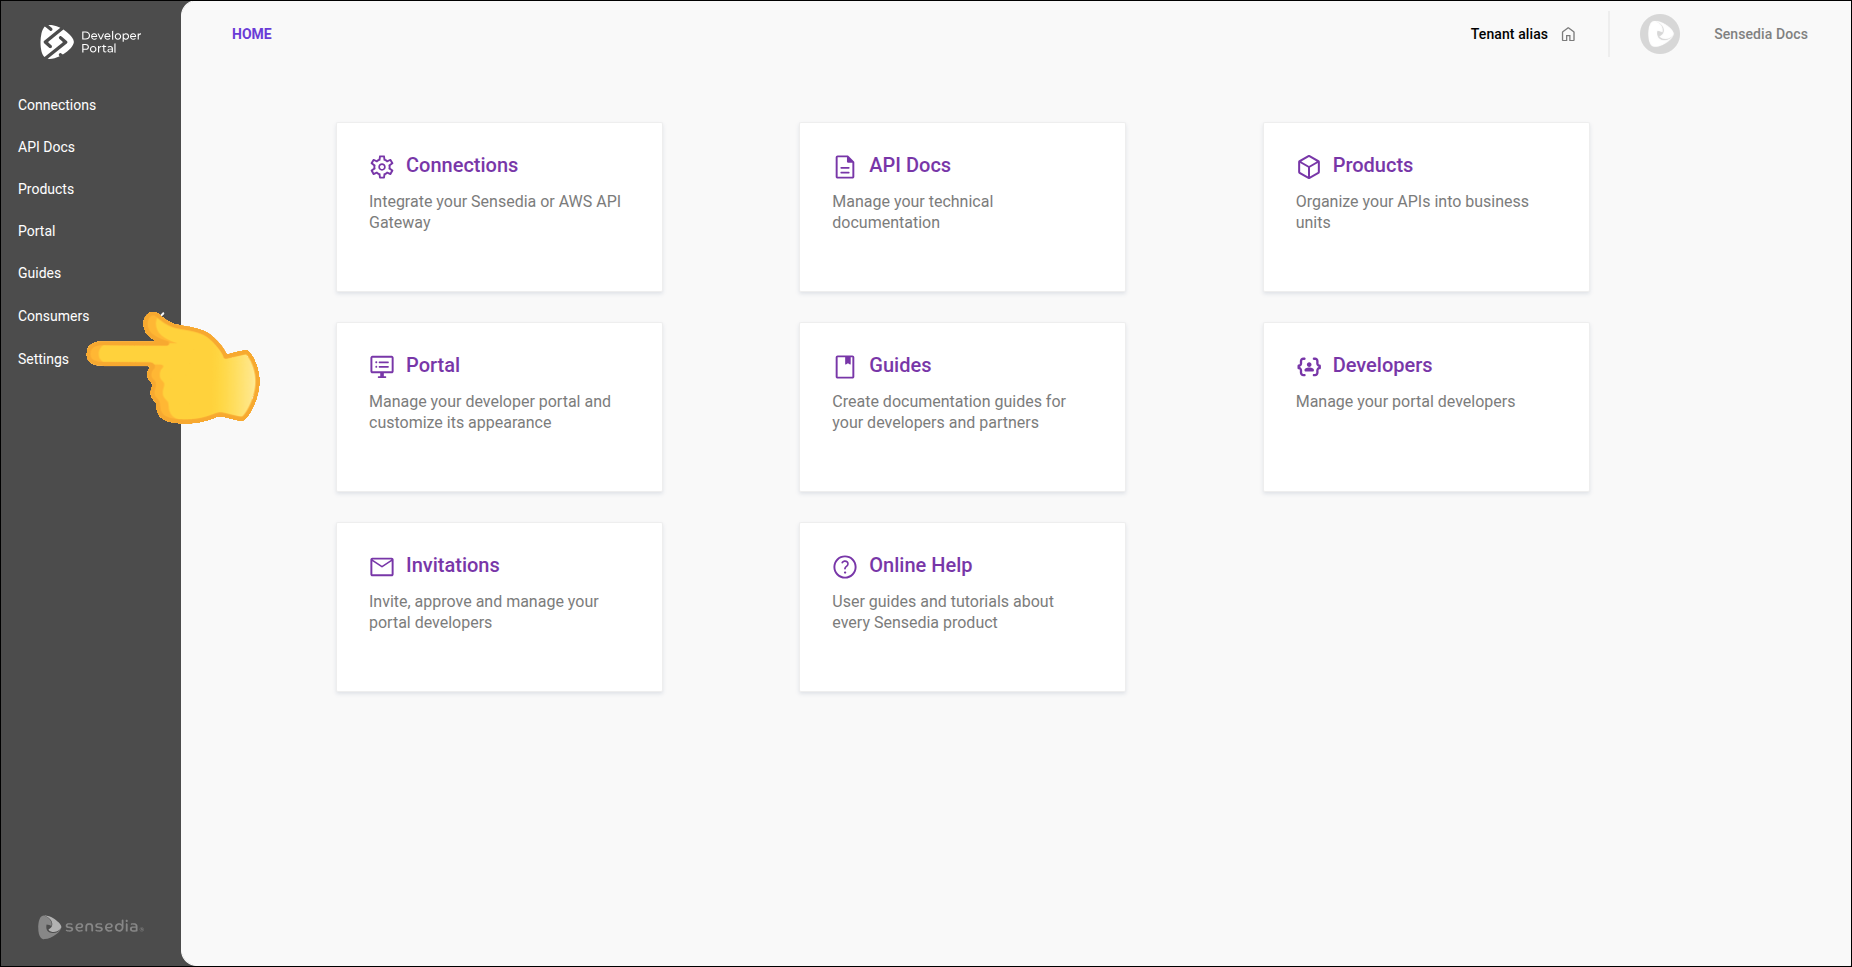
To access this functionality, click Settings in the left side menu and select the Apps tab.

Sensedia Apps Auto-Approval
You can define whether apps created by developers using the Developer Portal will be approved automatically or require manual approval.
Enabled: click to enable app auto-approval. All apps created by developers will be approved automatically.

Disabled: while app auto-approval is disabled, all apps created by developers will require manual approval.
Created apps will only be published after approval by an administrator.
By default, auto-approval is disabled.
|
See how to:
|
App Listing
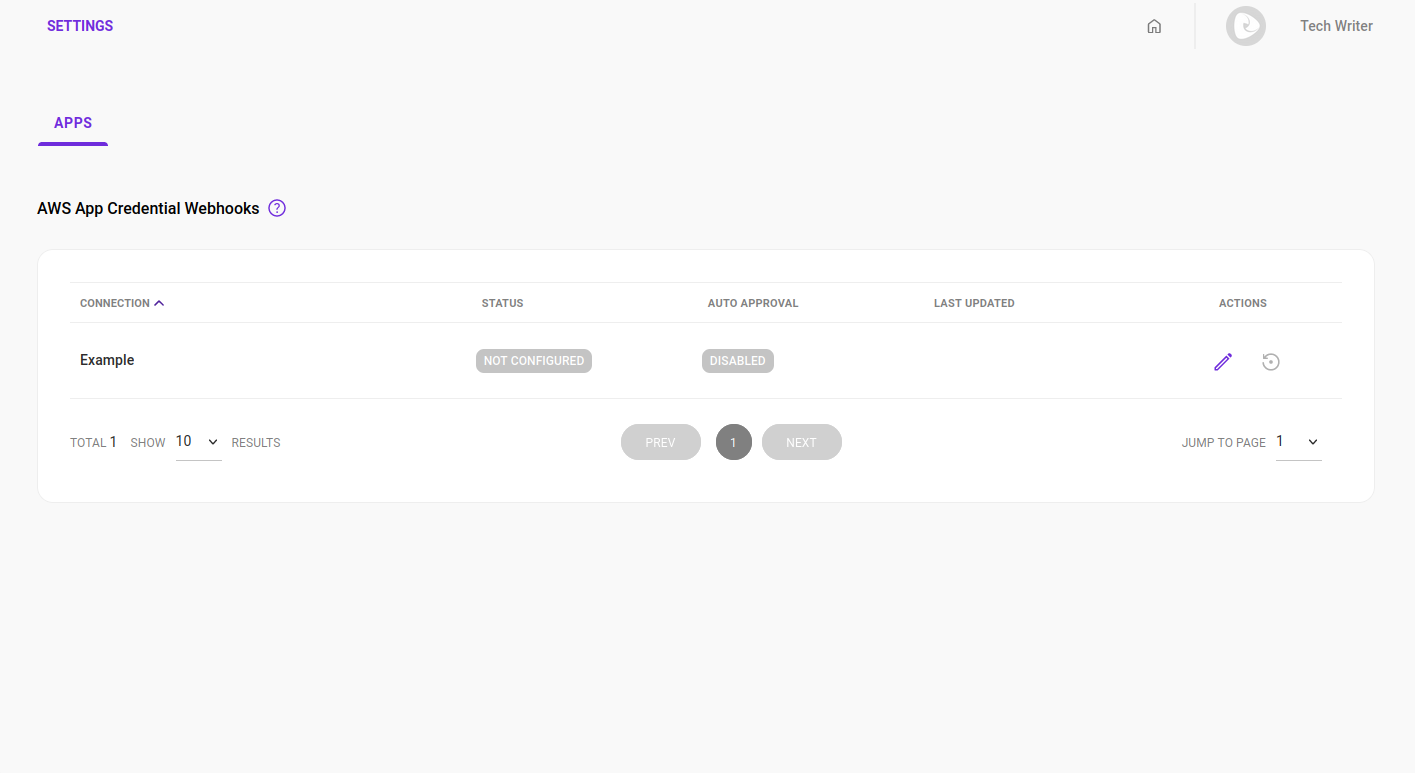
The listing has the following columns:
-
Connections: name of the connection.
-
Status: indicates whether the webhook is configured/activated or not (enabled or disabled).
-
Auto Approval: indicates whether the auto-approval option is enabled or disabled (enabled or disabled).
-
Last Update: date of the last update of the webhook credentials.
-
Actions: actions to edit and reset the webhook configurations.

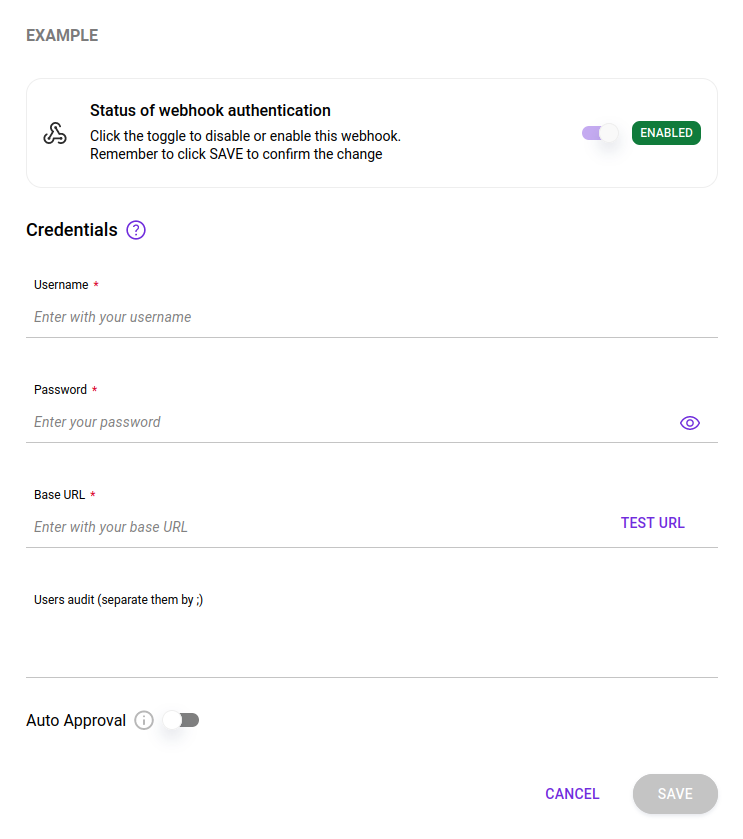
Configuring the webhook
Follow these steps to configure a webhook:
| To enable or disable the webhook, click the toggle button at the top of the form and click SAVE. |
Share your suggestions with us!
Click here and then [+ Submit idea]

